
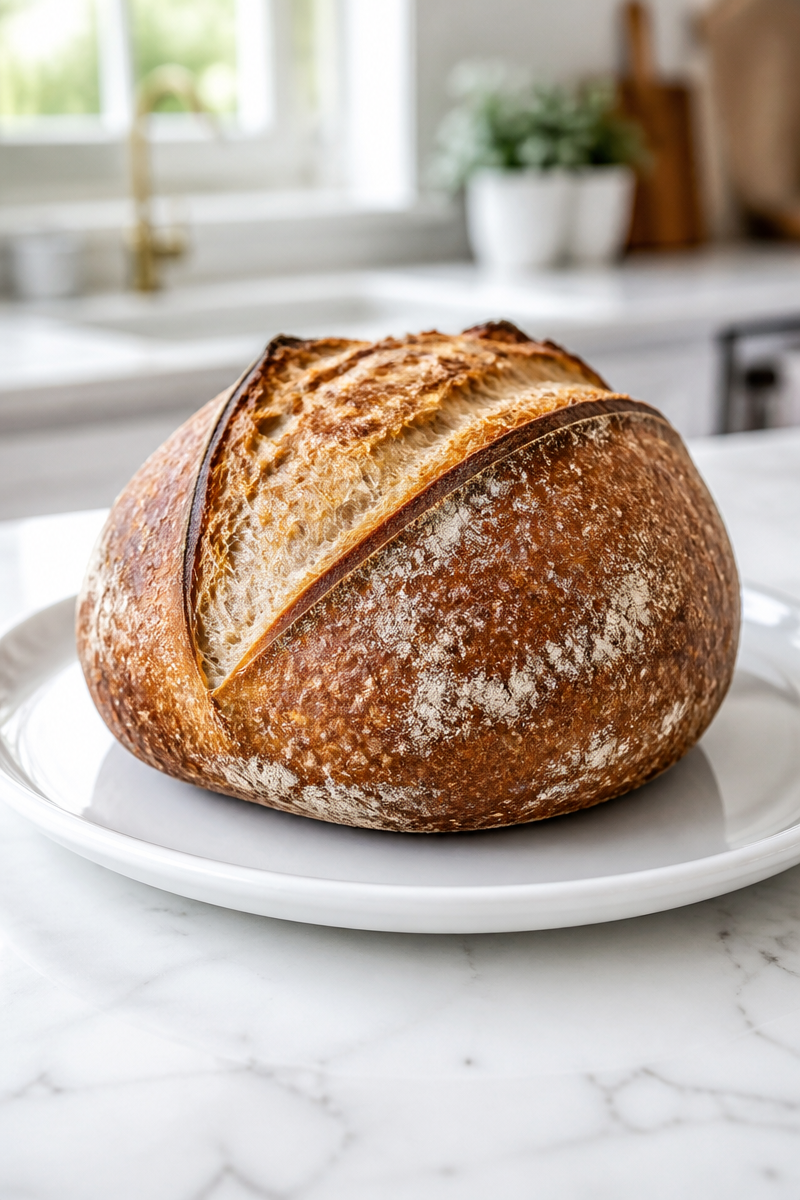
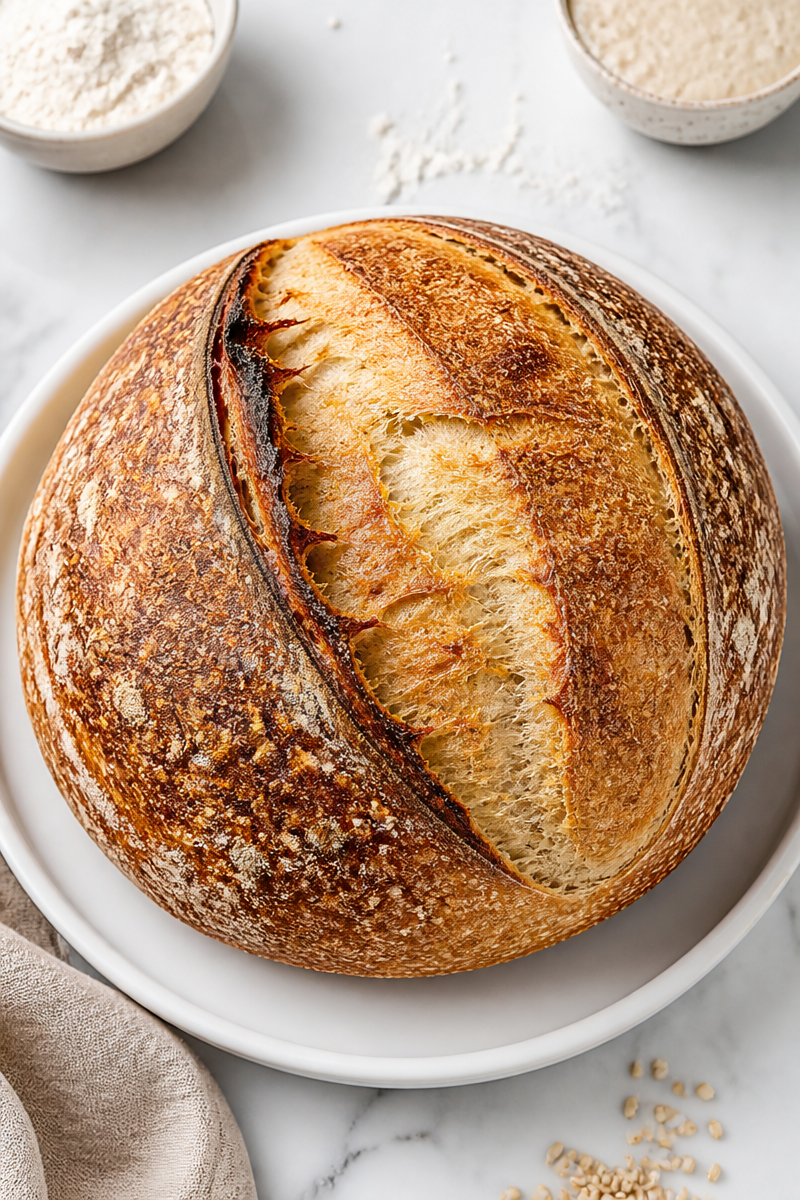
This artisan sourdough bread is pure comfort, and honestly, it feels like a small kitchen win every time it comes out of the oven. The crust turns deeply golden and crisp, while the inside stays tender, airy, and full of that classic sourdough charm. Because of that, it is the kind of loaf that makes an ordinary meal feel special.
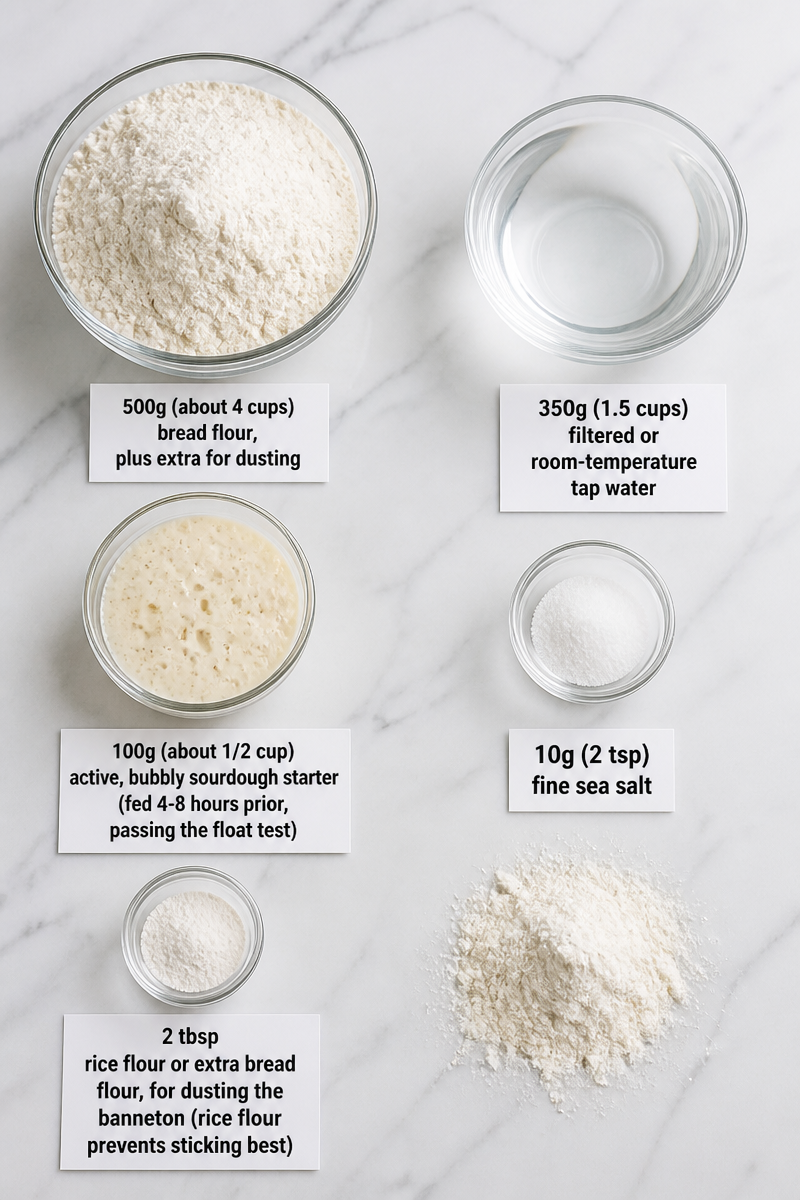
At the heart of this recipe are 500g bread flour, 350g water, 100g active sourdough starter, 10g fine sea salt, and a little rice flour or extra bread flour for the banneton. Together, these simple ingredients create a loaf with a chewy crust, a soft crumb, and a balanced flavor that is lightly tangy, wheaty, and deeply satisfying. Since the starter is active and bubbly, you get that wonderful lift and sourdough taste without needing anything fancy.
Even better, the method is very doable for home bakers. After a short 20-minute prep, the dough rests, stretches, ferments, shapes, and proofs slowly, which is what gives artisan sourdough bread its structure and flavor. Then it bakes for about 45 minutes, so the active work stays light. In other words, most of the time is hands-off. That makes this artisan sourdough bread crusty crumb recipe feel calm and manageable, even if you are newer to bread baking.
This loaf is perfect for Sunday dinners, soup nights, holiday tables, and slow weekend mornings. It also works beautifully for sandwiches, toast, and sharing with family. So if you enjoy warm bread with a crisp crust and a tender center, this recipe will fit right into your kitchen routine.
Why You’ll Love This Artisan Sourdough Bread Crusty Crumb
- Simple ingredients: You only need flour, water, starter, salt, and dusting flour. Therefore, the ingredient list stays clean and easy.
- Great flavor: The long fermentation builds a mild tang and a rich, bakery-style taste.
- Beautiful crust: Baking in a Dutch oven creates steam, which helps the loaf rise and brown well.
- Soft, airy crumb: The stretch-and-fold method builds strength without making the dough hard to handle.
- Good for many meals: This bread works for breakfast toast, lunch sandwiches, and dinner sides.
Bread Flour Tips
Bread flour is the base of this artisan sourdough bread crusty crumb, and it matters because it has more protein than all-purpose flour. That higher protein helps build strong gluten, which gives the loaf its shape, chew, and open crumb. For the best results, choose a fresh bread flour with a protein level around 11.5% to 13.5%. Also, keep it stored in a cool, dry place so it stays fresh. If you want a slightly softer loaf, you can use a small mix of all-purpose flour, but bread flour will give you the strongest artisan texture.
Options for Substitutions
- Bread flour: Swap up to 20% with all-purpose flour if needed, though the crumb may be a bit less chewy.
- Water: Use filtered water if your tap water has a strong taste, since sourdough shows off subtle flavors.
- Sourdough starter: If your starter is not fully ready, feed it earlier and wait until it passes the float test.
- Fine sea salt: Substitute kosher salt only if you measure by weight, since grain size can change volume.
- Rice flour for the banneton: Use extra bread flour if you do not have rice flour, but rice flour is better for preventing sticking.
- Dusting flour: You can dust the work surface with a mix of bread flour and rice flour for easier shaping.
Watch Out for These Mistakes
First, do not use a weak starter. If your starter is flat, sleepy, or not bubbling well, the dough will rise slowly and may end up dense. So, feed it the night before and make sure it is active, doubled, and passing the float test.
Next, be careful with the water temperature and the room temperature during fermentation. If the kitchen is too cold, the dough may take much longer to rise. On the other hand, if it is too warm, the dough can overproof and lose strength. Because of that, aim for a steady 70 to 75°F when possible.
Also, do not skip the stretch-and-folds. They may seem simple, but they build structure without heavy kneading. If you rush this step, the dough may spread too much later. So, keep the folds gentle but consistent.
Finally, do not slice the bread too soon. The loaf needs at least 1 hour of cooling so the crumb can set. If you cut it while it is still hot, the inside may look gummy, even if the bread is baked properly.
What to Serve With Artisan Sourdough Bread Crusty Crumb?
This artisan sourdough bread crusty crumb pairs well with hearty soup, homemade chili, creamy tomato bisque, and a simple spread like butter or olive oil with herbs. It is also excellent with egg dishes, cheese boards, roasted vegetables, and turkey or chicken sandwiches. Because the crust is sturdy and the crumb is tender, it works for both dipping and stacking.
Storage Instructions
Store: Keep the loaf cut-side down at room temperature for up to 3 days. If you want it to last a little longer, you can store it in a paper bag or bread box, but avoid sealing it tightly in plastic right away or the crust may soften.
Freeze: Freeze the bread whole or sliced for up to 2 months. For best results, wrap it well, then place it in a freezer bag. That way, it stays fresher and does not pick up freezer odors.
Reheat: For the stovetop, warm slices in a dry skillet over low heat for 1 to 2 minutes per side. For the microwave, heat a slice for 10 to 15 seconds, but use it gently because too much heat can make the bread tough.
Recipe Info
Preparation Time: 20 minutes, plus 12 hours fermenting
Cooking Time: 45 minutes
Total Time: 1 hour 5 minutes, plus 12 hours fermenting
Level of Difficulty: Medium
Servings: 12 servings
Calories: 180 kcal per serving
Estimated Nutrition
Estimated nutrition for the whole recipe (without optional ingredients):
- Calories: 2,100 to 2,400 kcal
- Protein: 60 to 75 g
- Fat: 4 to 8 g
- Carbohydrates: 430 to 470 g
Ingredients
- 500g (about 4 cups) bread flour, plus extra for dusting
- 350g (1.5 cups) filtered or room-temperature tap water
- 100g (about 1/2 cup) active, bubbly sourdough starter (fed 4-8 hours prior, passing the float test)
- 10g (2 tsp) fine sea salt
- 2 tbsp rice flour or extra bread flour, for dusting the banneton (rice flour prevents sticking best)
Step-by-Step Instructions
Step 1: Feed the Starter and Get Ready
The night before baking, feed your sourdough starter and leave it at room temperature until it doubles and looks bubbly. This usually takes 4 to 8 hours. Also, check the float test by dropping a spoonful into water. If it floats, it is ready to use.
Step 2: Autolyse the Dough
In a large bowl, mix the bread flour and water with your hands until no dry flour remains. The dough will look shaggy at first, and that is fine. Then cover the bowl and let it rest for 30 minutes. During this rest, the flour hydrates and the gluten starts forming on its own.
Step 3: Add Starter and Salt
Add the active starter and fine sea salt to the dough. Then pinch and fold with wet hands until everything is mixed in, which should take about 3 minutes. At this stage, the dough will still feel sticky, but that is normal.
Step 4: Build Strength with Stretch and Folds
Now perform the first set of stretch and folds. With a wet hand, grab one side of the dough, stretch it upward, and fold it over itself. Rotate the bowl 90 degrees and repeat until you have done 4 folds total. Cover the bowl and rest for 30 minutes. After that, repeat the same process 3 more times, for a total of 4 sets over 2 hours.
Step 5: Let the Dough Bulk Ferment
Cover the dough and let it rise at room temperature, ideally between 70 and 75°F, for 4 to 6 hours. It should rise by about 50 percent and show small bubbles on top. Then turn it onto a lightly floured surface and shape it into a tight boule by folding the edges inward, flipping it seam-side down, and gently tightening the surface.
Step 6: Proof, Bake, and Cool
Place the shaped dough seam-side up in a banneton dusted with rice flour or in a bowl lined with a floured towel. Cover it and refrigerate overnight for 8 to 12 hours. The next day, preheat a Dutch oven at 450°F for 30 minutes. Then turn the dough out onto parchment, score the top with a sharp blade, and bake covered for 20 minutes. Uncover and bake 20 to 25 minutes more until the crust is deep golden brown. Finally, cool the loaf on a wire rack for at least 1 hour before slicing.
Conclusion
This artisan sourdough bread crusty crumb is a wonderful loaf to make when you want strong flavor, a crisp crust, and a soft, open center. Because the steps are simple and the long fermentation does most of the work, the process feels relaxed and rewarding. Plus, the result is a beautiful homemade bread that fits breakfast, lunch, dinner, and everything in between.
If you try this recipe, I would love to hear how it turns out. Share your results, leave a comment with your baking notes, or explore more homemade bread recipes for your next bake.
Print
Artisan Sourdough Bread Crusty Crumb
- Prep Time: 20 minutes
- Cook Time: 45 minutes
- Total Time: 765 minutes
- Yield: 12 servings 1x
- Category: Bread
- Method: Baking
- Cuisine: Artisan
- Diet: Vegetarian
Description
A comforting artisan sourdough bread with a crunchy crust and soft, airy crumb, perfect for any meal.
Ingredients
- 500g (about 4 cups) bread flour, plus extra for dusting
- 350g (1.5 cups) filtered or room-temperature tap water
- 100g (about 1/2 cup) active, bubbly sourdough starter
- 10g (2 tsp) fine sea salt
- 2 tbsp rice flour or extra bread flour, for dusting the banneton
Instructions
- Feed the starter and get ready.
- Mix the bread flour and water in a large bowl until no dry flour remains. Cover and let rest for 30 minutes.
- Add the active starter and fine sea salt to the mixture, then pinch and fold until combined.
- Perform the first set of stretch and folds. Grab one side of the dough and fold over itself. Rotate the bowl and repeat until complete. Cover and rest for 30 minutes.
- Continue stretch and folds three more times for a total of four sets over 2 hours.
- Cover and let the dough bulk ferment for 4 to 6 hours until it has risen by about 50 percent.
- Shape the dough into a tight boule and let it proof in a banneton or towel-lined bowl overnight for 8 to 12 hours.
- Preheat a Dutch oven at 450°F for 30 minutes. Turn out the dough, score the top, and bake covered for 20 minutes.
- Uncover and bake for another 20 to 25 minutes until golden brown. Cool for at least 1 hour before slicing.
Notes
For best results, ensure your starter is active and perform the stretch-and-folds gently. The loaf requires cooling before slicing to set the crumb.
Nutrition
- Serving Size: 1 slice
- Calories: 180
- Sugar: 0g
- Sodium: 400mg
- Fat: 6g
- Saturated Fat: 1g
- Unsaturated Fat: 4g
- Trans Fat: 0g
- Carbohydrates: 37g
- Fiber: 2g
- Protein: 6g
- Cholesterol: 0mg
