
There’s something truly magical about the combination of chocolate and peanut butter, and these Chocolate Peanut Butter Witch Hat Cookies capture that enchantment beautifully. As we step into the cozy season of fall and Halloween, these delightful treats serve not only as a delicious snack but also as a fun-filled activity for loved ones. The best part? They are so easy to make that even younger family members can help in the kitchen, bringing that warmth and joy back into baking.
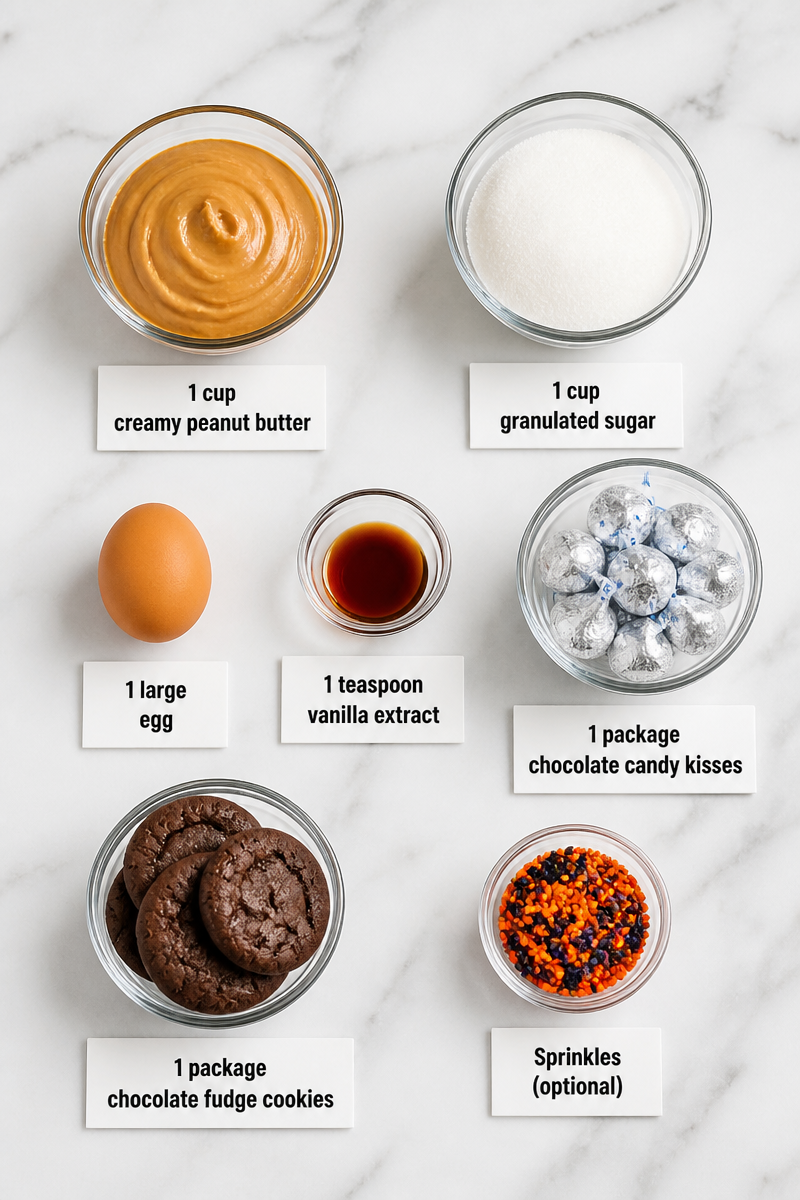
At the heart of this recipe, you’ll find 1 cup of creamy peanut butter, which brings a smooth and rich texture, 1 cup of granulated sugar for sweetness, and 1 large egg that binds it all together. A dash of 1 teaspoon of vanilla extract adds a comforting, aromatic note. Topping it off are the delightful chocolate candy kisses that crown each cookie, while chocolate fudge cookies serve as the base that adds depth. For a little fun, you can sprinkle on some colorful sprinkles to make them look just like witch hats!
The preparation is straightforward, making it perfect even for novice bakers. Just preheat your oven to 350°F (175°C), mix your ingredients until they come together, roll out small balls of dough, and bake them until they’re golden. Press a chocolate kiss into the center and let them cool before transferring. If you choose to add sprinkles, they’ll give a festive flair that’s perfect for sharing or enjoying at home.
These cookies are the ideal accompaniment to chilly nights, cozy family gatherings, or even fun Halloween parties. They create a sense of comfort and nostalgia, reminding us of beloved treats from our childhood while inviting new traditions. So whether you’re planning a gathering or simply want a sweet after-dinner treat, these cookies are the perfect choice.
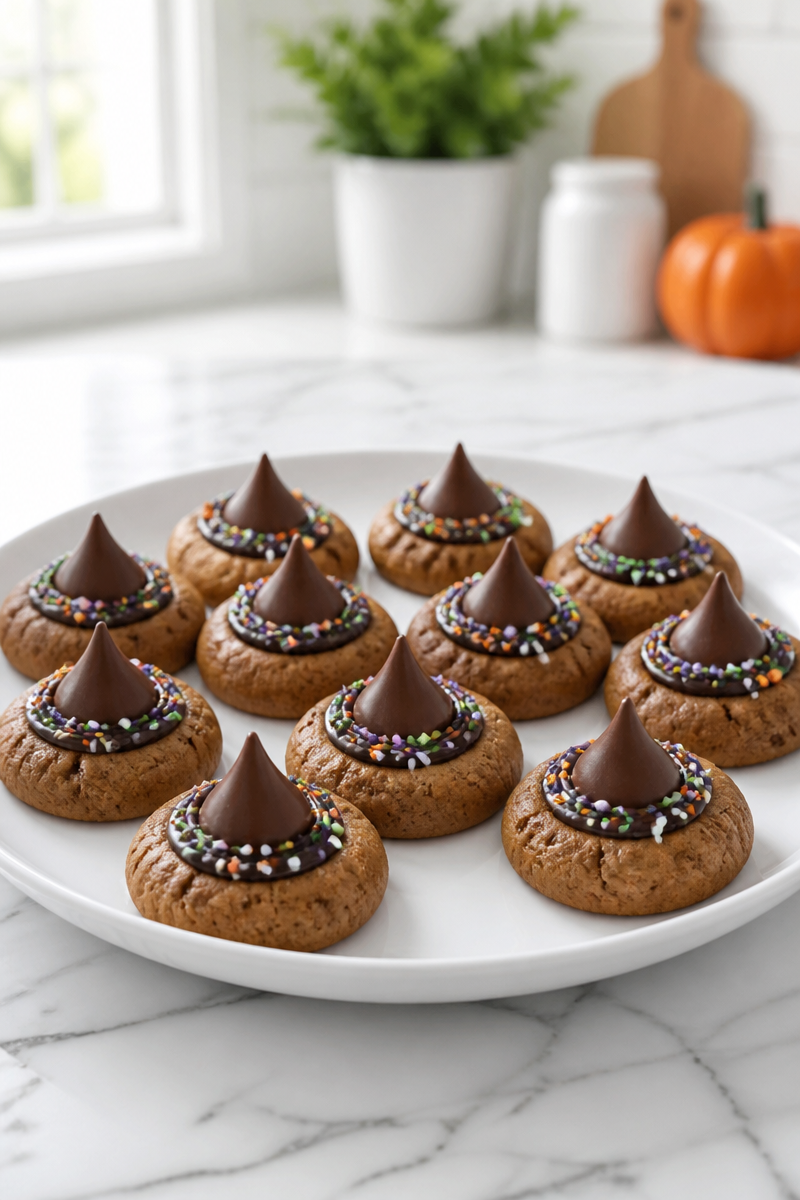
Why You’ll Love This Chocolate Peanut Butter Witch Hat Cookie
- Quick: This recipe comes together in no time, making it a great last-minute dessert.
- Simple Ingredients: All you need are a few kitchen staples, which makes it both accessible and budget-friendly.
- Comfort Food: The rich flavors of chocolate and peanut butter soothe the soul and satisfy the taste buds.
- Family-Friendly: It’s easy enough for kids and grandkids to help with, making for memorable family moments.
- Versatile Decorations: Customize your cookies with different themes; they can be festive or plain, depending on the occasion.
Peanut Butter Tips
When it comes to choosing the right peanut butter for your cookies, creaminess is essential. Opt for a creamy peanut butter rather than crunchy for a smoother texture that blends well into the dough. Check the label for natural varieties without added sugar or hydrogenated oils for a healthier option. If possible, select brands that use only peanuts and salt to keep your cookies pure and delicious.
Options for Substitutions
- Peanut Butter: Substitute with almond butter or sunflower seed butter for nut-free options.
- Granulated Sugar: Coconut sugar can be used for a lower glycemic index alternative.
- Egg: A flaxseed egg (1 tablespoon of ground flaxseed mixed with 2.5 tablespoons of water) works well for a vegan option.
- Vanilla Extract: Use almond extract for a different flavor profile.
- Chocolate Candy Kisses: Use any chocolate candy, such as chocolate chips or caramel-filled treats for variation.
- Chocolate Fudge Cookies: Any chocolate cookie can replace fudge cookies, adjusting the sweetness accordingly.
Watch Out for These Mistakes
One common mistake when baking cookies is not measuring the ingredients accurately. Too much flour, for example, can lead to dry cookies. Always ensure you use the right measurements and level your measuring cups.
Another pitfall is overbaking. You’ll want to keep an eye on your cookies as they bake and remove them when the edges are just beginning to turn golden. This will give you the soft and chewy texture that is so desirable.
Pressing the chocolate kiss into the center immediately after removing the cookies from the oven is essential. If you wait too long, the cookies will harden, and the kisses won’t stick.
Finally, remember to let your cookies cool on the baking sheet for a few minutes before transferring them to a wire rack. This step prevents breakage and allows them to set properly.
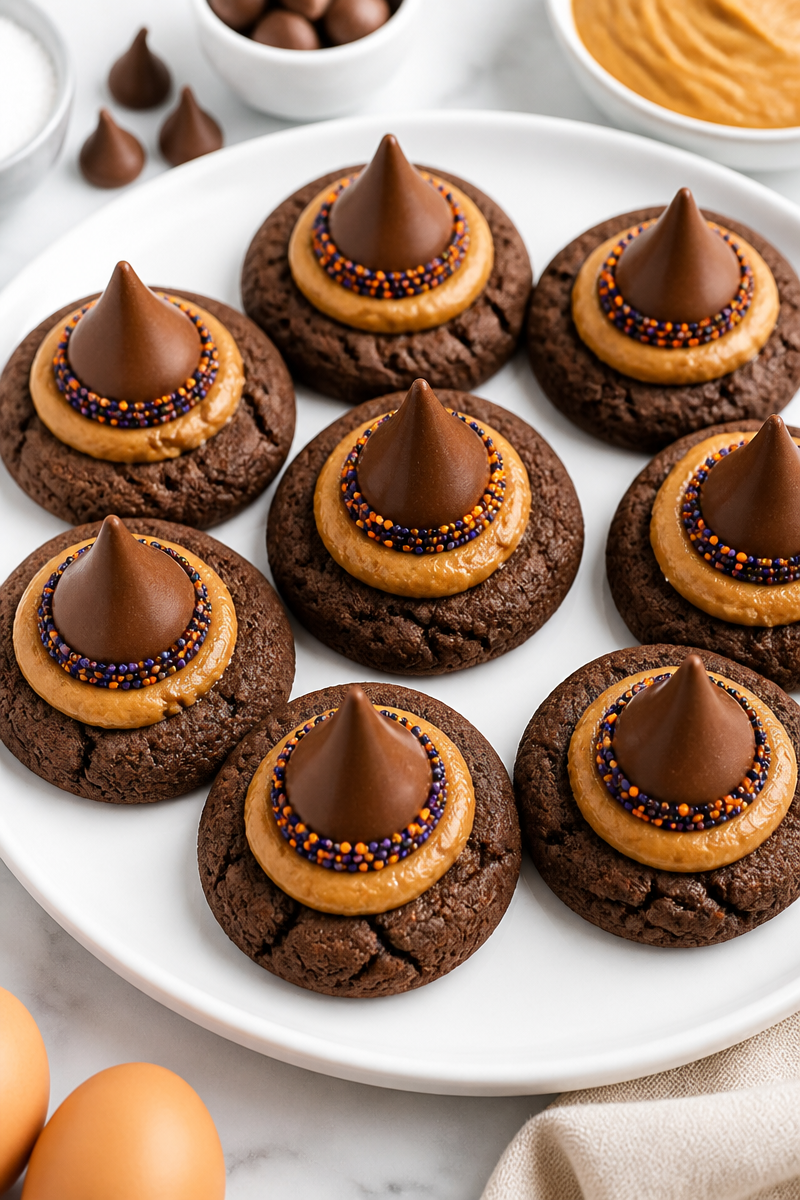
What to Serve With Chocolate Peanut Butter Witch Hat Cookies?
These delightful witch hat cookies pair wonderfully with a variety of snacks and beverages. Consider serving them with a warm cup of cocoa or coffee for a cozy afternoon treat. For a more festive touch, pair them with pumpkin spice lattes during the fall. You can also enjoy them alongside a platter of fresh fruit or vanilla ice cream for a delightful dessert experience.
Storage Instructions
Store: These cookies can be kept in an airtight container at room temperature for up to 5 days.
Freeze: If you have leftovers or want to prepare them in advance, you can freeze these cookies for up to 2 months.
Reheat: To enjoy them warm, place them on a microwave-safe plate and heat for about 10-15 seconds. Alternatively, reheat in a preheated oven at 350°F for 5-7 minutes.
Recipe Info
- Preparation Time: 15 minutes
- Cooking Time: 10 minutes
- Total Time: 25 minutes
- Level of Difficulty: Easy
- Servings: About 24 cookies
Estimated Nutrition
Estimated nutrition for the whole recipe (without optional ingredients):
- Calories: 2,200-2,500
- Protein: 56-64 grams
- Fat: 112-126 grams
- Carbohydrates: 272-304 grams
Ingredients
- 1 cup creamy peanut butter
- 1 cup granulated sugar
- 1 large egg
- 1 teaspoon vanilla extract
- 1 package chocolate candy kisses
- 1 package chocolate fudge cookies
- Sprinkles (optional)
Step-by-Step Instructions
Step 1: Preheat Oven and Prep Pan
Begin by preheating your oven to 350°F (175°C). While it heats up, line your baking sheet with parchment paper to prevent sticking.
Step 2: Mix Ingredients
In a large mixing bowl, combine 1 cup of creamy peanut butter, 1 cup of granulated sugar, 1 large egg, and 1 teaspoon of vanilla extract. Stir well until the mixture is smooth and fully blended.
Step 3: Shape the Dough
Use your hands to roll the dough into small balls, about 1 inch in size. Place these balls onto the prepared baking sheet, leaving enough space between them for spreading during baking.
Step 4: Bake Cookies
Transfer the baking sheet to your preheated oven and bake for about 10 minutes, or until the edges of the cookies are light golden brown. Keep a close watch to avoid overbaking.
Step 5: Add Chocolate Kisses
Upon removing the cookies from the oven, immediately press a chocolate kiss into the center of each cookie. Let them sit for a few minutes for the chocolate to soften but not melt completely.
Step 6: Cool and Transfer
Allow the cookies to cool on the baking sheet for a few minutes. Then, carefully use a spatula to transfer them to a wire rack to cool completely.
Step 7: Decorate (Optional)
If desired, add sprinkles around the base of each chocolate kiss to create a festive witch hat appearance before serving. Enjoy!
In conclusion, these Chocolate Peanut Butter Witch Hat Cookies are a delightful blend of flavors and fun. They come together quickly and have that nostalgic taste that brings smiles all around. Be sure to give this recipe a try, and don’t forget to share your feedback or explore more delightful treats right here on the blog. Happy baking!
Print
Chocolate Peanut Butter Witch Hat Cookies
- Prep Time: 15 minutes
- Cook Time: 10 minutes
- Total Time: 25 minutes
- Yield: 24 servings 1x
- Category: Dessert
- Method: Baking
- Cuisine: American
- Diet: Vegetarian
Description
Delightful cookies combining chocolate and peanut butter, perfect for Halloween festivities and family fun.
Ingredients
- 1 cup creamy peanut butter
- 1 cup granulated sugar
- 1 large egg
- 1 teaspoon vanilla extract
- 1 package chocolate candy kisses
- 1 package chocolate fudge cookies
- Sprinkles (optional)
Instructions
- Preheat your oven to 350°F (175°C) and line a baking sheet with parchment paper.
- Combine peanut butter, sugar, egg, and vanilla extract in a large mixing bowl and stir until smooth.
- Roll the dough into small balls, about 1 inch in size, and place on the prepared baking sheet.
- Bake for about 10 minutes, or until the edges are light golden brown.
- Press a chocolate kiss into the center of each cookie right after removing from the oven.
- Cool on the baking sheet for a few minutes, then transfer to a wire rack to cool completely.
- Add sprinkles around the base of each chocolate kiss if desired, then enjoy!
Notes
Store cookies in an airtight container at room temperature for up to 5 days or freeze for up to 2 months.
Nutrition
- Serving Size: 1 cookie
- Calories: 250
- Sugar: 18g
- Sodium: 150mg
- Fat: 12g
- Saturated Fat: 3.5g
- Unsaturated Fat: 8g
- Trans Fat: 0g
- Carbohydrates: 30g
- Fiber: 1g
- Protein: 4g
- Cholesterol: 30mg
