
This Classic Homemade Chicken Kiev Dinner is pure comfort on a plate. It feels special enough for Sunday supper, yet it is still homey enough for a weeknight when you want something warm, rich, and satisfying. The golden crust, the tender chicken, and that buttery herb center make every bite feel a little old-fashioned in the best way.
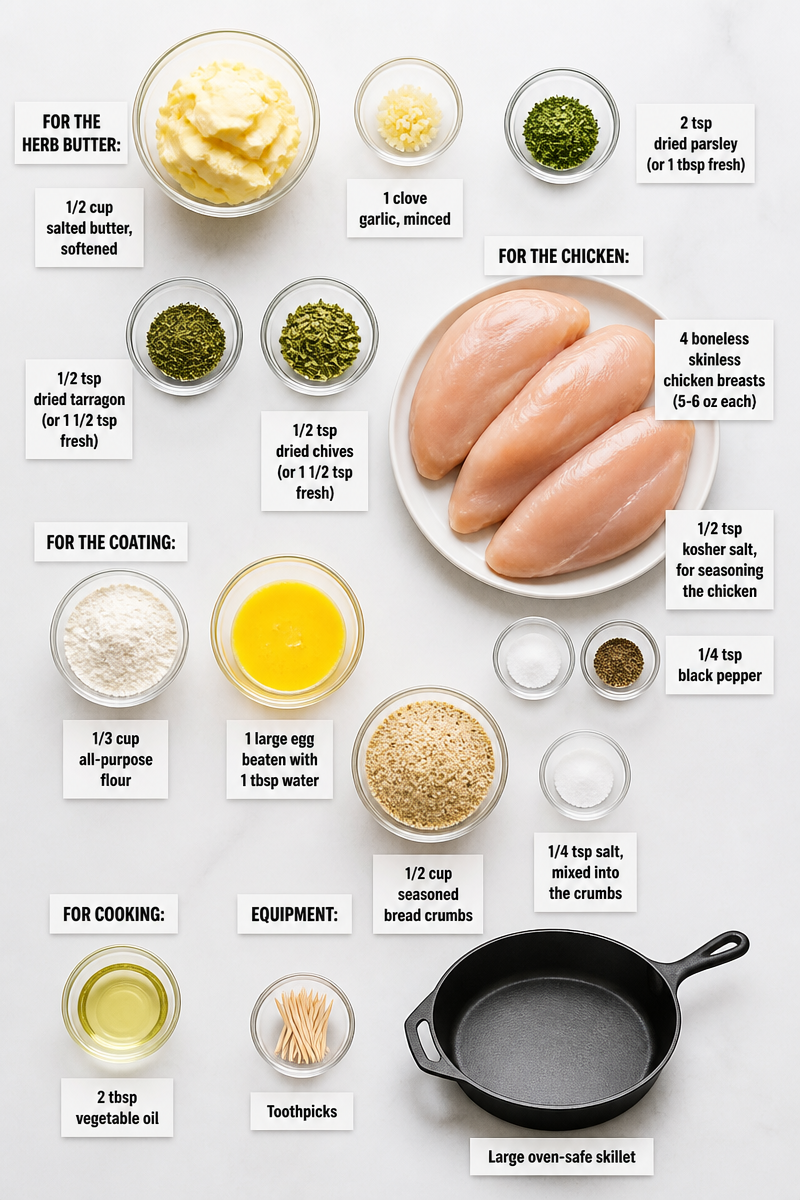
What makes this dish shine is the balance of simple ingredients. You start with 1/2 cup salted butter, softened, 1 clove garlic, minced, 2 tsp dried parsley, 1/2 tsp dried tarragon, and 1/2 tsp dried chives for the herb butter. Then you use 4 boneless skinless chicken breasts, 1/2 tsp kosher salt, and 1/4 tsp black pepper for the filling. After that, a classic coating of 1/3 cup all-purpose flour, 1 large egg beaten with 1 tbsp water, 1/2 cup seasoned bread crumbs, and 1/4 tsp salt gives the chicken its crisp shell. Finally, 2 tbsp vegetable oil, plus toothpicks and a large oven-safe skillet, help everything cook up beautifully. The flavor is buttery, garlicky, and herb-filled, with a crisp coating that keeps each piece neat and golden.
The method is easier than it sounds. First, you make a firm herb butter, then you cut pockets in the chicken, tuck in the butter, bread the chicken, chill it, sear it, and finish it in the oven. Because the chicken chills before cooking, the coating sticks better and the butter stays inside until baking time. As a result, you get that classic Chicken Kiev moment when the butter melts into the chicken instead of running out too soon.
This recipe is a smart choice for chilly nights, family dinners, or any meal where you want something a little more special without a lot of fuss. It also works well for guests, since it pairs nicely with simple sides and looks impressive on the plate. If you love cozy chicken dinners, this one belongs in your regular rotation.
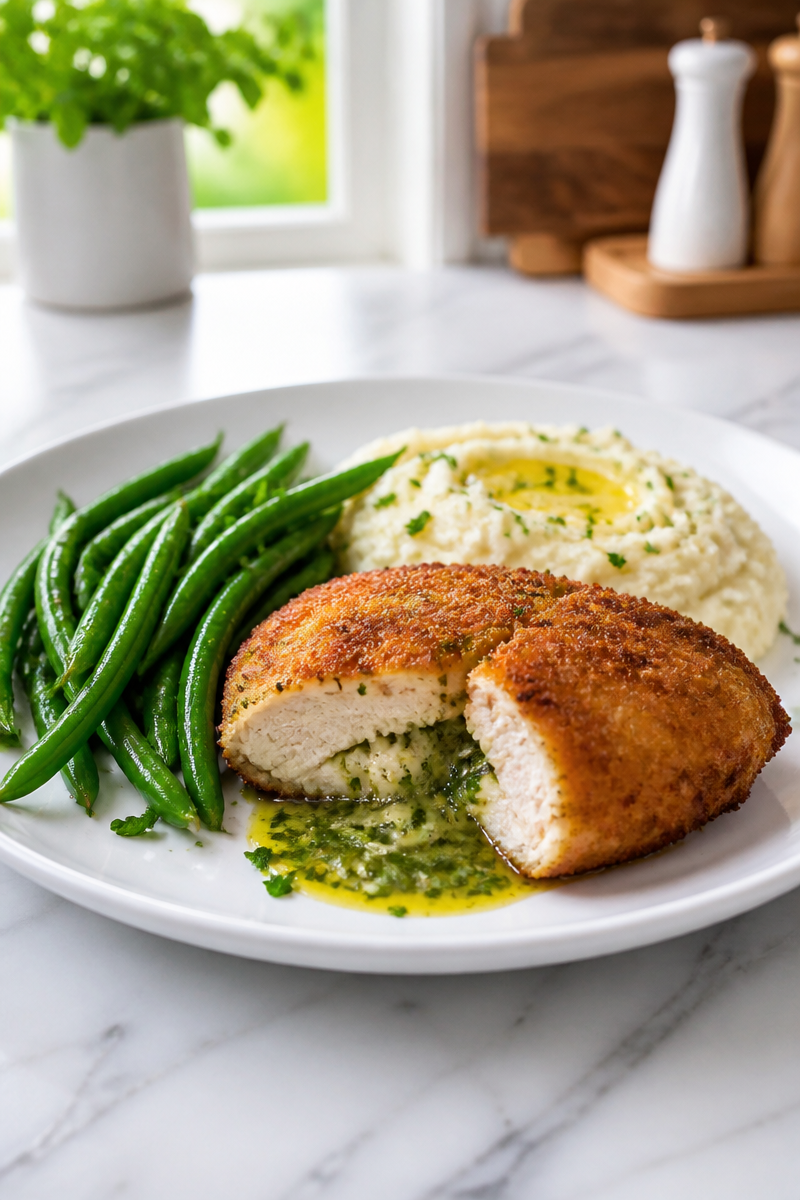
Why You’ll Love This Classic Homemade Chicken Kiev Dinner
- It has a rich, buttery flavor that feels comforting and special.
- The ingredients are easy to find, and most are already in the pantry or fridge.
- The recipe uses simple steps, so it is friendly for home cooks of many skill levels.
- It pairs well with classic sides, which makes menu planning easy.
- It can be made ahead, chilled, and even frozen for later.
Chicken Tips
For the best Chicken Kiev, start with boneless skinless chicken breasts that are about the same size, if you can. That helps them cook at the same rate. Also, choose chicken breasts that are plump but not too thick, because they are easier to pocket without cutting through the meat. If one end is much thicker, you can gently pound it to even it out. Then, when you cut the pocket, use a sharp knife and work slowly. This gives you a neat opening for the herb butter and lowers the chance of tearing the chicken.
Options for Substitutions
- Swap the dried parsley, tarragon, and chives for fresh herbs if you have them on hand. Fresh herbs give a brighter taste.
- Use unsalted butter instead of salted butter, then add a little extra salt to taste.
- Replace the seasoned bread crumbs with plain bread crumbs plus a pinch of garlic powder, onion powder, and dried parsley.
- Use panko crumbs for a lighter, extra crisp coating.
- If you need a dairy-free option, use a plant-based butter that stays firm when chilled.
- For a softer herb flavor, replace tarragon with a little extra parsley or chives.
Watch Out for These Mistakes
One of the biggest mistakes is using butter that is too soft or too warm. If the herb butter is not firm before stuffing, it can melt too soon and leak during breading. So, freeze or chill it until it holds its shape.
Another common issue is cutting the chicken pocket too deep. If you slice all the way through, the butter will escape while cooking. Instead, keep the pocket deep but closed on all sides except the opening.
Also, do not skip the chilling time after breading. This step matters. It helps the coating set, and it keeps the butter cold long enough to stay inside the chicken during the sear and bake.
Finally, watch the oven time closely. Chicken breasts can dry out if they go too far past 165°F. For that reason, use a thermometer if you have one. Then let the chicken rest a few minutes before serving, so the juices settle and the filling stays inside.
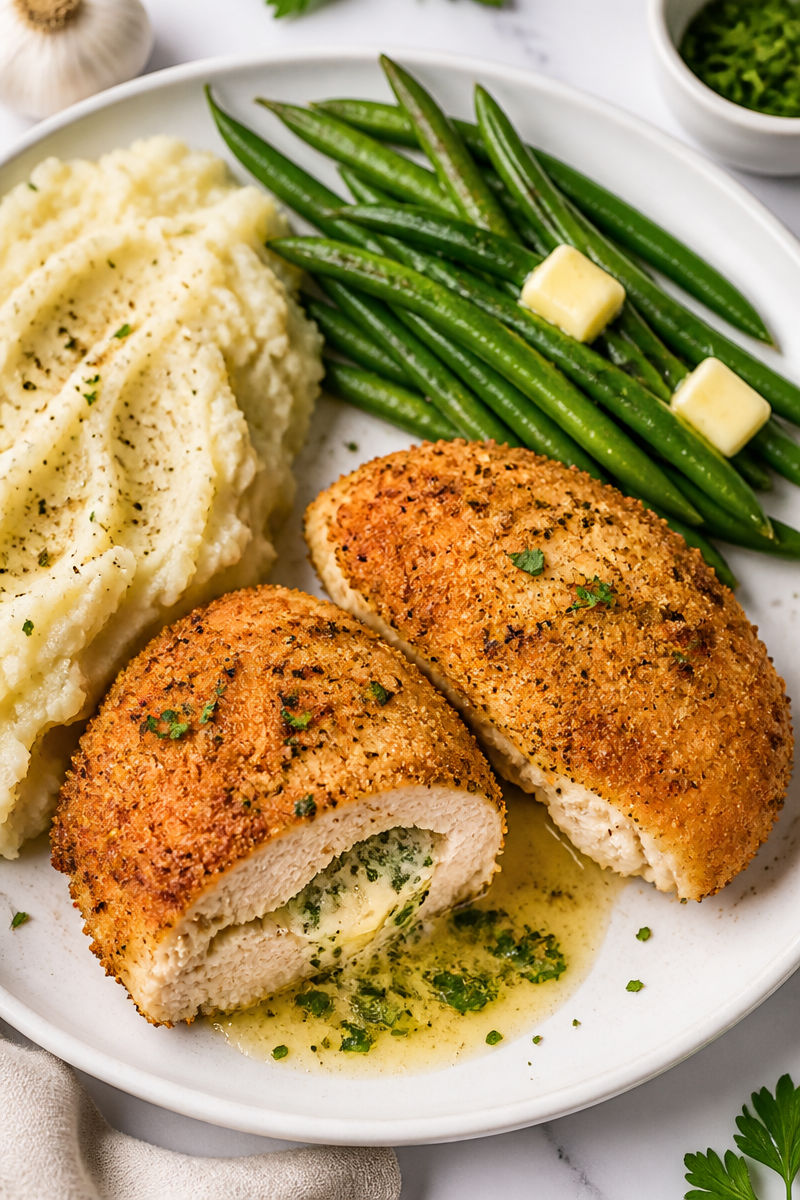
What to Serve With Classic Homemade Chicken Kiev Dinner?
This Chicken Kiev goes well with soft mashed potatoes, because the creamy potatoes soak up the buttery sauce from the chicken. It also pairs nicely with buttered green beans, roasted carrots, or a simple salad for something fresh and light. If you want a fuller dinner, add dinner rolls or a rice pilaf. That way, you get a comforting meal with a nice mix of textures and flavors.
Storage Instructions
Store: Keep leftovers in the refrigerator for up to 3 days. Place them in an airtight container, and let the chicken cool before storing.
Freeze: For best results, freeze the breaded, uncooked chicken. Do not brown it first. Wrap each piece well, then freeze for up to 2 months. Bake from frozen at 400°F for 35 to 40 minutes, or until the chicken reaches 165°F.
Reheat: For the stovetop, warm the chicken in a covered skillet over low heat until heated through. Add a small splash of water to the pan if needed, so the crust does not dry out too fast. For the microwave, use short bursts at medium power. However, the crust will soften, so the stovetop usually gives better results.
Recipe Info
Preparation Time: 20 minutes, plus 1 hour 20 minutes chilling
Cooking Time: 30 minutes
Total Time: 2 hours 10 minutes
Level of Difficulty: Medium
Servings: 4 servings
Estimated Nutrition
Estimated nutrition for the whole recipe (without optional ingredients):
- Calories: 1,950 to 2,150
- Protein: 120 to 140 grams
- Fat: 120 to 145 grams
- Carbohydrates: 50 to 70 grams
Ingredients
-
FOR THE HERB BUTTER:
- 1/2 cup salted butter, softened
- 1 clove garlic, minced
- 2 tsp dried parsley (or 1 tbsp fresh)
- 1/2 tsp dried tarragon (or 1 1/2 tsp fresh)
- 1/2 tsp dried chives (or 1 1/2 tsp fresh)
-
FOR THE CHICKEN:
- 4 boneless skinless chicken breasts (5-6 oz each)
- 1/2 tsp kosher salt, for seasoning the chicken
- 1/4 tsp black pepper
-
FOR THE COATING:
- 1/3 cup all-purpose flour
- 1 large egg beaten with 1 tbsp water
- 1/2 cup seasoned bread crumbs
- 1/4 tsp salt, mixed into the crumbs
-
FOR COOKING:
- 2 tbsp vegetable oil
-
EQUIPMENT:
- Toothpicks, large oven-safe skillet
Step-by-Step Instructions
Step 1: Make the Herb Butter
In a bowl, mix the softened butter with the garlic, parsley, tarragon, and chives. Then spoon it onto plastic wrap and shape it into a rectangle about 4 x 2 inches. Freeze for 20 minutes, or refrigerate for 1 hour, until firm.
Step 2: Heat the Oven and Set Up the Coating
Preheat the oven to 400°F. At the same time, set out three coating stations. Place the flour on one plate, the beaten egg and water in a shallow bowl, and the bread crumbs mixed with salt on another plate.
Step 3: Pocket, Stuff, and Secure the Chicken
Lay each chicken breast flat, then use a sharp knife to cut a deep horizontal pocket into the thick side without cutting all the way through. Next, cut the chilled butter into 4 pieces and tuck one piece into each pocket. Close the opening with toothpicks so the filling stays inside.
Step 4: Season and Bread the Chicken
Sprinkle the chicken with salt and pepper. Then dredge each breast in flour, dip it in the egg, and press it into the bread crumbs until evenly coated. Make sure the whole surface has a good layer, since this helps the crust turn golden in the oven.
Step 5: Chill, Sear, and Bake
Place the breaded chicken on a plate and refrigerate it for at least 1 hour, or up to 24 hours. This helps the coating set and keeps the butter firm. After that, heat the oil in a large oven-safe skillet over medium-high heat. Brown the chicken for 2 to 3 minutes per side, until golden. Then transfer the skillet to the oven and bake for 18 to 20 minutes, or until the thickest part reaches 165°F.
Step 6: Rest and Serve
Carefully remove the toothpicks, then let the chicken rest for 5 minutes before serving. This short rest helps keep the juices inside. Serve it with mashed potatoes or buttered green beans for a classic, comforting dinner.
Conclusion
This Classic Homemade Chicken Kiev Dinner gives you crisp breading, tender chicken, and a buttery herb center that feels both comforting and elegant. Because the steps are simple and the ingredients are familiar, it is a great recipe for home cooks who want a special meal without too much stress. Plus, the make-ahead chilling step makes dinner planning easier.
If you try this Chicken Kiev, I would love to hear how it turns out. Share your results, leave a note with your favorite side dish, or explore more cozy chicken dinners for your next family meal.
