
These Classic Homemade Rice Krispie Treats are pure comfort in square form. They bring back childhood memories, after-school snacks, and simple family moments around the kitchen table. Best of all, they are the kind of treat that makes people smile before they even take a bite.
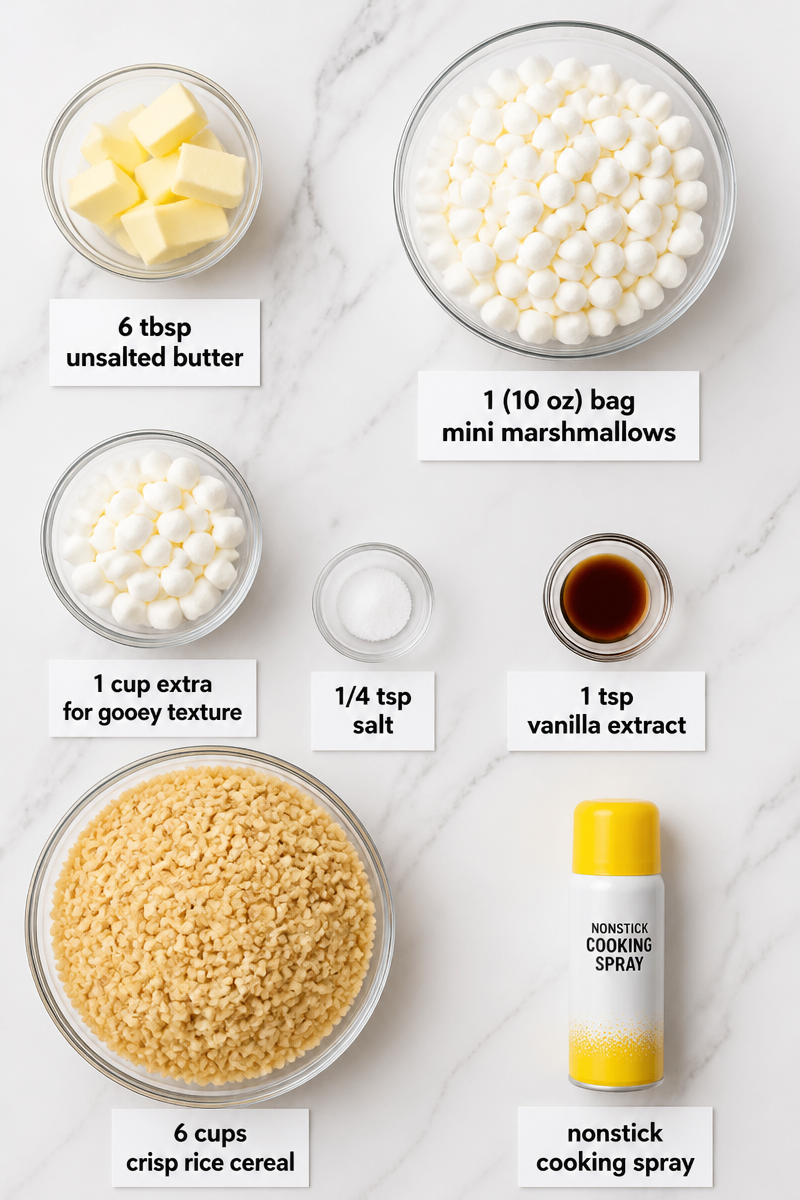
What makes this version special is the balance of ingredients. You get 6 tbsp unsalted butter for richness, a full 1 (10 oz) bag mini marshmallows plus 1 cup extra for gooey texture, a little 1/4 tsp salt to sharpen the flavor, 1 tsp vanilla extract for warmth, 6 cups crisp rice cereal for crunch, and nonstick cooking spray to keep everything easy to handle. As a result, the treats taste sweet, buttery, and lightly salty, with soft marshmallow pockets in every bite.
The method is wonderfully simple, too. In just 10 minutes of prep and 5 minutes of cooking, you can have the mixture ready. Then, after cooling, you will end up with 16 squares of soft, chewy goodness. First, you line a 9×13-inch pan with parchment paper and spray it lightly. Next, you melt the butter, stir in the marshmallows and salt, add the vanilla and extra marshmallows, and fold in the cereal. Finally, you press it gently into the pan, let it cool, and cut it into neat squares.
These treats are perfect for nearly any moment. For example, they work well for school lunches, bake sales, potlucks, holiday trays, and late-night snacks. They are also a lovely choice for chilly nights when you want something sweet without turning on the oven for long.
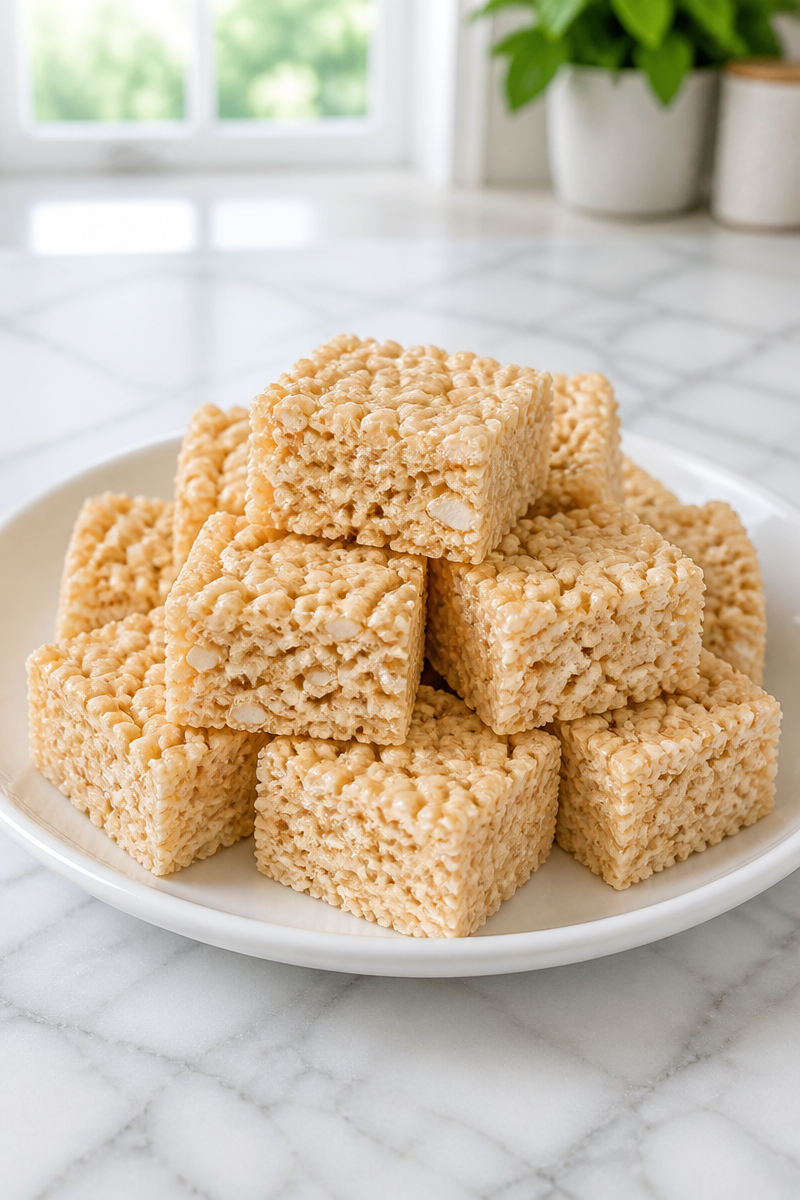
Why You’ll Love This Classic Homemade Rice Krispie Treats
- Quick and easy: You can make these in a short time, so they are great for busy days.
- Simple ingredients: You only need a few pantry staples, which keeps shopping easy.
- Soft and gooey texture: The extra marshmallows make each bite extra chewy and fun.
- Family-friendly: Kids, adults, and seniors all tend to enjoy this classic treat.
- Great for sharing: Since the recipe makes 16 squares, it is easy to pack, gift, or serve at gatherings.
Marshmallow Tips
Marshmallows are the heart of this recipe, so it helps to use fresh ones. Soft, fresh mini marshmallows melt more smoothly and give you that classic stretchy texture. Also, mini marshmallows are easier to measure and melt faster than large ones. If your bag feels a little firm or stale, the treats may turn out drier, so choose a bag that feels soft and springy.
Options for Substitutions
- Use salted butter instead of unsalted butter, but reduce or skip the added salt.
- Swap vanilla extract with almond extract for a slightly nutty flavor.
- Use large marshmallows if that is what you have, although they may melt a bit more slowly.
- Replace part of the cereal with chocolate crisp cereal for a deeper flavor.
- Use gluten-free crisp rice cereal if you need a gluten-free version.
- Lightly grease the pan with butter or coconut oil if you do not have nonstick cooking spray.
Watch Out for These Mistakes
One common mistake is overheating the butter and marshmallows. If the heat is too high, the mixture can become stiff later. So, keep the flame low and stir often. That way, the marshmallow base stays smooth and soft.
Another issue is pressing the mixture too firmly into the pan. It may seem helpful to pack it down tightly, but that makes the treats dense and hard. Instead, press gently with a greased spatula or wax paper. As a result, your Classic Homemade Rice Krispie Treats will stay light and chewy.
Also, do not wait too long before adding the cereal or transferring the mixture to the pan. Marshmallows set quickly, so work fast once everything is combined. If the mixture cools too much in the pot, it becomes hard to spread evenly.
Finally, be careful with storage. These treats stay best at room temperature in an airtight container for up to 3 days. If they sit uncovered, they can dry out and lose that soft, gooey texture that makes Classic Homemade Rice Krispie Treats so popular.
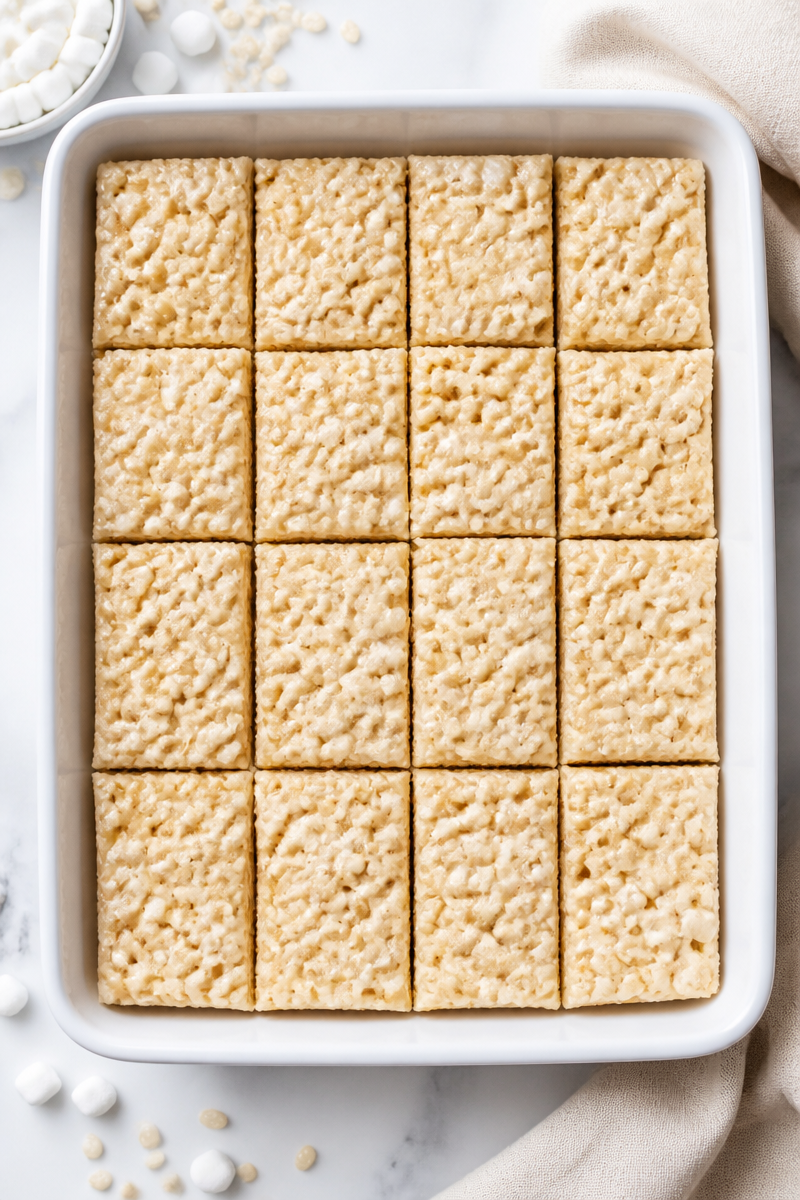
What to Serve With Classic Homemade Rice Krispie Treats?
These Classic Homemade Rice Krispie Treats pair nicely with a cold glass of milk, a warm mug of tea, or a simple cup of coffee. In addition, they fit well on a dessert tray with fresh berries, vanilla pudding, or fruit salad. For parties, you can serve them alongside brownies or cookies so guests have a little variety. That way, the treats feel right at home at birthdays, potlucks, and family get-togethers.
Storage Instructions
Store: Keep the treats in an airtight container at room temperature for up to 3 days. If you want to refrigerate them, they will keep for about 5 days, but the texture may become firmer.
Freeze: Wrap each square tightly and freeze for up to 2 months. For best results, place parchment between layers so they do not stick together.
Reheat: For a softer treat, warm a square in the microwave for 5 to 10 seconds. If you want to warm several at once, place them in a low oven or on a stovetop-safe pan over very low heat for a short time, just until softened. However, avoid overheating, or the marshmallows can turn tough.
Recipe Info
Preparation Time: 10 minutes
Cooking Time: 5 minutes
Total Time: 45 minutes, including cooling
Level of Difficulty: Easy
Servings: 16 squares
Estimated Nutrition
Estimated nutrition for the whole recipe (without optional ingredients):
Calories: 1,300 to 1,500
Protein: 12 to 16 g
Fat: 35 to 45 g
Carbohydrates: 240 to 280 g
Ingredients
- 6 tbsp unsalted butter
- 1 (10 oz) bag mini marshmallows, plus 1 cup extra for gooey texture
- 1/4 tsp salt
- 1 tsp vanilla extract
- 6 cups crisp rice cereal
- nonstick cooking spray
Step-by-Step Instructions
Step 1: Prepare the Pan
Line a 9×13-inch pan with parchment paper, and then lightly coat it with nonstick cooking spray. This step makes lifting and cutting the treats much easier later. Also, it helps keep the bars from sticking to the pan.
Step 2: Melt the Butter
Place a large pot over low heat, and melt the butter slowly, which should take about 2 minutes. Keep the heat gentle, because butter can brown fast if the pan gets too hot. Once it is melted, you are ready for the marshmallows.
Step 3: Melt the Marshmallows
Add the bag of mini marshmallows and the salt to the melted butter. Stir constantly until everything is smooth and fully melted, which usually takes about 3 to 4 minutes. Then remove the pot from the heat, stir in the vanilla, and add the extra cup of marshmallows so you get little gooey pockets in the finished treats.
Step 4: Mix in the Cereal
Add the crisp rice cereal to the marshmallow mixture, and fold it gently with a greased spatula. Keep mixing until every piece is coated. At this point, work quickly so the mixture does not start to set in the pot.
Step 5: Press and Cool
Transfer the mixture right away to the prepared pan. Using a greased spatula or a piece of wax paper, press it evenly into the pan, but do not pack it down too hard. Then let it cool at room temperature for 20 to 30 minutes, until set but still soft. After that, cut into 16 squares with a greased knife.
Conclusion
These Classic Homemade Rice Krispie Treats are simple, nostalgic, and always welcome. With butter, marshmallows, crisp rice cereal, and a touch of vanilla, you get a sweet treat that is soft, chewy, and easy to love. Since the recipe is quick and beginner-friendly, it is a great one to keep in your back pocket for busy days, special events, or last-minute cravings.
If you try this recipe, I would love to hear how it turned out. Share your thoughts, save it for later, or explore more easy homemade desserts for your next sweet craving.
