
The first time I made this fudge, I understood why it disappears so fast at holiday gatherings. It is pure comfort in a small square, and it feels right at home on a Christmas tray, a cookie swap table, or a quiet evening by the tree.
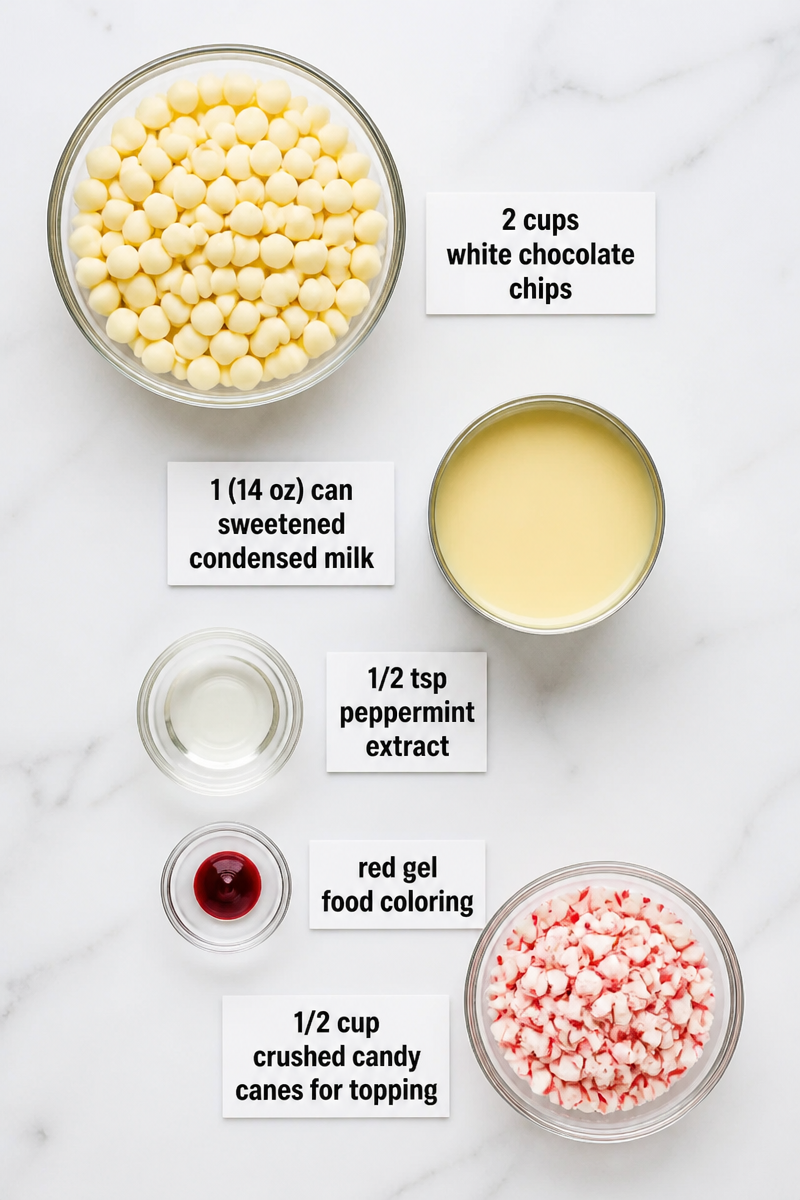
This Easy 3-Ingredient Christmas Peppermint Fudge brings together 2 cups white chocolate chips, 1 (14 oz) can sweetened condensed milk, 1/2 tsp peppermint extract, red gel food coloring, and 1/2 cup crushed candy canes for topping. As a result, you get a sweet, creamy fudge with a cool peppermint taste, a pretty red-and-white swirl, and a crisp candy cane finish on top.
Best of all, the method is simple. First, line an 8×8-inch baking pan with parchment paper. Then melt the white chocolate chips and sweetened condensed milk in the microwave, stir in the peppermint extract, and divide the mixture so you can tint part of it red. After that, swirl the two colors together, top with crushed candy canes, and chill for 2 hours. In just 10 minutes of prep, you are well on your way to 25 squares of festive fudge that store well in the fridge for up to 2 weeks.
This is the kind of treat that fits almost anywhere in the season. For example, it is perfect for chilly nights, holiday parties, last-minute gifts, and potlucks where you need something pretty without spending all day in the kitchen.
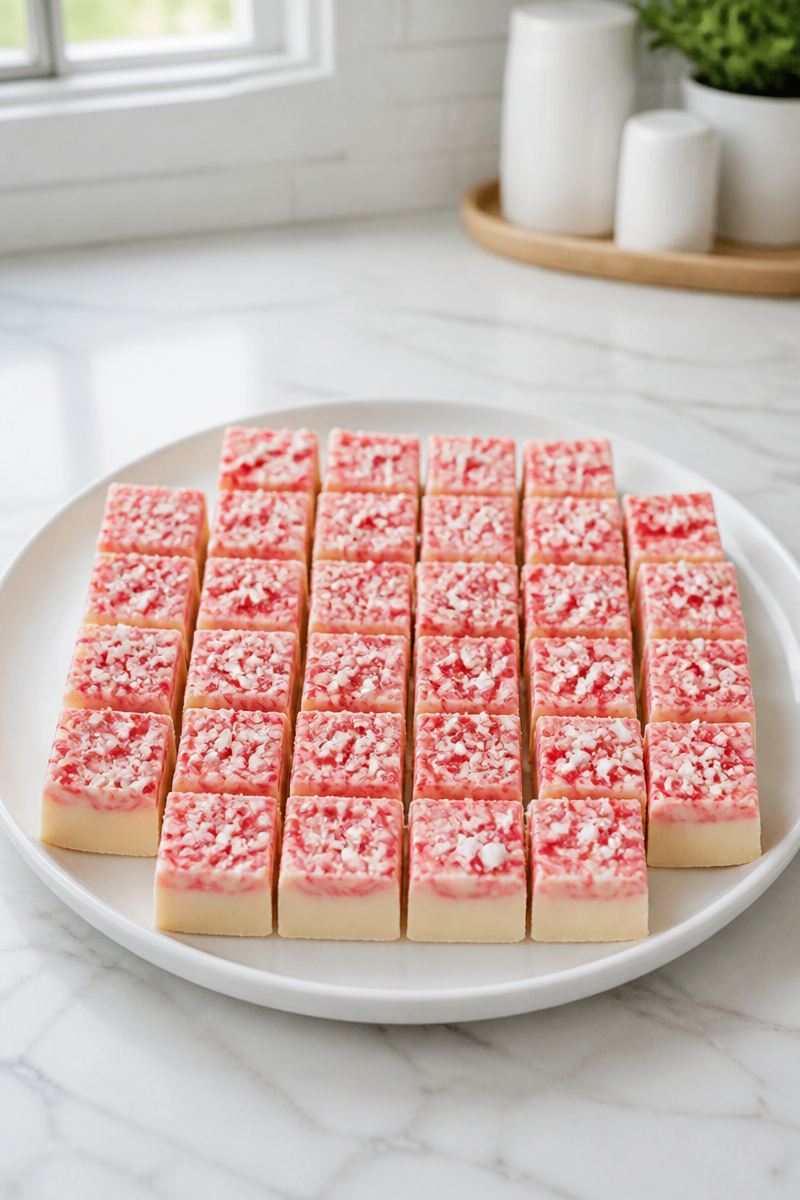
Why You’ll Love This Easy 3-Ingredient Christmas Peppermint Fudge
- It is fast and easy, so you can make it even on a busy holiday afternoon.
- It uses simple ingredients that many home cooks already know and trust.
- The flavor is sweet, creamy, and minty, which feels just right for Christmas.
- It looks festive, thanks to the red swirl and candy cane topping.
- It is a great make-ahead dessert, so you can prepare it before guests arrive.
White Chocolate Chips Tips
White chocolate chips are the base of this fudge, so choosing a good brand matters. Look for chips that melt smoothly and list cocoa butter or a good-quality fat source near the top of the ingredient list. In addition, try to use regular white chocolate chips, not white baking morsels that may be made to hold their shape, because smoother melting gives you a creamier fudge. If the chips seem very firm, microwave them gently and stir often so they do not scorch. Since white chocolate can seize if overheated, slow melting is the safest path.
Options for Substitutions
- Use white chocolate baking bars, chopped into small pieces, instead of white chocolate chips.
- Swap peppermint extract for vanilla extract if you want a softer, less minty flavor.
- Use crushed peppermint candies instead of candy canes if that is what you have on hand.
- Replace red gel food coloring with a tiny amount of pink gel coloring for a softer holiday look.
- Add a few tablespoons of mini marshmallows on top for extra texture.
- For a different finish, use holiday sprinkles instead of crushed candy canes.
Watch Out for These Mistakes
First, do not overheat the white chocolate mixture. White chocolate melts quickly, and if you microwave it too long, it can turn grainy or thick. Instead, use short 30-second intervals and stir after each round until the mixture is smooth.
Also, be gentle with the peppermint extract. A little goes a long way, so too much can make the fudge taste sharp or almost medicinal. Therefore, measure carefully and stir it in only after the chocolate mixture is fully melted.
Another common mistake is adding the red food coloring too soon or using too much liquid color. Gel food coloring works best because it blends in without thinning the fudge. Moreover, just a few drops are enough to create a pretty swirl without changing the texture.
Finally, do not rush the chilling time. The fudge needs the full 2 hours in the refrigerator to firm up properly. If you cut it too early, it may be soft and sticky, so let it set all the way before lifting it from the pan.
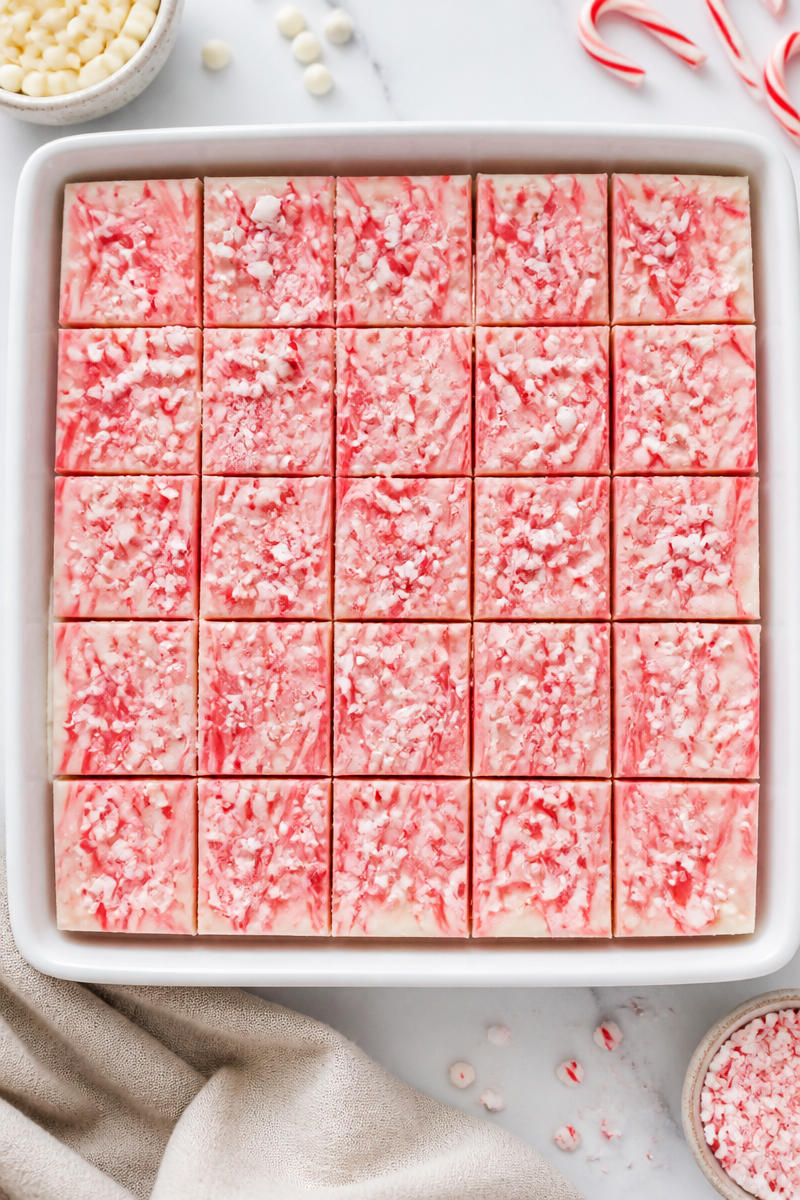
What to Serve With Easy 3-Ingredient Christmas Peppermint Fudge?
This peppermint fudge pairs well with other holiday treats that balance its sweet, cool flavor. For instance, serve it with hot cocoa, coffee, or black tea for a cozy after-dinner dessert. It also tastes lovely alongside sugar cookies, shortbread, or a fruit platter, since the fresh fruit helps cut through the richness. In addition, a cheese tray with mild cheeses and crackers can work surprisingly well at a holiday open house, because the fudge adds a sweet finish to a savory spread.
Storage Instructions
Store: Keep the fudge in an airtight container in the refrigerator for up to 2 weeks. Place parchment paper between layers if you stack the squares, so they do not stick together.
Freeze: Freeze the cut squares for up to 2 months. Wrap them well or place them in a freezer-safe container, and separate layers with parchment paper.
Reheat: Fudge is usually served cold or at room temperature, so reheating is not required. If you want a softer bite, let a square sit at room temperature for 10 to 15 minutes. For a very gentle warm-up, use the microwave for just 5 to 8 seconds. If you prefer to soften it on the stovetop, set a sealed container in a bowl of warm water for a few minutes, but do not melt the fudge.
Recipe Info
Preparation Time: 10 minutes
Cooking Time: 0 minutes
Total Time: 2 hours 10 minutes
Level of Difficulty: Easy
Servings: 25 squares
Estimated Nutrition
Estimated nutrition for the whole recipe (without optional ingredients): Calories: 2,200 to 2,700, Protein: 25 to 35 grams, Fat: 120 to 150 grams, Carbohydrates: 260 to 320 grams
Ingredients
- 2 cups white chocolate chips
- 1 (14 oz) can sweetened condensed milk
- 1/2 tsp peppermint extract
- red gel food coloring
- 1/2 cup crushed candy canes for topping
Step-by-Step Instructions
Step 1: Prepare the Pan
First, line an 8×8-inch baking pan with parchment paper, and leave some overhang on the sides. This makes it much easier to lift the fudge out later, and it helps keep the squares neat.
Step 2: Melt the Base
Next, place the white chocolate chips and sweetened condensed milk in a microwave-safe bowl. Microwave in 30-second intervals, stirring after each one, until the mixture is fully melted and smooth, which takes about 2 minutes total. Stir well so the chocolate blends evenly and does not overheat.
Step 3: Add Peppermint Flavor and Separate the Mixture
Then stir in the peppermint extract. After that, pour about 2/3 of the mixture into the prepared pan and spread it into an even layer. Take the remaining 1/3 and tint it with a few drops of red gel food coloring, stirring until the color looks even and bright.
Step 4: Create the Swirl
Now drop spoonfuls of the red mixture over the white layer in the pan. Use a knife or toothpick to swirl it gently, and do not overmix. The goal is a soft marbled look, so a few easy swipes are enough.
Step 5: Add the Topping and Chill
Sprinkle the crushed candy canes evenly over the top, then press them in lightly so they stick. After that, refrigerate the fudge for 2 hours until it is firm. Once set, lift it out with the parchment overhang and cut it into 25 squares. For best results, store the fudge in an airtight container in the refrigerator.
This fudge is simple, cheerful, and easy to share. It brings together creamy white chocolate, cool peppermint, and a festive candy cane finish in one pretty pan. So, if you need a quick holiday sweet that feels special without much effort, give this Easy 3-Ingredient Christmas Peppermint Fudge a try. If you make it, share your thoughts, and then come back for more easy holiday dessert ideas.
