
This easy homemade sourdough bread loaf is pure comfort in a pan. It has that old-fashioned, bakery-style feel, yet it fits nicely into a home kitchen routine. I love how the crust turns deep golden and the inside stays soft, hearty, and sliceable. Best of all, it feels special without asking for fancy skills.
What makes this sourdough bread loaf so appealing is the simple mix of unbleached bread flour, whole wheat flour or medium rye flour, table salt, sourdough starter, and lukewarm water. The bread flour gives the loaf strength, while the whole wheat or rye adds a warm, nutty flavor. Then, the starter brings that gentle tang sourdough lovers enjoy, and the water ties everything together into a shaggy dough. Since you only need a little cooking spray or butter and a 9 x 4 x 4-inch loaf pan, this is a very practical bread recipe for everyday baking.
The method is wonderfully simple, too. You mix the dough, let it rest overnight, and then let it rise again in the pan. There is no kneading, so the work is easy on your hands. After that, you bake until the loaf is deeply browned and the center reaches about 204°F. Because the dough does most of the work while you sleep, this homemade sourdough bread loaf feels manageable even for busy days.
This recipe is ideal for lazy weekends, cozy winters, family breakfasts, and potlucks. It is also a smart choice when you want a loaf that slices well for toast, sandwiches, or soup on the side. Since it keeps well and freezes nicely, it can help you stay ready for quick meals all week long.
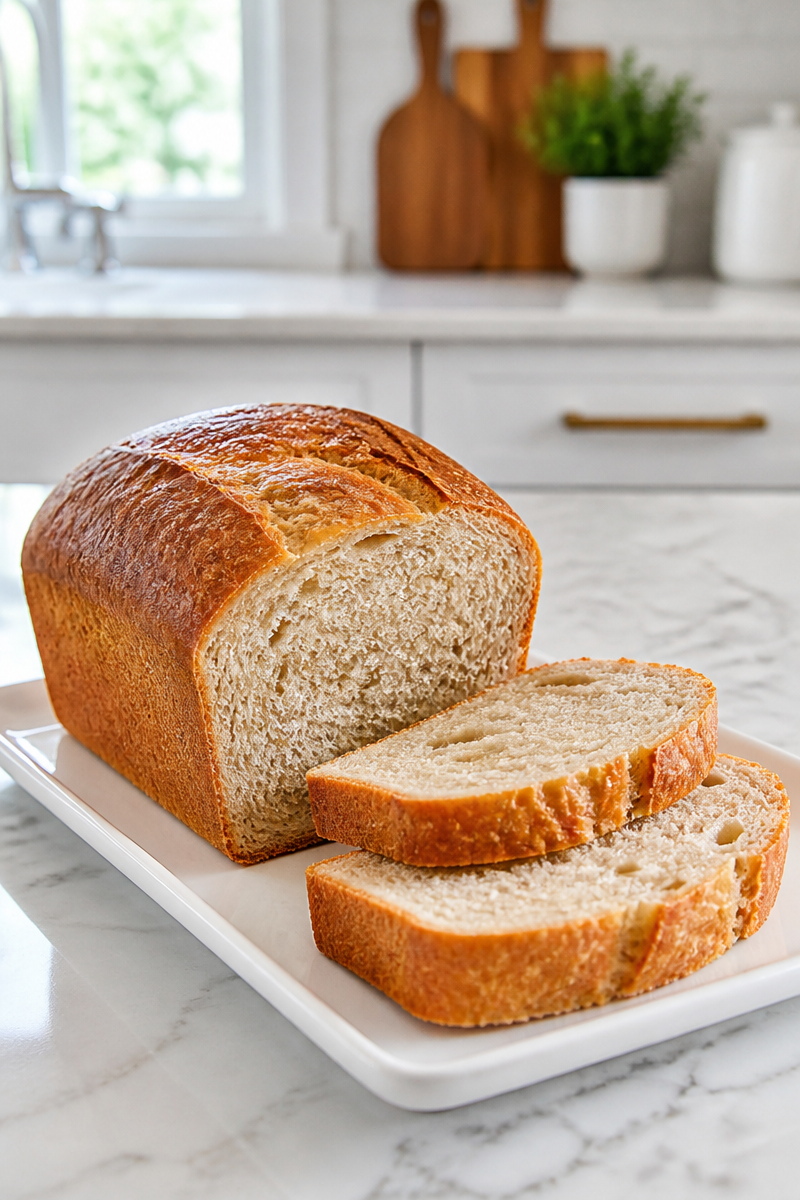
Why You’ll Love This Easy Homemade Sourdough Bread Loaf
- It uses simple pantry ingredients, so you do not need a long shopping list.
- It is mostly hands-off, thanks to the overnight rest and no-knead method.
- It has a balanced flavor, with mild sourdough tang and a nutty grain note.
- It bakes into a sturdy loaf, so it works well for toast, sandwiches, and dipping.
- It is beginner-friendly, which makes it a good sourdough recipe for home cooks who want reliable results.
Sourdough Starter Tips
The most important part of this loaf is the sourdough starter. You can use it fed or unfed, which makes this recipe flexible. If your starter is active and bubbly, your loaf may rise a little faster and taste slightly milder. However, if your starter is unfed, it can still work well because this recipe gives the dough plenty of time to ferment overnight. For the best results, use a starter that smells pleasantly tangy, not sharply sour or unpleasant. Also, if your starter is very thin, measure carefully so the dough does not become too wet. A healthy starter helps give this sourdough bread loaf lift, flavor, and a good open crumb.
Options for Substitutions
- Swap whole wheat flour for medium rye flour if you want a deeper, earthier flavor.
- Use all bread flour instead of part whole wheat flour if you prefer a lighter loaf with less graininess.
- Replace table salt with fine sea salt, but weigh or measure carefully since salt brands can vary in strength.
- If your kitchen is very humid, reduce the water slightly, using 1 3/4 cups instead of the full amount.
- Use butter instead of cooking spray to grease the loaf pan for a richer flavor on the crust edges.
- If your starter is thick, you may need a small splash more water, but add it slowly so the dough stays shaggy, not soupy.
Watch Out for These Mistakes
First, do not add too much water too quickly. This sourdough bread loaf should look shaggy, but it should not feel like batter. Because flour brands and weather can change how much water the dough needs, start with the listed amount and adjust only if needed. If the dough is overly wet, the loaf may spread instead of rising nicely in the pan.
Next, give the overnight rest enough time. The dough should puff up and show bubbles on the surface. If you rush this step, the flavor will be weaker and the crumb may be tight. On the other hand, if the dough sits too long in a very warm room, it can over-ferment and lose strength. So, try to keep the room near 70°F when possible.
Also, do not shape the dough like a free-form boule. This loaf is meant to go straight into the pan after a gentle scrape with a wet spatula. If you knead or over-handle it, you may knock out the air that helps build a soft crumb. Therefore, keep the movement light and simple.
Finally, do not slice the bread too soon. Even though it will smell amazing, the crumb still needs time to set after baking. If you cut it right away, the inside can seem gummy or compressed. Let the loaf cool for at least 1 hour, and you will get cleaner slices and better texture.
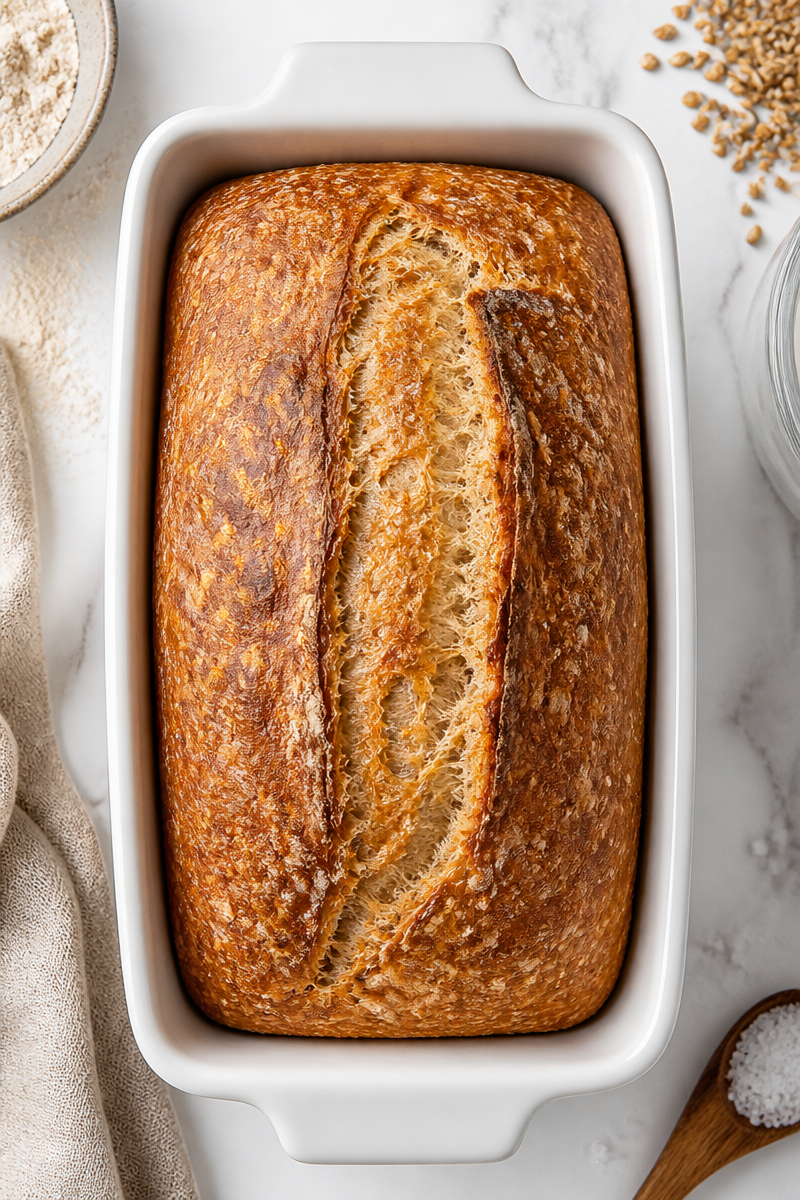
What to Serve With Easy Homemade Sourdough Bread Loaf?
This sourdough bread loaf pairs nicely with creamy tomato soup, hearty vegetable soup, scrambled eggs, or a simple bowl of chili. It also tastes wonderful with butter and jam at breakfast, or with tuna salad and roasted chicken for lunch. Since the flavor is gently tangy and the texture is sturdy, it works well with both rich dishes and lighter meals.
Storage Instructions
Store: Keep the loaf sliced-side-down on a board or in a bread bag at room temperature for up to 3 days. For the best texture, avoid sealing it in plastic while it is still warm, because trapped moisture can soften the crust. If you want to keep the loaf fresher a bit longer, you can refrigerate it for up to 5 days, although the fridge may dry it out some.
Freeze: Slice the bread and freeze it for up to 3 months. Freezing slices makes it easy to pull out just what you need, which is helpful for quick breakfasts or last-minute toast.
Reheat: For the stovetop, warm slices in a dry skillet over medium-low heat for 1 to 2 minutes per side. For the microwave, wrap a slice in a slightly damp paper towel and heat it in short bursts of about 10 to 15 seconds. For the best taste, toast frozen slices straight from the freezer.
Recipe Info
Preparation Time: 10 minutes, plus 14 hours overnight rest and 4 hours final rise
Cooking Time: 50 minutes
Total Time: 19 hours
Level of Difficulty: Easy
Servings: 12 servings
Estimated Nutrition
Estimated nutrition for the whole recipe (without optional ingredients):
Calories: about 2,200 to 2,400 total
Protein: about 70 to 80 g total
Fat: about 8 to 12 g total
Carbohydrates: about 440 to 480 g total
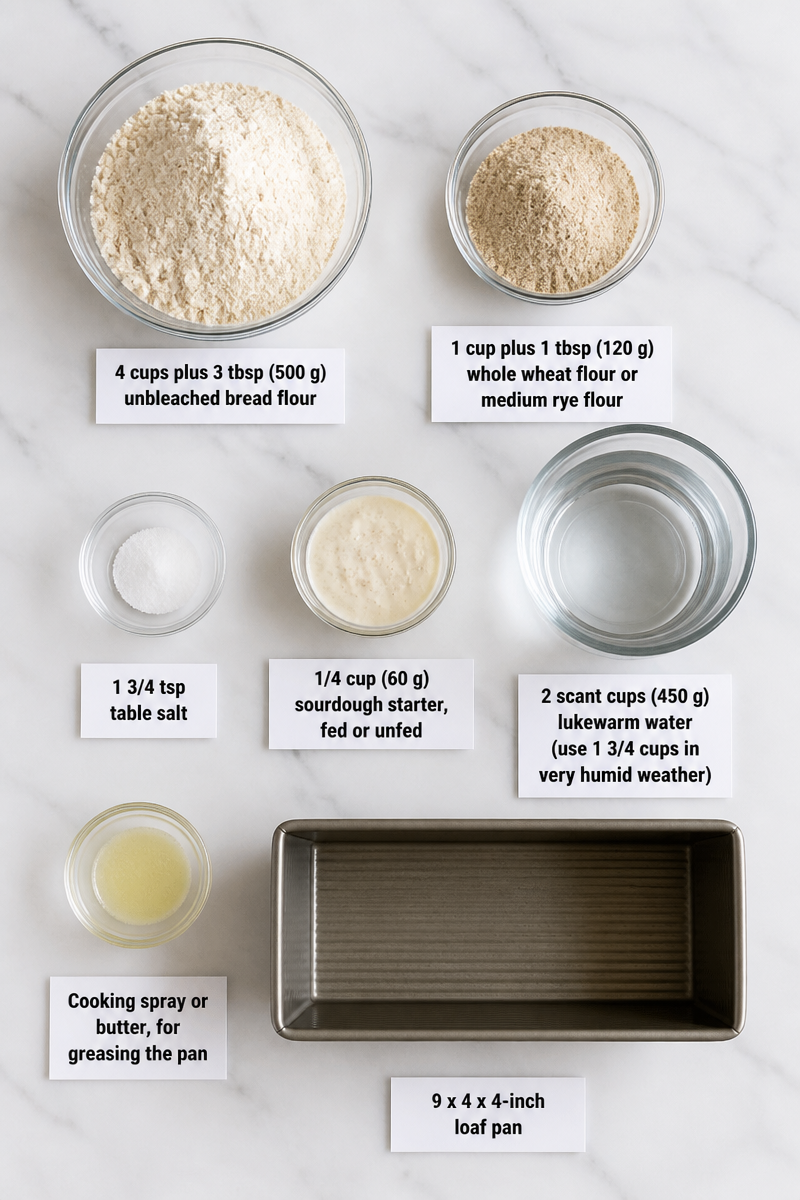
Ingredients
- 4 cups plus 3 tbsp (500 g) unbleached bread flour
- 1 cup plus 1 tbsp (120 g) whole wheat flour or medium rye flour
- 1 3/4 tsp table salt
- 1/4 cup (60 g) sourdough starter, fed or unfed
- 2 scant cups (450 g) lukewarm water (use 1 3/4 cups in very humid weather)
- Cooking spray or butter, for greasing the pan
- 9 x 4 x 4-inch loaf pan
Step-by-Step Instructions
Step 1: Mix the Dough
In a large bowl, whisk together the bread flour, whole wheat or rye flour, and salt. Then add the sourdough starter and lukewarm water. Stir with a spatula or dough whisk until no dry flour remains and the dough looks shaggy. There is no kneading, so just mix until everything comes together.
Step 2: Let It Rest Overnight
Cover the bowl and let the dough rest at room temperature, ideally around 70°F, for 12 to 16 hours. We plan on 14 hours. During this time, the dough should puff up noticeably, nearly double, and show bubbles on the surface. This long rest is what builds flavor and strength.
Step 3: Prepare the Loaf Pan
Grease a 9 x 4 x 4-inch loaf pan with cooking spray or butter. This helps the bread release cleanly after baking and keeps the crust from sticking to the sides.
Step 4: Transfer the Dough to the Pan
Use a wet spatula to scrape the dough into the greased pan. Do not knead or shape it. Instead, gently level the top with wet fingers. Since the dough is soft, a light touch works best.
Step 5: Let the Dough Rise Again
Cover the pan and let the dough rise for 3 to 5 hours. We plan on 4 hours. When ready, the dough should crest about 1 inch below the rim of the pan. If your kitchen is cool, it may take longer, so watch the dough rather than the clock alone.
Step 6: Bake Until Deeply Golden
About 20 minutes before baking, preheat the oven to 425°F with a rack in the center. Bake the loaf for 45 to 55 minutes. We plan on 50 minutes. The crust should be deep golden brown, and a thermometer inserted in the center should read about 204°F.
Step 7: Cool Before Slicing
Remove the loaf from the pan right away and place it on a wire rack. Let it cool for at least 1 hour before slicing. This gives the crumb time to set, so the bread slices neatly instead of squishing.
Step 8: Store the Bread Properly
Keep the loaf sliced-side-down on a board or in a bread bag at room temperature for up to 3 days. If you want longer storage, slice and freeze the bread for up to 3 months. For the easiest serving, toast slices straight from the freezer.
Conclusion
This easy homemade sourdough bread loaf brings together simple ingredients, low effort, and great flavor. Because it uses a no-knead method, a long overnight rest, and an easy pan bake, it is a friendly recipe for both new and experienced home cooks. The result is a soft, tangy loaf with a golden crust and a reliable slice, which makes it perfect for breakfast, sandwiches, or supper.
If you try this sourdough bread loaf, I would love to hear how it turned out. Share your results, leave a comment with your favorite variation, or explore more cozy bread recipes for your next bake.
