
There is something extra joyful about a cake that makes people smile before the first bite. This Fun Dinosaur Birthday Chocolate Cake is pure family fun, and honestly, it is one of those desserts that feels made for happy noise in the kitchen. It is playful, rich, and easy to love, which makes it a perfect choice for birthdays, school parties, or any day when a child wants a little adventure on the dessert table.
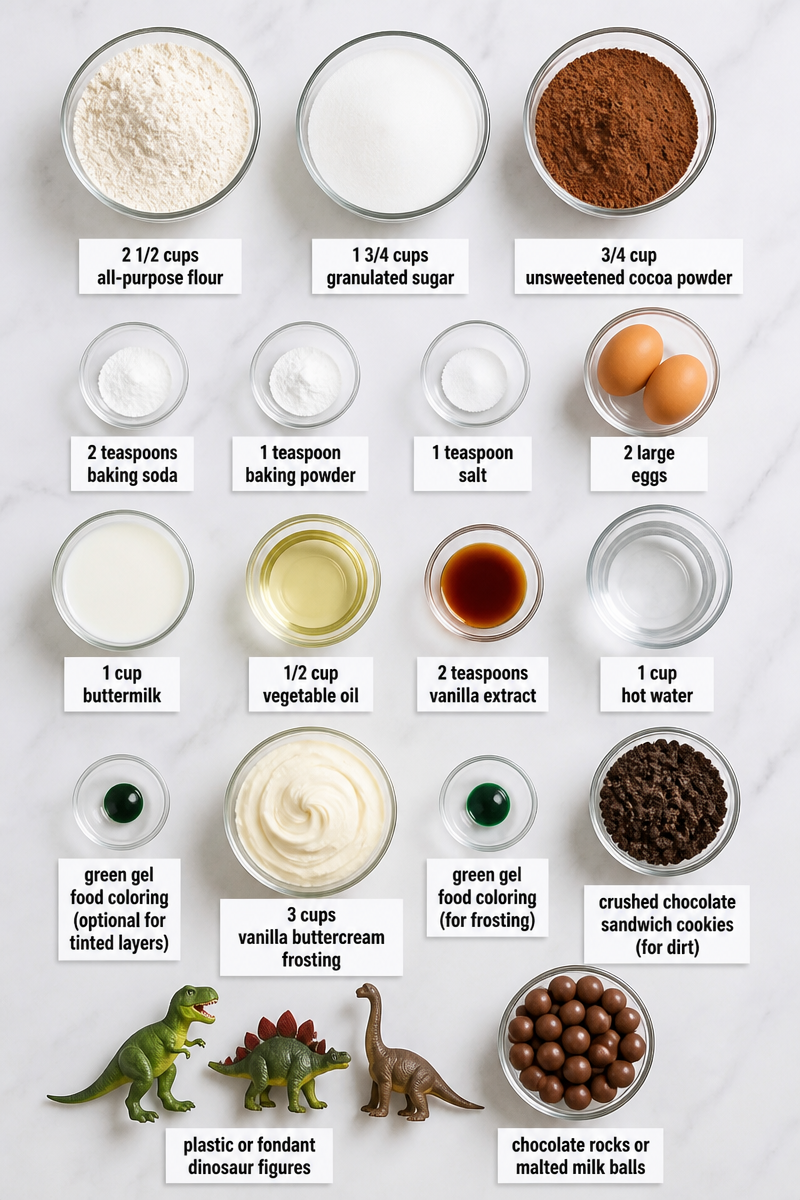
At the heart of this dinosaur birthday cake is a classic chocolate base made with 2 1/2 cups all-purpose flour, 1 3/4 cups granulated sugar, 3/4 cup unsweetened cocoa powder, 2 teaspoons baking soda, 1 teaspoon baking powder, 1 teaspoon salt, 2 large eggs, 1 cup buttermilk, 1/2 cup vegetable oil, 2 teaspoons vanilla extract, and 1 cup hot water. The cake bakes up moist, tender, and deeply chocolatey. Then the fun starts with green gel food coloring for a jungle look, 3 cups vanilla buttercream frosting, more green coloring for the frosting, crushed chocolate sandwich cookies for “dirt,” plus plastic or fondant dinosaur figures and chocolate rocks or malted milk balls for a party-ready finish.
The method is simple, too. First, you preheat the oven to 350°F and prepare two 9-inch round pans. Next, you whisk the dry ingredients, then add the eggs, buttermilk, oil, and vanilla. After that, you stir in the hot water, which makes the batter thin, and that is exactly right. Then you bake the layers for 32 to 35 minutes, cool them, tint the buttercream green, and assemble the cake. Finally, you press cookie crumbs around the sides, add the dinosaur decorations, and chill or store as needed. It is a very manageable bake, even if you are not an expert decorator.
This cake is especially nice for birthday parties because it is festive without being fussy. In addition, it travels well, serves a crowd, and looks impressive on a table. So, if you need a dessert that feels cheerful, chocolatey, and kid-approved, this dinosaur cake is a wonderful pick.
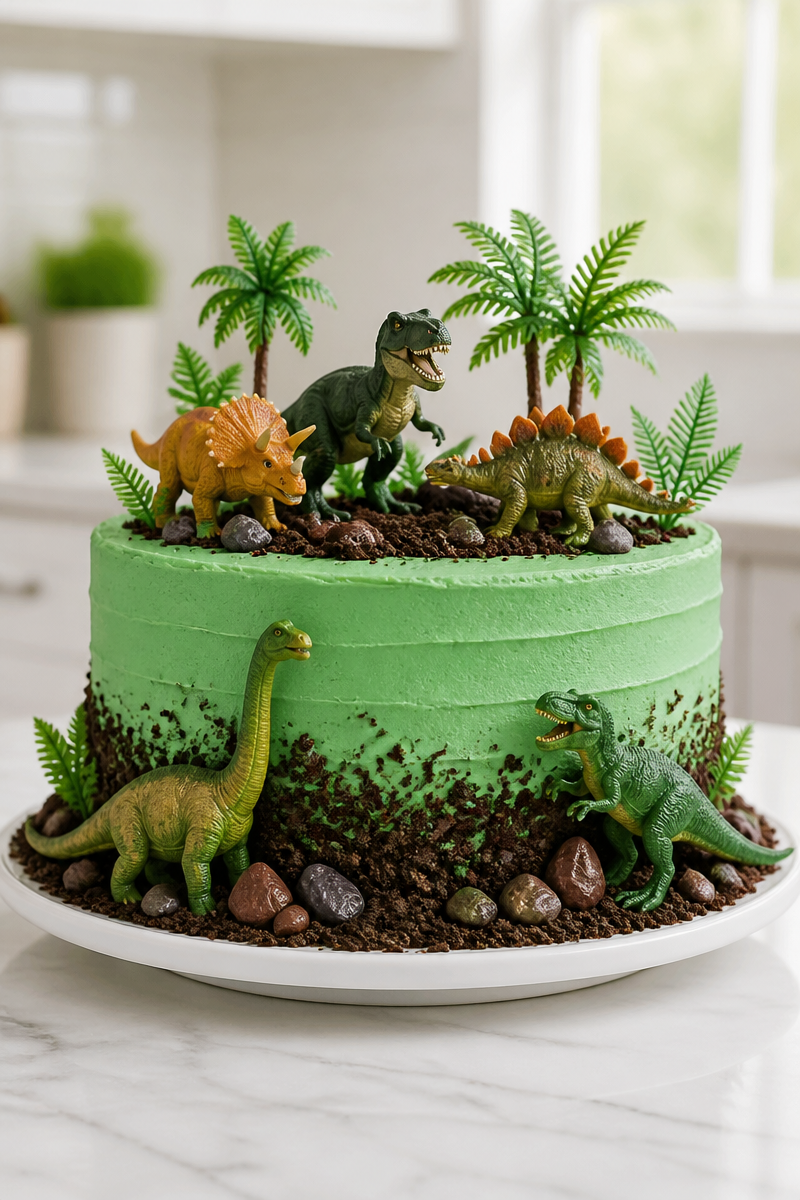
Why You’ll Love This Fun Dinosaur Birthday Chocolate Cake
- It uses simple pantry ingredients, so you do not need a long shopping list.
- The chocolate cake is rich and moist, yet the method stays easy enough for home bakers.
- The green frosting and cookie “dirt” make it look special without advanced decorating skills.
- It works well for birthdays, classroom parties, family gatherings, and themed celebrations.
- The recipe can be made ahead, which helps when party day gets busy.
All-Purpose Flour Tips
All-purpose flour gives this cake its structure, so measuring it correctly matters. For best results, spoon the flour into your measuring cup and level it off instead of packing it down. That small step helps the cake stay soft instead of heavy. Also, if you live in a dry area, be careful not to add extra flour while mixing. The batter for this chocolate dinosaur cake is meant to be loose, so trust the process and let the flour do its job.
Options for Substitutions
- Use whole milk plus 1 tablespoon lemon juice or vinegar if you do not have buttermilk.
- Swap canola oil or melted coconut oil for the vegetable oil.
- Replace vanilla buttercream with chocolate buttercream if you want a deeper chocolate flavor.
- Use Dutch-process cocoa for a smoother, darker cake, but keep the leavening as written unless you know how to adjust it.
- Make the cake gluten-free with a 1-to-1 gluten-free baking flour blend.
- Use graham cracker crumbs or crushed chocolate cookies instead of chocolate sandwich cookies for the dirt effect.
Watch Out for These Mistakes
One common mistake is worrying when the batter looks thin. In this recipe, that thin batter is correct because the hot water helps create a moist chocolate cake. So, do not add extra flour to thicken it. If you do, the cake may turn dry and dense.
Another issue is overbaking. Since oven temperatures can vary, start checking the cake at the 32-minute mark. The layers are ready when a toothpick comes out clean or with just a few moist crumbs. If you wait too long, the cake may lose its tender texture.
Also, make sure the cake layers cool fully before frosting. If they are still warm, the buttercream can melt and slide. As a result, the cake may be harder to decorate neatly. For the best finish, let the layers cool on a wire rack until they feel room temperature to the touch.
Finally, do not rush the decorating step. Crushed cookies, candy rocks, and dinosaur figures look best when you add them after the frosting is smooth. If you press them into soft frosting too early, they may shift or sink. So, take your time and build the scene one step at a time.
What to Serve With Fun Dinosaur Birthday Chocolate Cake?
This dinosaur birthday chocolate cake pairs nicely with simple party foods that keep the menu easy. Fresh fruit, such as strawberries or grapes, adds a bright, cool contrast to the rich chocolate. Vanilla ice cream is another lovely choice because it balances the sweetness and makes each slice feel extra special. If you are serving a birthday spread, consider a light fruit punch or cold milk, since both go well with chocolate cake. You could also add a small bowl of pretzels or popcorn for a salty snack that helps round out the party table.
Storage Instructions
Store: Keep the frosted cake covered at room temperature for up to 2 days, or in the refrigerator for up to 5 days. If you refrigerate it, let the cake sit at room temperature for about 30 to 60 minutes before serving so the frosting softens.
Freeze: You can freeze the cake layers, wrapped tightly, for up to 2 months. For best results, freeze the layers without the decorations. If you want to freeze slices, wrap each slice well and place it in a freezer-safe container.
Reheat: For a single slice, warm it in the microwave for 10 to 15 seconds if you like it a little softer. If you prefer a gentler method, let it sit at room temperature until the chill fades. This cake does not need stovetop reheating, but if you are warming a slice with a warm dessert plate, keep the heat very low and brief so the frosting does not melt.
Recipe Info
Preparation Time: 20 minutes
Cooking Time: 35 minutes
Total Time: 55 minutes
Level of Difficulty: Easy
Servings: 12 to 14 slices
Estimated Nutrition
Estimated nutrition for the whole recipe (without optional ingredients):
Calories: about 4,200 to 4,900
Protein: about 45 to 60 grams
Fat: about 180 to 230 grams
Carbohydrates: about 620 to 720 grams
Ingredients
- 2 1/2 cups all-purpose flour
- 1 3/4 cups granulated sugar
- 3/4 cup unsweetened cocoa powder
- 2 teaspoons baking soda
- 1 teaspoon baking powder
- 1 teaspoon salt
- 2 large eggs
- 1 cup buttermilk
- 1/2 cup vegetable oil
- 2 teaspoons vanilla extract
- 1 cup hot water
- green gel food coloring (optional for tinted layers)
- 3 cups vanilla buttercream frosting
- green gel food coloring (for frosting)
- crushed chocolate sandwich cookies (for dirt)
- plastic or fondant dinosaur figures
- chocolate rocks or malted milk balls
Step-by-Step Instructions
Step 1: Prepare the Oven and Cake Pans
First, preheat your oven to 350°F. Then grease and flour two 9-inch round cake pans so the cake releases cleanly after baking. This small prep step helps you avoid sticking and makes layering much easier later on.
Step 2: Mix the Chocolate Batter
Next, whisk together the flour, sugar, cocoa powder, baking soda, baking powder, and salt in a large bowl. After that, add the eggs, buttermilk, oil, and vanilla, then beat on medium speed for about 2 minutes. The batter should look smooth before you move on, so scrape the bowl if needed.
Step 3: Add Hot Water and Bake
Now stir in the hot water. The batter will become very thin, and that is exactly what you want for this chocolate cake. If you want a jungle-style crumb, you can add a little green food coloring at this stage. Then divide the batter between the prepared pans and bake for 32 to 35 minutes, or until a toothpick comes out clean. After baking, cool the cakes in the pans for 15 minutes, then turn them out onto a wire rack to cool completely.
Step 4: Frost, Decorate, and Serve
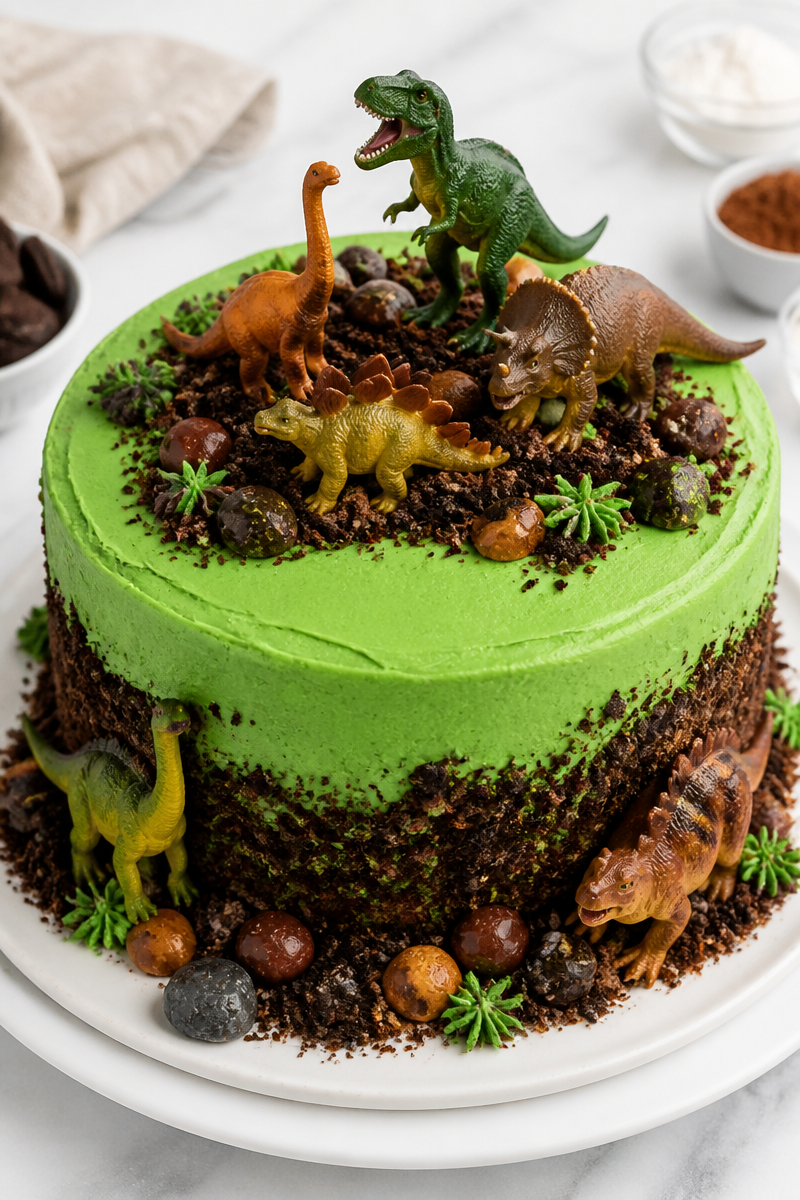
Once the layers are cool, divide the vanilla buttercream and tint most of it green, saving a small amount for accents if you like. Place one cake layer on a serving plate, spread a layer of green frosting on top, then add the second layer. Frost the top and sides smoothly with the rest of the green buttercream. Next, press crushed chocolate sandwich cookies around the base and partway up the sides to look like dirt. Finally, arrange the chocolate rocks and dinosaur figures on top and around the cake for a fun birthday scene. Store covered at room temperature for up to 2 days, or refrigerate for up to 5 days, and bring to room temperature before serving.
Conclusion
This Fun Dinosaur Birthday Chocolate Cake brings together rich chocolate flavor, soft layers, and a playful jungle-style look that kids and adults both enjoy. It is simple to bake, fun to decorate, and easy to store, which makes it a smart choice for birthday planning. Plus, the cookie dirt and dinosaur toppers turn a classic chocolate cake into a celebration cake with real personality.
If you try this recipe, I would love to hear how it turned out. Share your thoughts, your decorating ideas, or your party success stories. And if you are looking for more easy celebration bakes, keep exploring for more family-friendly cake recipes that are just as cheerful and dependable.
Print
Fun Dinosaur Birthday Chocolate Cake
- Prep Time: 20 minutes
- Cook Time: 35 minutes
- Total Time: 55 minutes
- Yield: 12 to 14 servings 1x
- Category: Dessert
- Method: Baking
- Cuisine: American
- Diet: Vegetarian
Description
A playful and rich chocolate cake decorated with vibrant green frosting and fun dinosaur figures, perfect for birthdays and celebrations.
Ingredients
- 2 1/2 cups all-purpose flour
- 1 3/4 cups granulated sugar
- 3/4 cup unsweetened cocoa powder
- 2 teaspoons baking soda
- 1 teaspoon baking powder
- 1 teaspoon salt
- 2 large eggs
- 1 cup buttermilk
- 1/2 cup vegetable oil
- 2 teaspoons vanilla extract
- 1 cup hot water
- green gel food coloring (optional for tinted layers)
- 3 cups vanilla buttercream frosting
- green gel food coloring (for frosting)
- crushed chocolate sandwich cookies (for dirt)
- plastic or fondant dinosaur figures
- chocolate rocks or malted milk balls
Instructions
- Preheat your oven to 350°F and grease two 9-inch round cake pans.
- Whisk together the flour, sugar, cocoa powder, baking soda, baking powder, and salt in a large bowl.
- Add the eggs, buttermilk, oil, and vanilla, then beat on medium speed for about 2 minutes until smooth.
- Stir in the hot water. The batter will become thin; this is expected. Optionally, add green food coloring for a jungle crumb.
- Divide the batter between the prepared pans and bake for 32 to 35 minutes or until a toothpick comes out clean.
- Cool the cakes in the pans for 15 minutes, then turn them onto a wire rack to cool completely.
- Frost the top of one cake layer with green frosting, add the second layer, and frost the top and sides.
- Press crushed cookies around the base and sides to resemble dirt.
- Arrange chocolate rocks and dinosaur figures on top for decoration.
Notes
Ensure the cake layers are completely cool before frosting to prevent melting. Store covered at room temperature for up to 2 days or refrigerated for up to 5 days.
Nutrition
- Serving Size: 1 slice
- Calories: 350
- Sugar: 25g
- Sodium: 200mg
- Fat: 12g
- Saturated Fat: 4g
- Unsaturated Fat: 5g
- Trans Fat: 0g
- Carbohydrates: 45g
- Fiber: 3g
- Protein: 5g
- Cholesterol: 30mg
