
There’s something truly delightful about making special treats with simple ingredients at home. Baking Halloween Skeleton Bone Meringue Cookies feels like pure comfort. It brings back memories of cozy kitchens filled with laughter and the sweet scent of baking. Plus, these little cookies add just the right spooky touch to your holiday festivities. They’re fun to make, gentle on the hands, and perfect for sharing with family and friends.
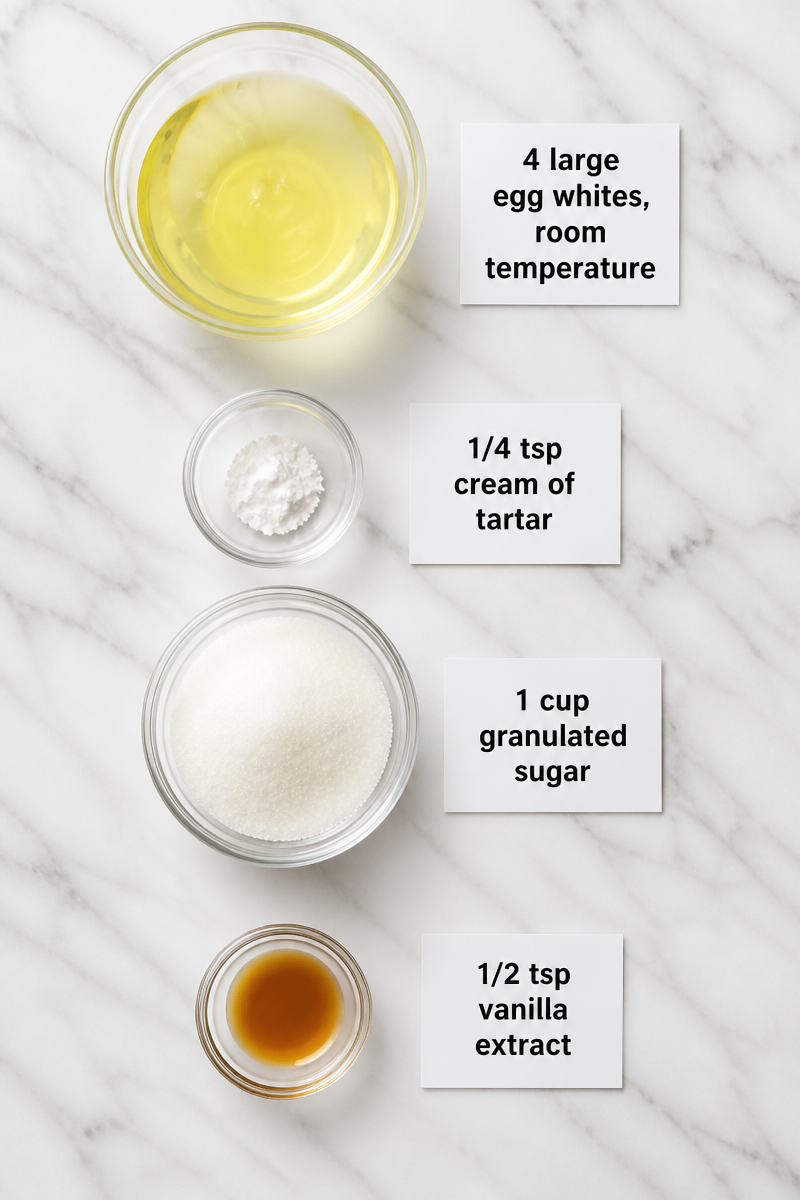
What makes these meringue cookies so special? The recipe calls for just a handful of key ingredients: 4 large egg whites at room temperature, 1/4 teaspoon of cream of tartar, 1 cup of granulated sugar, and 1/2 teaspoon of vanilla extract. Each one plays an important role in creating that light, airy texture and sweet, delicate flavor. The vanilla adds warmth while the sugar provides the crispness we love. It’s a classic combination that feels both festive and comforting.
The method is straightforward, making it accessible for cooks of all skill levels. You start by preheating your oven to 200°F (95°C) and lining baking sheets with parchment paper. Then, beat the egg whites and cream of tartar until soft peaks form. Slowly add sugar, beating on high until you reach stiff, glossy peaks, then fold in vanilla. Using a piping bag, you shape the meringue into adorable skeleton bones—easy and fun! Finally, bake them gently for 1 hour and 30 minutes, then let them dry in the warm oven for another hour. After that, they’re ready to cool and store for future enjoyment.
These Halloween Skeleton Bone Meringue Cookies are perfect for chilly autumn evenings or as a sweet treat at Halloween parties and potlucks. They are light, not too sweet, and a wonderful alternative to heavy desserts. Kids and seniors alike will appreciate the whimsical bone shapes and melt-in-your-mouth texture. Plus, they make a lovely homemade gift that shows care and creativity.
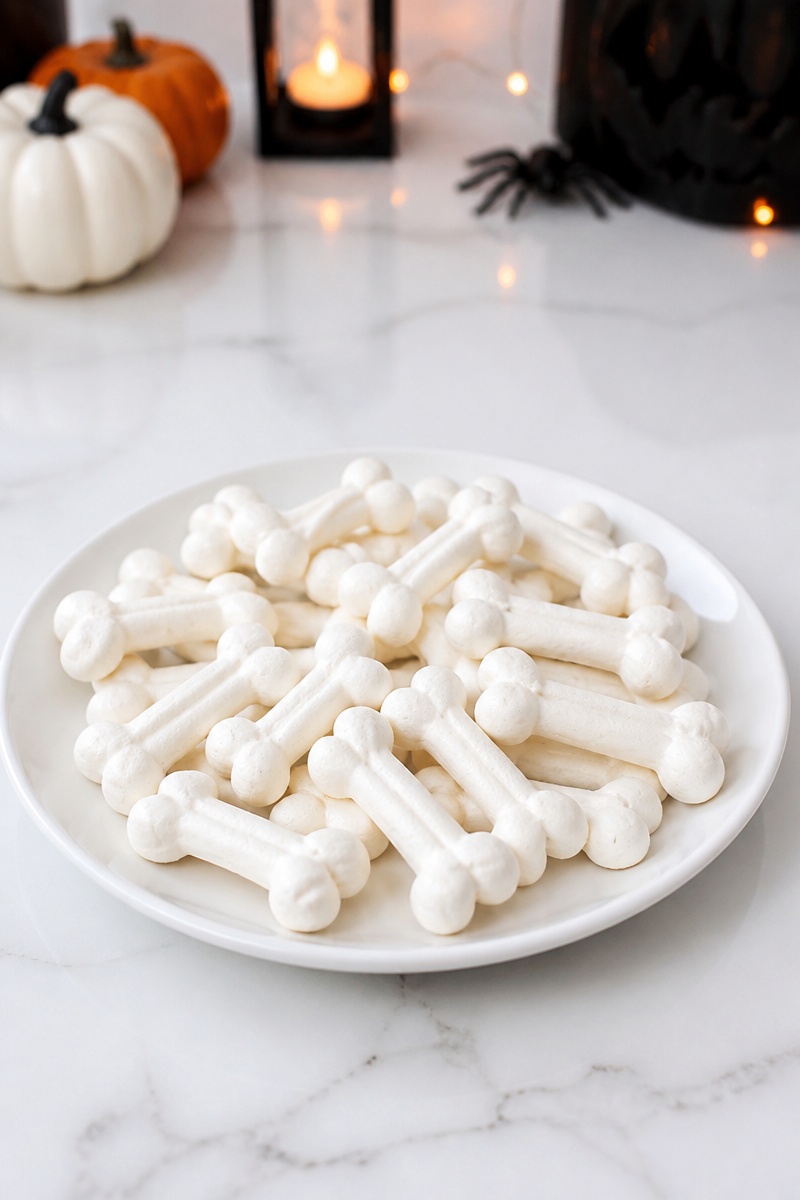
Why You’ll Love This Halloween Skeleton Bone Meringue Cookies
- Simple ingredients that you likely already have in your kitchen.
- Fun to make, even if you’ve never piped meringue before.
- Light and crispy texture, perfect for a sweet snack without heaviness.
- A festive and spooky treat that everyone enjoys around Halloween.
- Long shelf-life when stored correctly, lasting up to a week fresh.
Egg Whites Tips
Egg whites are the star of this recipe. It’s important to use fresh, large egg whites at room temperature to get the best volume. Room temperature whites whip up much better than cold ones. When separating eggs, be careful not to get any yolk mixed in, as even a tiny bit of fat stops the whites from whipping properly. Use a clean, dry bowl and beaters, since grease can also prevent the whites from reaching stiff peaks. You’ll know you’re ready when the whites hold their shape like soft clouds, and then later become glossy and stiff after sugar is added.
Options for Substitutions
- Replace cream of tartar with an equal amount of lemon juice or white vinegar to stabilize the egg whites.
- Use superfine sugar or caster sugar instead of granulated sugar for smoother meringue.
- Substitute vanilla extract with almond extract or peppermint extract to add a fun twist.
- For a lower-sugar version, reduce sugar by 1-2 tablespoons but expect slightly softer meringues.
- Use aquafaba (the liquid from canned chickpeas) instead of egg whites for a vegan alternative.
- Color the meringue with a few drops of food coloring before piping for colorful bones.
Watch Out for These Mistakes
One common mistake is opening the oven door during baking. The meringues need slow and steady heat to dry out properly, so resist the urge to peek. This keeps them crisp and prevents cracking. Another issue is adding sugar too quickly. It’s essential to add it slowly, one tablespoon at a time, while beating continuously to ensure the sugar dissolves fully. Otherwise, the meringue can be grainy and less stable.
Also, be careful about any grease or egg yolk contamination. Even a tiny bit can stop the egg whites from whipping up well. Using a clean glass or metal bowl is best since plastic can hold on to grease even after washing. Lastly, don’t rush the cooling process. Let the meringues rest in the oven after it’s turned off. This drying time is important to ensure they crisp up beautifully.
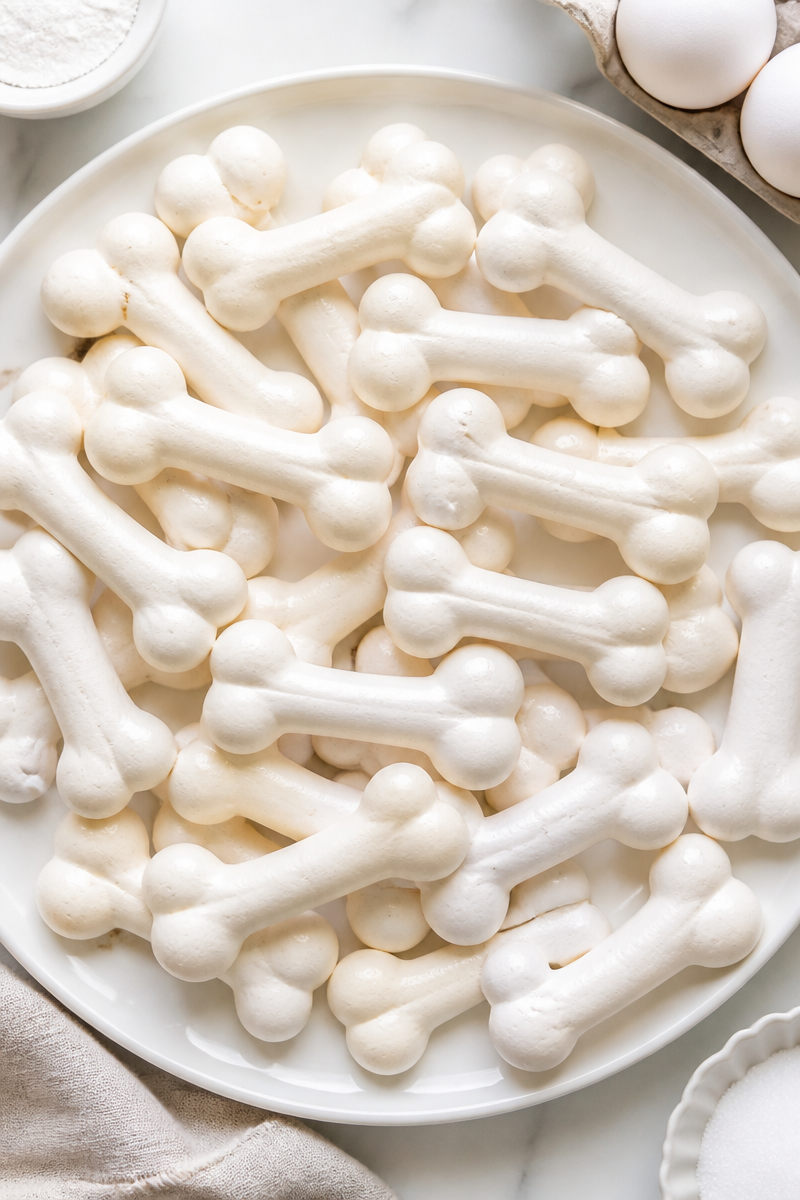
What to Serve With Halloween Skeleton Bone Meringue Cookies?
These meringue cookies pair wonderfully with warm beverages like hot apple cider or spiced tea, perfect for a fall day. You can also serve them alongside a rich pumpkin pudding or creamy hot chocolate for a festive treat. For a savory contrast, try them with a cheese board featuring mild cheeses and nuts. These combinations bring a balance of flavors and make your Halloween celebration extra special.
Storage Instructions
Store: Keep your baked meringue cookies in an airtight container at room temperature. They stay fresh and crisp for up to 1 week. Avoid storing them in the fridge, which can add moisture and make them chewy.
Freeze: For longer storage, freeze the meringue cookies in a sealed container or freezer bag. They will keep well for up to 2 months. When ready to eat, let them thaw at room temperature.
Reheat: If they lose their crispness, you can refresh them by placing them in a cool oven at 200°F (95°C) for about 5-10 minutes. Avoid the microwave as it will make them soft and sticky.
Recipe Info
Preparation Time: About 20 minutes for mixing and piping the meringue shapes
Cooking Time: 1 hour and 30 minutes baking + 1 hour drying in the turned-off oven
Total Time: Approximately 3 hours and 10 minutes including cooling
Level of Difficulty: Easy
Servings: Makes about 24 skeleton bone cookies
Estimated Nutrition
Estimated nutrition for the whole recipe (without optional ingredients):
Calories: 300-350 kcal
Protein: 12-14 grams
Fat: 0 grams
Carbohydrates: 70-75 grams
Ingredients
- 4 large egg whites, room temperature
- 1/4 tsp cream of tartar
- 1 cup granulated sugar
- 1/2 tsp vanilla extract
Step-by-Step Instructions
Step 1: Preheat Oven and Prepare Baking Sheets
Start by setting your oven to 200°F (95°C). Line two baking sheets with parchment paper. This will prevent sticking and make cleanup easier.
Step 2: Beat Egg Whites with Cream of Tartar
In a very clean, grease-free bowl, use a hand mixer on medium speed to beat the 4 large egg whites along with 1/4 teaspoon cream of tartar. Continue until the mixture forms soft peaks—this should take around 2 minutes.
Step 3: Add Sugar Gradually and Beat Until Stiff
Slowly add 1 cup of granulated sugar, one tablespoon at a time. Keep beating on high speed without stopping until the meringue is glossy and forms stiff peaks. This step often takes 5 to 7 minutes. Then beat in 1/2 teaspoon of vanilla extract for flavor.
Step 4: Pipe the Skeleton Bone Shapes
Transfer your meringue to a piping bag fitted with a round tip. Pipe a straight line about 3 inches long on the prepared trays. Add small balls at each end, then a second small ball next to those to mimic the shape of a bone. Repeat until you have about 24 shapes.
Step 5: Bake and Dry the Meringues
Bake the meringues for an hour and a half, making sure not to open the oven door. Once the baking time is complete, turn off the oven but leave the meringues inside for another hour to dry out and become crisp.
Step 6: Cool and Store
Remove the sheets from the oven and let the cookies cool completely on the counter before handling. Once cool, store the cookies in an airtight container at room temperature. They will keep crisp and fresh for up to one week away from humidity.
This recipe blends simplicity, fun, and delicious results into one neat package. By following these steps, you can enjoy light, crispy Halloween Skeleton Bone Meringue Cookies that are sure to delight your family and guests. Don’t hesitate to try shaping bones with your own creative twist, and feel free to share your experience or any tips you discover along the way. Ready to bring some spooky sweetness to your kitchen? Give this recipe a try and enjoy every bite!
Print
Halloween Skeleton Bone Meringue Cookies
- Prep Time: 20 minutes
- Cook Time: 90 minutes
- Total Time: 190 minutes
- Yield: 24 cookies 1x
- Category: Dessert
- Method: Baking
- Cuisine: American
- Diet: Vegetarian
Description
Delightful and spooky meringue cookies shaped like skeleton bones, perfect for Halloween festivities.
Ingredients
- 4 large egg whites, room temperature
- 1/4 teaspoon cream of tartar
- 1 cup granulated sugar
- 1/2 teaspoon vanilla extract
Instructions
- Preheat your oven to 200°F (95°C) and line two baking sheets with parchment paper.
- Beat the egg whites and cream of tartar in a clean, grease-free bowl until soft peaks form (about 2 minutes).
- Gradually add sugar, one tablespoon at a time, beating on high until stiff, glossy peaks form (5 to 7 minutes). Then, beat in the vanilla extract.
- Transfer the meringue to a piping bag and pipe bone shapes onto the prepared trays.
- Bake for 1 hour and 30 minutes, then turn off the oven and let the meringues dry inside for another hour.
- Cool completely before storing in an airtight container at room temperature.
Notes
For a vegan alternative, replace egg whites with aquafaba. Store cookies in an airtight container for up to 1 week.
Nutrition
- Serving Size: 1 cookie
- Calories: 350
- Sugar: 70g
- Sodium: 10mg
- Fat: 0g
- Saturated Fat: 0g
- Unsaturated Fat: 0g
- Trans Fat: 0g
- Carbohydrates: 75g
- Fiber: 0g
- Protein: 14g
- Cholesterol: 0mg
