There’s something magical about Halloween that brings out the child in all of us. It’s a season filled with sweet treats, crisp air, and the joy of creativity. One of my favorite ways to celebrate this festive time is through fun and colorful treats, like the Monster Halloween Pretzel Rods. These treats are pure comfort, perfect for family gatherings, or simply to enjoy while watching a spooky movie. Their bright colors and delightful appearance are sure to bring smiles to everyone’s faces, young and old alike.
At the heart of this recipe are 16 pretzel rods, paired with vibrant green and purple candy melting wafers, which create a delightful sweetness balanced by the warm, salty crunch of the pretzels. Candy eyes add a touch of fun while mini M&Ms serve as little teeth, making these treats not just tasty, but visually exciting too. The colorful sprinkles serve as the finishing touch, adding texture and playfulness to each pretzel rod.
The method to make these Monster Halloween Pretzel Rods is wonderfully simple. Just start by melting the green and purple candy melting wafers separately in the microwave, dipping half of the pretzel rods in each color. After covering about three-quarters of the pretzel, they are placed on parchment paper. Before setting, candy eyes are added followed by mini M&Ms for that extra frightful effect, and then topped with colorful sprinkles. A quick 20-minute wait ensures they firm up nicely before serving.
These pretzel rods shine during Halloween celebrations but are also great for potlucks, craft nights, or even as a fun family project on a chilly afternoon. Plus, they are perfect for helping little hands get involved in the kitchen, making the process enjoyable for everyone.
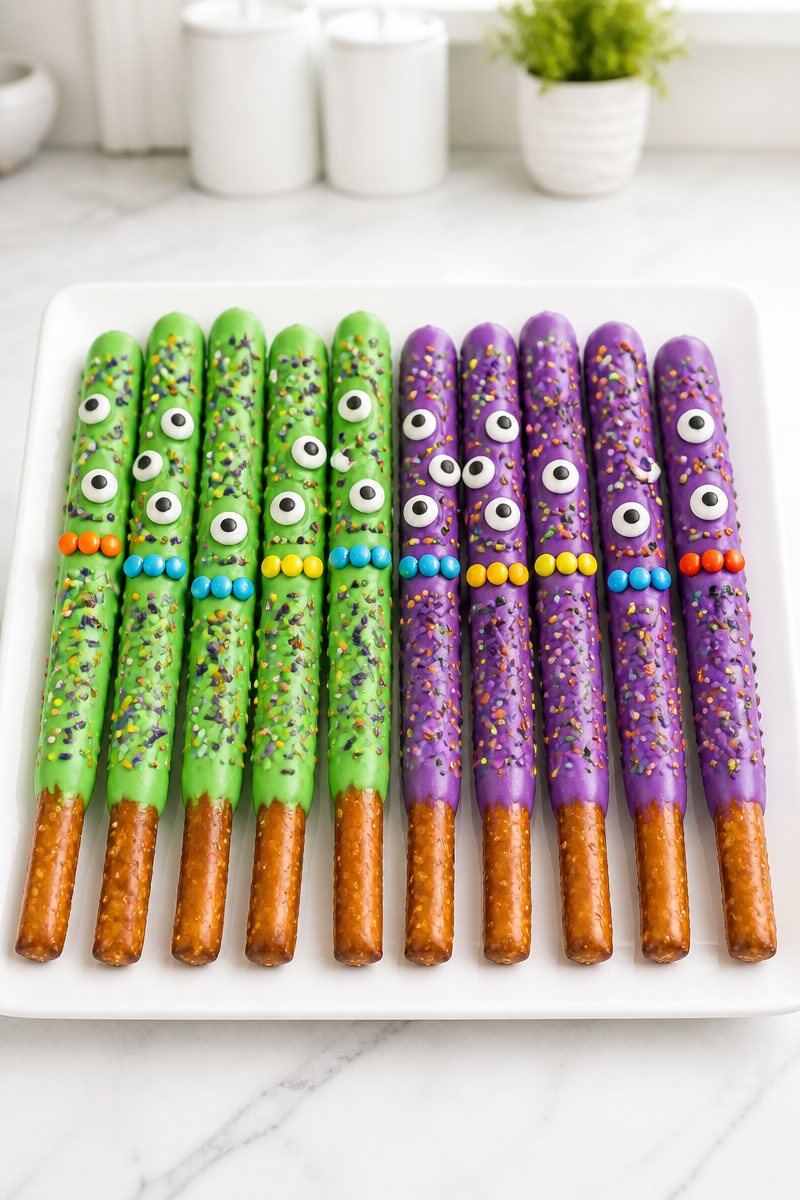
Why You’ll Love This Monster Halloween Pretzel Rod Colorful
- Quick and Easy: With simple steps and minimal time, you can prepare these delightful treats in a flash.
- Fun for All Ages: Kids love decorating, while adults enjoy the nostalgic fun of creating festive snacks.
- Visual Appeal: The cheerful colors and whimsical shapes make these pretzel rods a standout addition to any table.
- Versatile: You can customize the decorations to suit your theme or favorite colors.
- Sweet and Salty Flavor: The crunchy, salty pretzel contrasts nicely with the sweet candy coating, making each bite a tasty treat.
Pretzel Rod Tips
When selecting the pretzel rods for this recipe, aim for pretzels that are sturdy enough to hold the candy coating but still crunchy. Look for rods that are thicker and not broken. If you can find pretzel rods made from whole grain or traditional recipes, they can add a unique flavor twist to your treats. If you’re making these with younger kids, choose thicker rods that won’t break easily during the dipping and decoration process.
Options for Substitutions
- Pretzel Varieties: Use gluten-free pretzel rods if dietary restrictions are necessary.
- Candy Melts Colors: Swap the green and purple candy melts for your favorite colors, like orange for Halloween or red for a fun twist.
- Different Eyes: Instead of candy eyes, use chocolate chips or candy sprinkles to change the appearance.
- M&M Variants: Use other small candies like gummy bears or licorice bites for unique “teeth.”
- Additional Sprinkles: Swap colorful sprinkles for themed options like pumpkin or ghost shapes to enhance your Halloween spirit.
- Incorporate Nuts: Chopped nuts can be sprinkled onto the melted candy for added texture and flavor.
Watch Out for These Mistakes
One common pitfall when melting candy wafers is overheating. Be sure to melt incrementally in 20-second bursts, stirring in between, to prevent the wafers from seizing. If you notice that the consistency isn’t smooth, just add a few drops of coconut oil to smooth it out.
When dipping pretzel rods, be careful to coat about three-quarters of the length. If you dip too deeply, the coating might not stick properly, or you may get a messier result. It’s best to practice steady hands to achieve a clean look.
Placing the coated pretzel rods on parchment paper is essential. If you forget, the candy can stick to regular plates, making it a challenge to remove.
Finally, be patient when applying the candy eyes, mini M&Ms, and sprinkles while the melted candy is still wet. If you let the candy set too long before adding decorations, they won’t adhere properly.
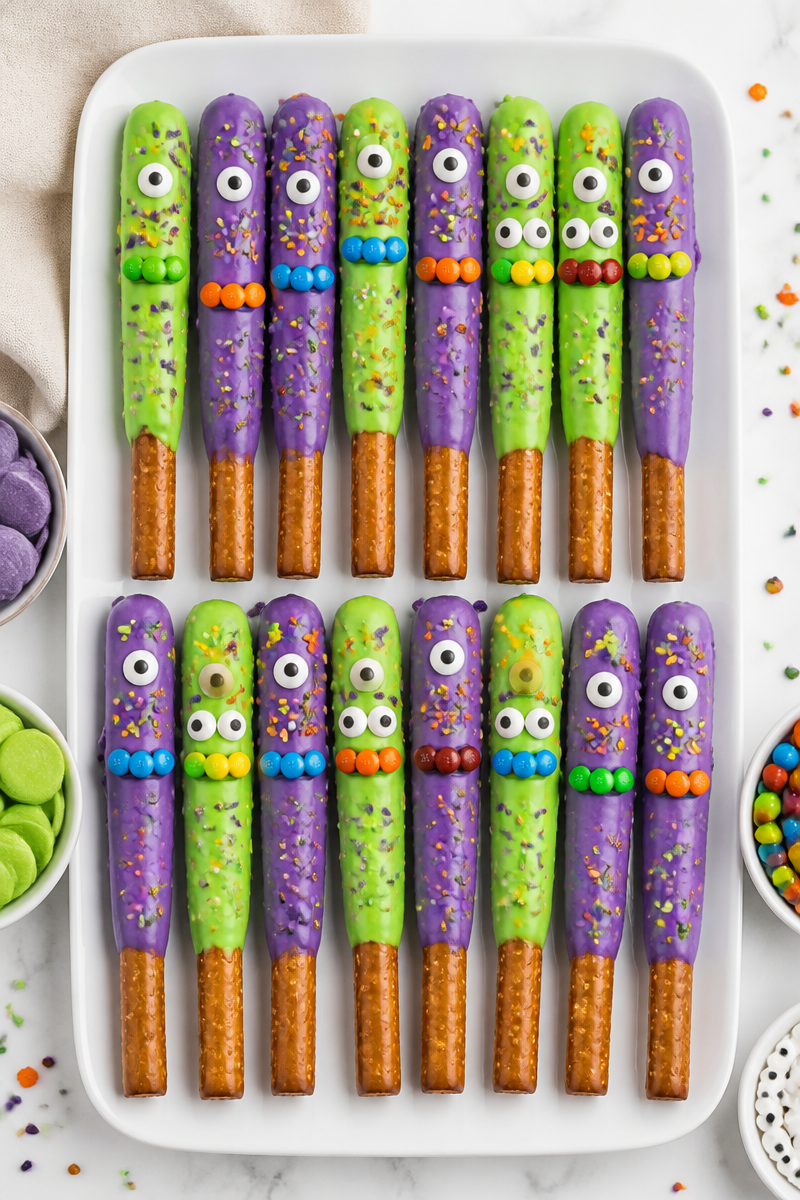
What to Serve With Monster Halloween Pretzel Rod Colorful?
These colorful pretzel rods can be enjoyed on their own, but they also pair great with a variety of other treats. Consider serving them alongside caramel apples for a classic Halloween favorite, or a bowl of pumpkin-flavored popcorn to create a festive snack bar. A hot cider or chocolate drink can complement the sweet and salty flavor profile of the pretzel rods as well.
Storage Instructions
Store: Keep the pretzel rods in an airtight container at room temperature for up to a week for the best freshness.
Freeze: For longer storage, these pretzel rods can be frozen. Wrap them tightly in plastic wrap and store them in an airtight container or freezer bag for about two months.
Reheat: If you like them a bit melty, you can reheat the frozen pretzel rods in the microwave for about 10-15 seconds. Alternatively, allow them to thaw at room temperature for about 30 minutes before serving.
Recipe Info
Preparation Time: 15 minutes
Cooking Time: 15 minutes
Total Time: 30 minutes
Level of Difficulty: Easy
Servings: Makes 16 pretzel rods
Estimated Nutrition
Estimated nutrition for the whole recipe (without optional ingredients):
Calories: 960 – 1200
Protein: 10 – 20g
Fat: 40 – 60g
Carbohydrates: 140 – 180g
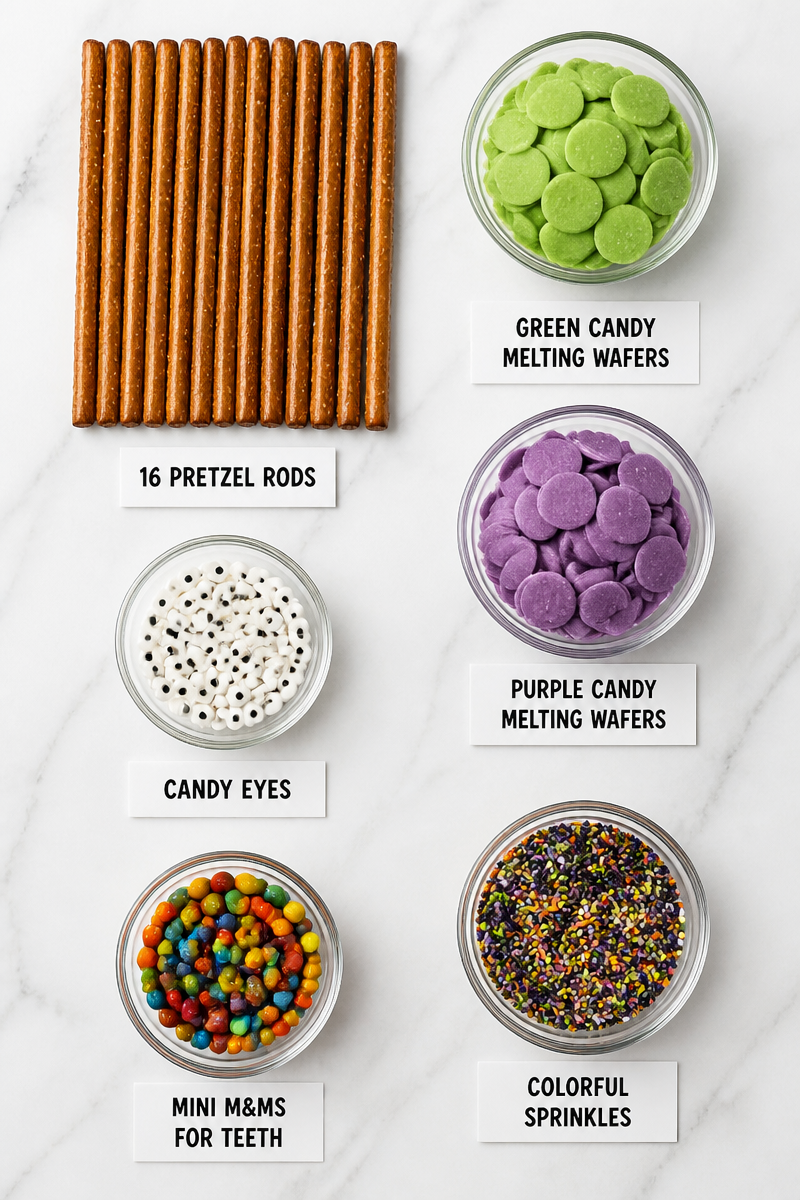
Ingredients
- 16 pretzel rods
- Green candy melting wafers
- Purple candy melting wafers
- Candy eyes
- Mini M&Ms for teeth
- Colorful sprinkles
Step-by-Step Instructions
Step 1: Melt the Candy Wafers
Start by melting the green and purple candy melting wafers separately in the microwave. Heat them in 20-second bursts, stirring in between until they are completely smooth. This ensures the candy doesn’t overheat and become unusable.
Step 2: Dip the Pretzel Rods
Once your candy melts are ready, take half of the pretzel rods and dip them into the green candy, coating about three-quarters of the length. Do the same with the remaining pretzel rods in the purple candy. Be sure to let the excess drip off before placing them on parchment paper.
Step 3: Add the Candy Eyes
While the candy coating is still wet, press 2-3 candy eyes onto each pretzel rod at varying heights. This will give each monster its own unique and playful character, adding to the fun.
Step 4: Create Monster Teeth
Next, take a few mini M&Ms and press them in a row onto the pretzel rods to represent the “teeth.” Use different colors to make the monsters look even more unique.
Step 5: Add Fun Sprinkles
While the candy is still set, sprinkle colorful sprinkles over the pretzels for extra texture and allure. The sprinkles will stick to the wet coating, adding an exciting visual appeal to your treats.
Step 6: Let Set and Enjoy
Finally, allow the dipped pretzel rods to set for at least 20 minutes before serving. This will ensure that the candy coating hardens properly, making them easy to handle and more enjoyable to eat.
In conclusion, Monster Halloween Pretzel Rods are a fun and easy way to celebrate any Halloween gathering. Their delightful sweetness combined with salty pretzels creates the perfect treat. I encourage you to try making these vibrant pretzel rods for your next event, and don’t forget to share your experiences in the comments below. Happy Halloween baking!
Print