
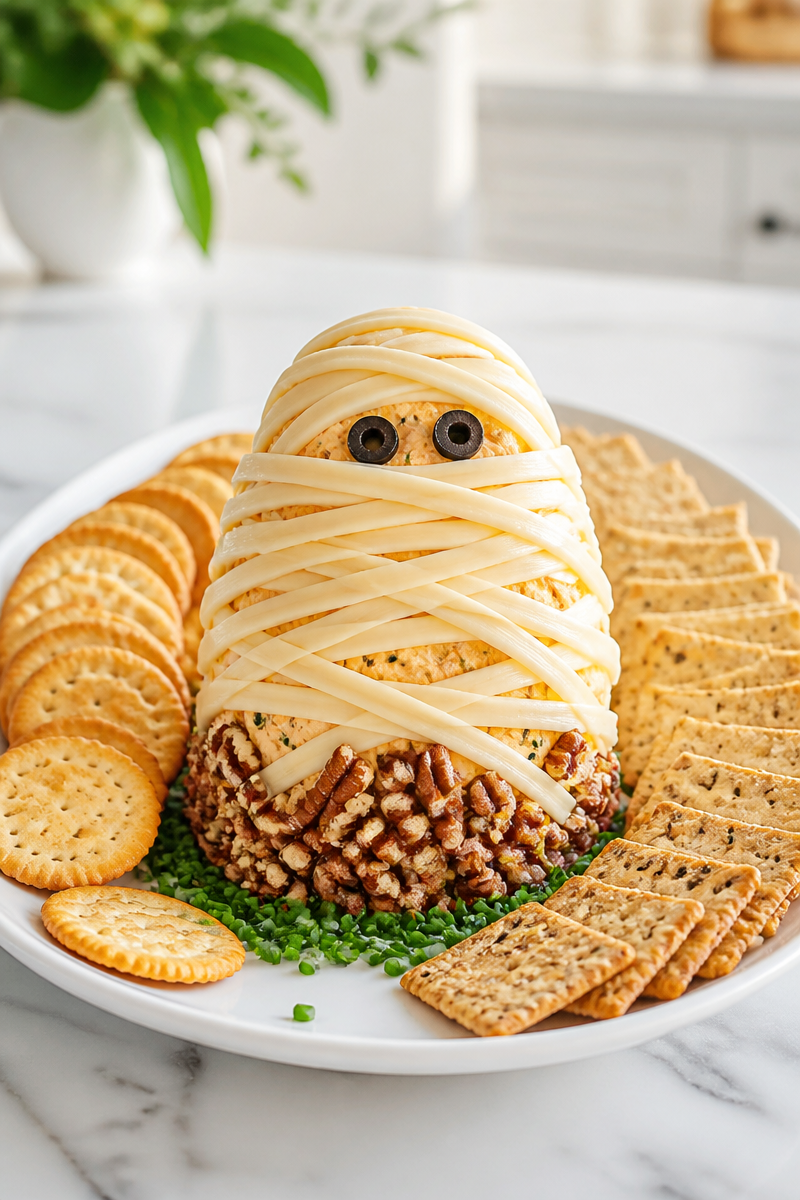
This Mummy Cheese Ball Herb Wrap is pure party fun, and I truly love how it brings a little playfulness to the table without asking for much work. It looks special, tastes rich and savory, and has that cozy, crowd-pleasing feel that makes people hover near the snack board. So, if you want a dish that gets smiles right away, this is a wonderful one to make.
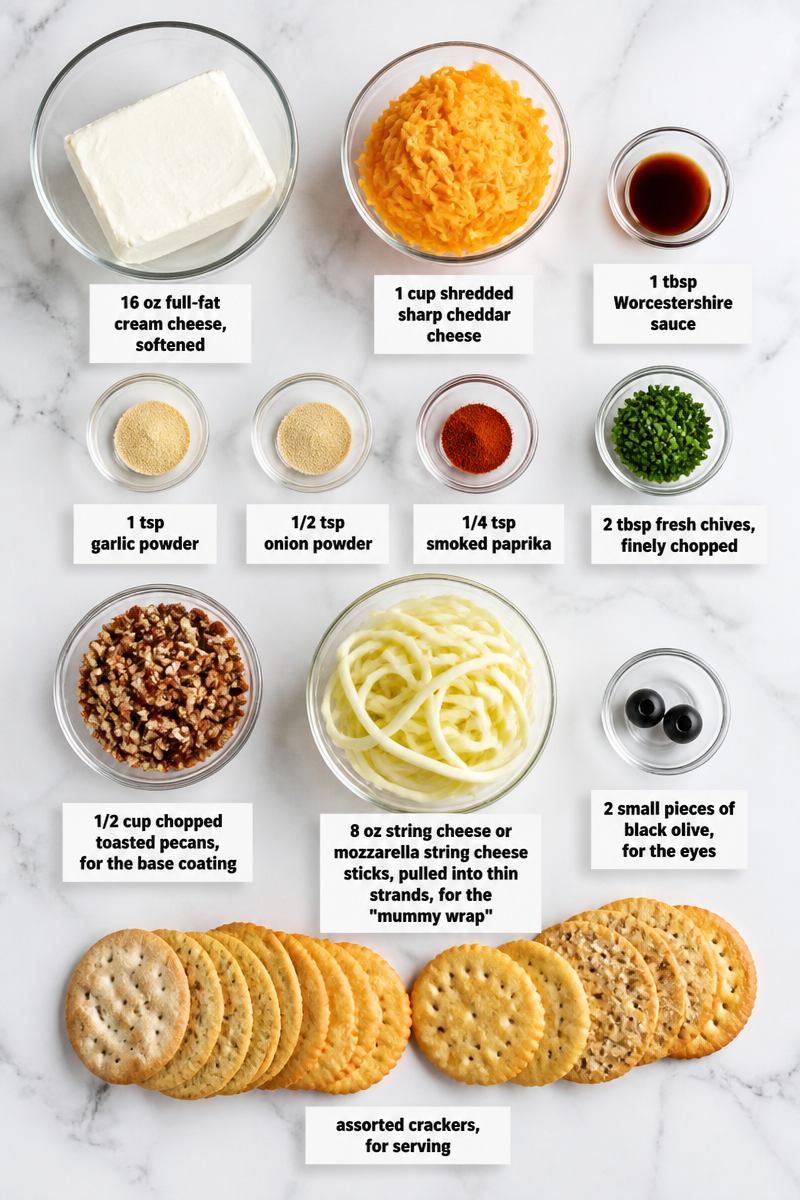
At the heart of this cheese ball are 16 oz full-fat cream cheese, 1 cup shredded sharp cheddar cheese, 1 tbsp Worcestershire sauce, 1 tsp garlic powder, 1/2 tsp onion powder, 1/4 tsp smoked paprika, and 2 tbsp fresh chives. Then, the outer look comes from 1/2 cup chopped toasted pecans for the base, 8 oz string cheese or mozzarella string cheese sticks pulled into thin strands for the mummy wrap, and 2 small pieces of black olive for the eyes. Finally, you serve it with assorted crackers. The flavor is creamy, sharp, lightly smoky, and just a little tangy, with a nice crunch from the pecans.
Even better, this recipe is easy to put together. You mix the base, shape it, chill it, then add the fun mummy look with string cheese and olives. Since there is no baking and only 1 hour 20 minutes total time, it is a smart choice when you want something festive but not fussy. It also makes 12 servings, so it works well for a small party or family gathering.
This is a great dish for Halloween parties, fall potlucks, game nights, or any time you want a snack board that feels a bit more special. It also works well for holiday spreads, because it can be made ahead and served with simple crackers. So, whether you are hosting grandchildren, neighbors, or friends, this cheese ball brings both flavor and fun.
Why You’ll Love This Mummy Cheese Ball Herb Wrap
- It is quick to make, with only a short prep time and no cooking.
- It uses simple ingredients you can find in most grocery stores.
- It has a creamy, savory flavor that many guests enjoy.
- It makes a fun centerpiece for parties and holiday tables.
- It can be made ahead, which helps reduce stress on busy days.
Full-Fat Cream Cheese Tips
For the best Mummy Cheese Ball Herb Wrap, start with full-fat cream cheese that is fully softened to room temperature. This makes mixing much easier, and it helps the base turn smooth instead of lumpy. Also, full-fat cream cheese gives the cheese ball a richer taste and a better texture than reduced-fat versions. If it is still cold, let it sit out for a bit longer, because that small step makes shaping much simpler.
Options for Substitutions
- Use reduced-fat cream cheese if you want a lighter version, but expect a softer texture.
- Swap sharp cheddar for mild cheddar, Colby Jack, or Monterey Jack.
- Replace Worcestershire sauce with a few drops of soy sauce or tamari for a similar savory note.
- Use fresh parsley or dill instead of chives if that is what you have on hand.
- Replace pecans with chopped walnuts, almonds, or sunflower seeds for the base coating.
- Swap mozzarella string cheese for provolone strings or shredded mozzarella if needed.
Watch Out for These Mistakes
One common mistake is using cream cheese that is too cold. If the base is cold, it will not mix smoothly, and you may end up with a stiff, uneven cheese ball. For that reason, let the cream cheese soften first. Then, mix until the filling looks smooth and even in color.
Another mistake is skipping the chill time. The mixture needs at least 1 hour in the fridge so it can firm up enough to hold its shape. If you rush this step, the mummy shape may sag when you unwrap it. So, give it time, and you will have a much neater result.
Also, be careful when adding the string cheese wrap. If you pull the strands too thick, the mummy look can seem bulky instead of bandaged. On the other hand, if you add them too tightly, the design may lose its fun, uneven look. Thin strands and loose angles work best.
Finally, do not add the crackers too early if you are making this ahead. Crackers can soften if they sit too long next to the cheese ball. Instead, serve them on the side just before guests arrive. That way, everything stays crisp and fresh.
What to Serve With Mummy Cheese Ball Herb Wrap?
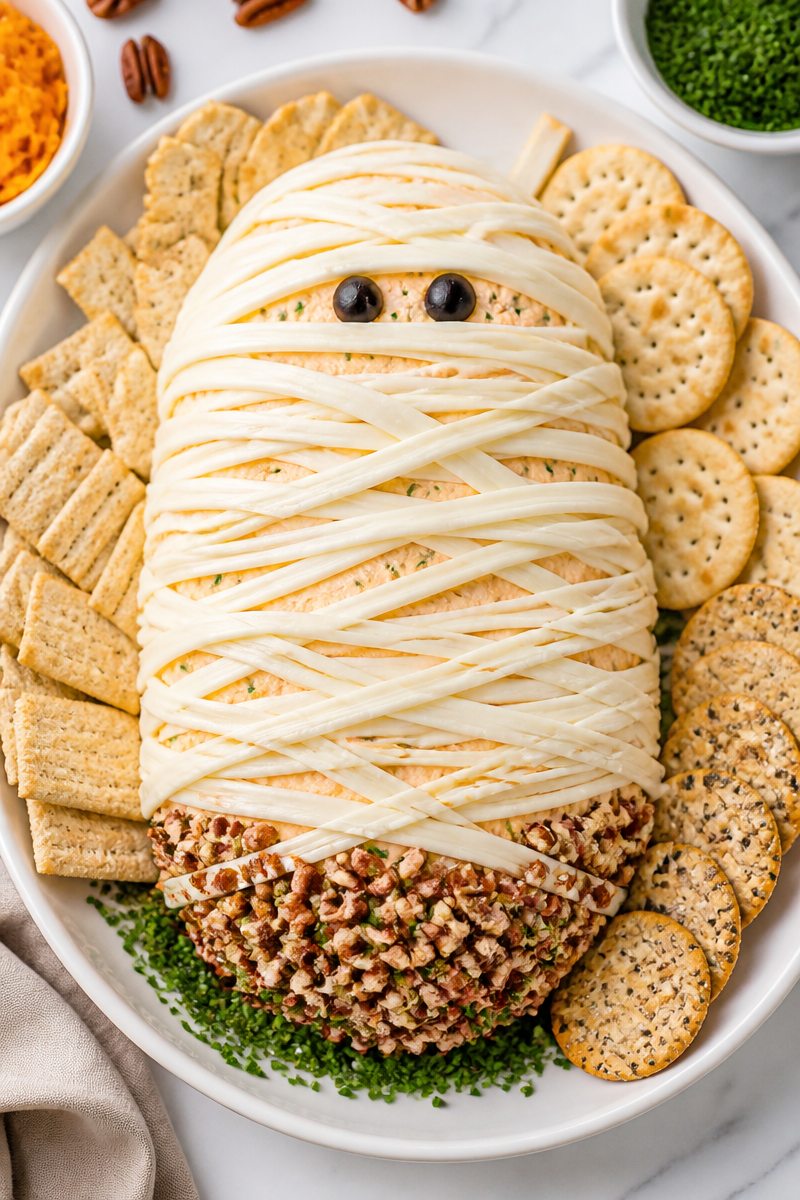
This Mummy Cheese Ball Herb Wrap pairs well with buttery crackers, seeded crackers, sliced baguette, and crisp fresh vegetables like celery sticks, bell pepper strips, and cucumber rounds. In addition, a simple fruit tray with grapes and apple slices can balance the rich cheese flavor nicely. If you want to build a bigger party spread, add a bowl of olives or mixed nuts for extra variety.
Storage Instructions
Store: Keep the cheese ball tightly wrapped in plastic wrap or in an airtight container in the refrigerator for up to 5 days. For the best texture, let it sit at room temperature for 15 to 20 minutes before serving again.
Freeze: You can freeze the cheese ball base, without the crackers and with the garnish added later, for up to 1 month. Wrap it well in plastic wrap, then place it in a freezer-safe bag or container. However, the string cheese wrap may change texture after freezing, so it is best to add that part fresh after thawing.
Reheat: This recipe does not need true reheating, since it is served cold or at room temperature. If the cheese ball feels too firm after chilling, let it sit out for a short time. For a very small portion, you may warm it in the microwave in short 5 to 10 second bursts, but only if you want a softer spread for crackers. Stovetop heating is not recommended for the whole cheese ball.
Recipe Info
Preparation Time: 20 minutes
Cooking Time: 0 minutes
Total Time: 1 hour 20 minutes
Level of Difficulty: Easy
Servings: 12 servings
Estimated Nutrition
Estimated nutrition for the whole recipe (without optional ingredients):
Calories: about 1,850 to 2,050 kcal
Protein: about 75 to 90 g
Fat: about 160 to 185 g
Carbohydrates: about 25 to 35 g
Ingredients
- 16 oz full-fat cream cheese, softened to room temperature
- 1 cup shredded sharp cheddar cheese
- 1 tbsp Worcestershire sauce
- 1 tsp garlic powder
- 1/2 tsp onion powder
- 1/4 tsp smoked paprika
- 2 tbsp fresh chives, finely chopped
- 1/2 cup chopped toasted pecans, for the base coating
- 8 oz string cheese or mozzarella string cheese sticks, pulled into thin strands, for the “mummy wrap”
- 2 small pieces of black olive, for the eyes
- assorted crackers, for serving
Step-by-Step Instructions
Step 1: Mix the Cheese Ball Base
In a large bowl, beat the softened cream cheese with a hand mixer until smooth. Then add the shredded cheddar, Worcestershire sauce, garlic powder, onion powder, and smoked paprika. Mix until everything is fully combined and the color looks even.
Step 2: Add the Chives
Fold in the chopped chives with a spatula, and save a small pinch for later garnish. This keeps the fresh herb flavor bright and gives the cheese ball a nice speckled look.
Step 3: Shape and Chill
Turn the mixture onto a large sheet of plastic wrap. Use the wrap to help shape it into a rough oval mummy body, then twist the ends to seal. Refrigerate it for at least 1 hour, or until it is firm enough to hold its shape.
Step 4: Add the Base and Wrap the Mummy
Unwrap the chilled cheese ball and place it on a serving board. Press the chopped toasted pecans gently over the bottom third of the shape so it looks like a base. After that, pull the string cheese into long thin strands and drape them around the top two-thirds at random angles to mimic mummy bandages.
Step 5: Finish the Face and Serve
Leave a small gap near the top for the face, then press in the two pieces of black olive for the eyes. Sprinkle the reserved chives around the base, and serve right away with assorted crackers. If needed, you can also cover and refrigerate it for up to 4 hours before serving.
Conclusion
This Mummy Cheese Ball Herb Wrap is creamy, savory, and fun to serve. It uses simple ingredients, comes together with little effort, and makes a festive snack for Halloween or any fall gathering. Plus, the mix of cream cheese, cheddar, chives, pecans, and string cheese gives it great flavor and texture.
If you try this recipe, I would love to hear how it turned out. Share your thoughts, tell me what crackers you served with it, or explore more easy party snacks and make-ahead appetizer ideas on the blog.
