
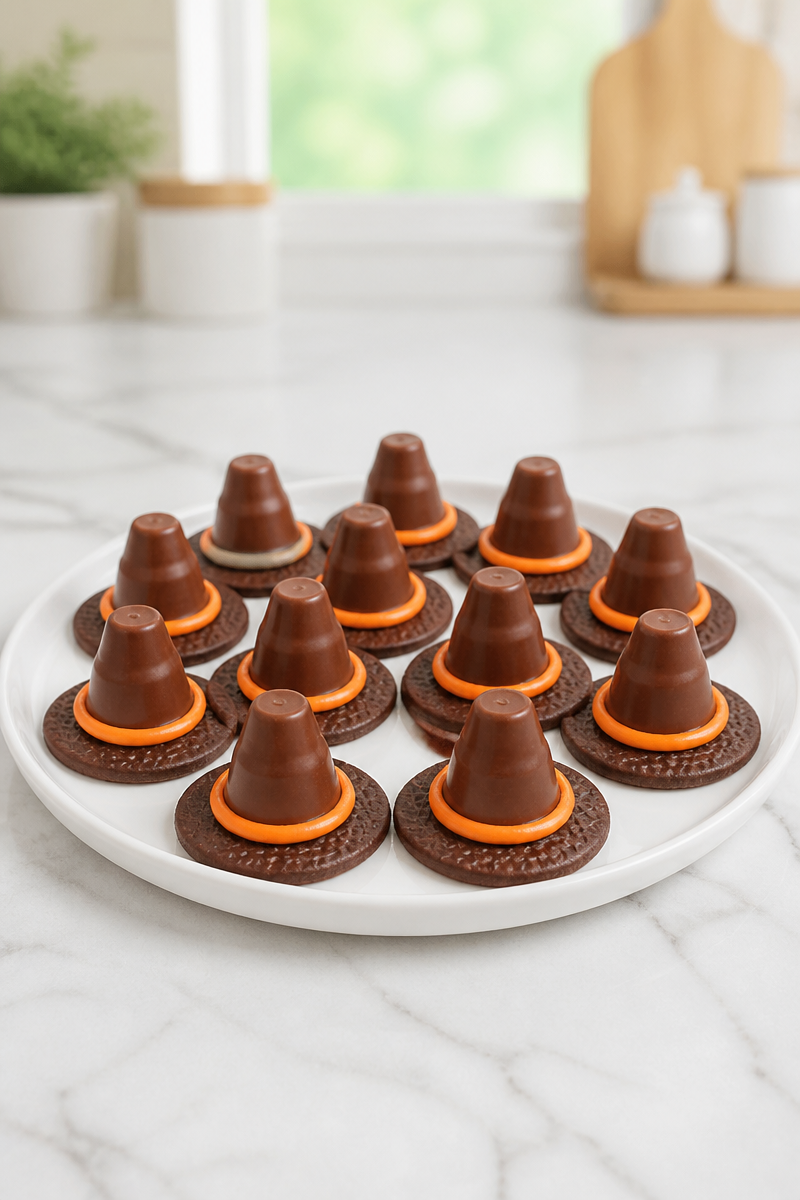
Every once in a while, you come across a treat that feels like a warm hug on a chilly evening, a dessert that invites laughter and joy into your home. The No Bake Witch Hat Cookie Treat is just that—a fun, whimsical, and utterly delightful creation that brings festive cheer to any gathering. Not only is it a brilliant addition to your Halloween spread, but it’s also an easy, quick, and delicious project that you can whip up without turning on your oven.
This recipe combines simple, delightful ingredients: the rich crunch of chocolate wafer cookies, the creamy sweetness of chocolate-covered peanut butter cup candies, and the smooth enchantment of melting chocolate. Topped with a pop of orange decorating icing, these treats not only taste amazing but also look adorable, adding charm to your table. The flavor profile is truly irresistible—think rich chocolate mingling with creamy peanut butter, all balanced by the sweet and festive touch of orange icing.
What truly makes this recipe shine is its ease of preparation. All you need to do is melt the chocolate in the microwave, dip the candies, and stack them together with the cookies. After a short setting time, a quick squeeze of orange icing for decoration completes your creations. In under 20 minutes, you’ll have a platter full of these delightful witch hats ready to serve and wow your friends and family.
Perfect for Halloween parties or even sweet surprises for your grandchildren, the No Bake Witch Hat Cookie Treat invites creativity and fun. Whether you’re hosting a gathering or just celebrating the season, these treats are bound to bring smiles all around.
Why You’ll Love This No Bake Witch Hat Cookie Treat
- Quick: With minimal prep and no baking required, this treat is ready in a flash.
- Simple Ingredients: You likely have many of these ingredients at home, making it easy to throw together.
- Comfort Food: The combination of chocolate and peanut butter never fails to bring joy.
- Kid-Friendly: This is a great recipe to include children in the kitchen, making it fun for the whole family.
- Festive Appeal: These Halloween-themed treats are sure to be a hit at any festive gathering.
Chocolate Wafer Cookie Tips
When it comes to selecting chocolate wafer cookies, focus on finding high-quality options that provide an excellent crunch. Look for cookies that are crispy and not overly sweet, as this will balance well with the rich flavors of the peanut butter cups and melting chocolate. If you can, opt for cookies made with real cocoa for a more authentic chocolate flavor. Additionally, ensure that the cookies are uniform in size to create perfectly shaped witch hats.
Options for Substitutions
- Chocolate Wafer Cookies: Use graham crackers or chocolate shortbread cookies as a base for a different flavor.
- Chocolate-Covered Peanut Butter Cups: Try swapping with flavored candies like caramel-filled chocolates for a unique twist.
- Melting Chocolate: White chocolate or butterscotch chips can be used for a sweeter option.
- Orange Decorating Icing: Use ready-made icing tubes available at grocery stores, or replace with colored melted chocolate.
- Nut-Free Option: Choose sunbutter cups to cater to nut-free diets, ensuring everyone can enjoy the treat.
- Add Sprinkles: Consider adding edible glitter or Halloween-themed sprinkles for extra festive flair.
Watch Out for These Mistakes
As you embark on making these treats, avoid the pitfall of overheating the melting chocolate. Microwaving chocolate for too long can lead to burnt chocolate and a grainy texture. Instead, use 20-second bursts, stirring in between until smooth.
It is also essential to ensure that the melted chocolate coats the bottom of the peanut butter cups adequately. If this step is rushed or if the chocolate is too cool, the hats might not stay together well. Take your time here for better results.
When applying the orange icing, use a steady hand; a thick layer will take longer to set and could make the hats look messy. It’s best to use a light hand and go for a thin, even layer for the perfect finish.
Lastly, allow ample time for the treats to set. While it can be tempting to hurry, giving the chocolate and icing enough time to firm up is crucial for a tidy presentation.
What to Serve With No Bake Witch Hat Cookie Treat?
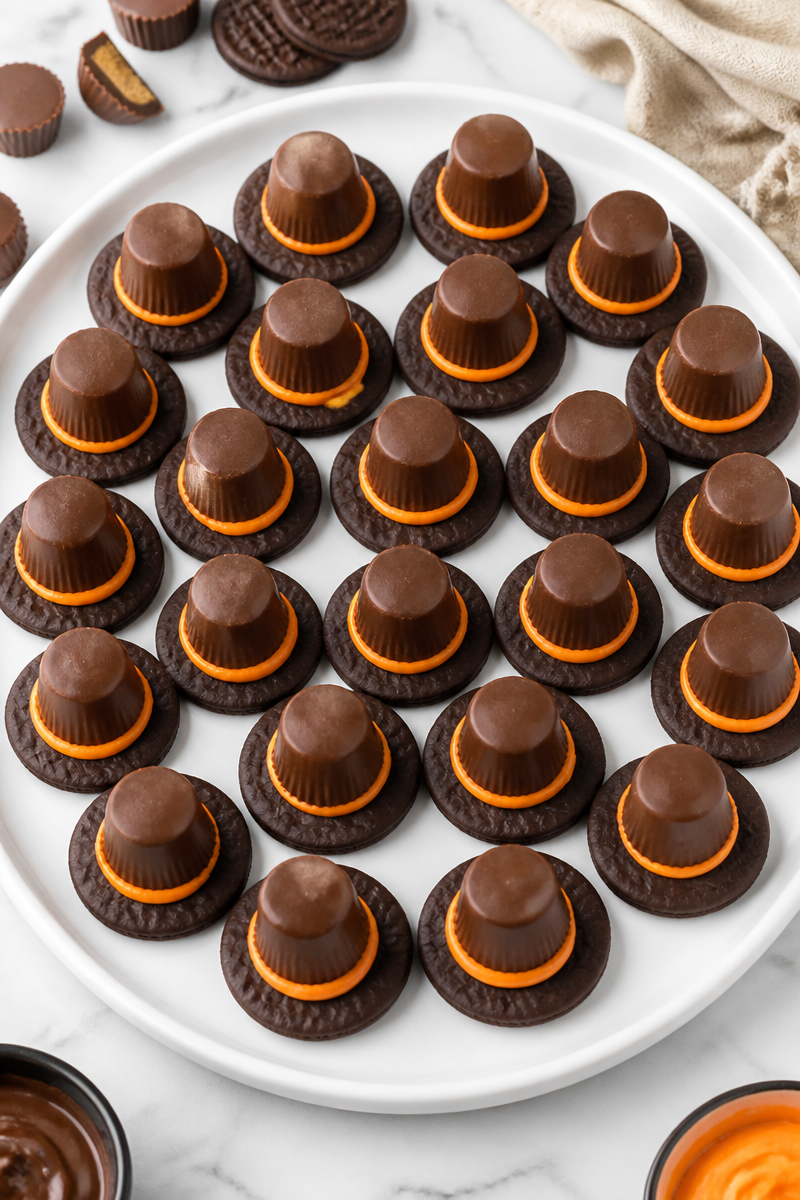
These witch hat treats can be served alongside classic Halloween fare like pumpkin spice cupcakes, crunchy caramel popcorn, and delightful ghost-shaped cheese spreads. A festive fruit platter featuring oranges, grapes, and apples can also provide a refreshing balance to the sweets.
Storage Instructions
Store: Keep the witch hat treats in an airtight container in the fridge for up to 5 days. This will help maintain their freshness and prevent them from becoming too soft.
Freeze: For longer storage, you can freeze the treats for up to 2 months. Just make sure they are well wrapped in plastic wrap and stored in a freezer-safe container.
Reheat: Unlike baked goods, you won’t need to reheat these treats. Simply remove them from the fridge or freezer and enjoy them at room temperature.
Recipe Info
Preparation Time: 10 minutes
Cooking Time: 10 minutes
Total Time: 20 minutes
Level of Difficulty: Easy
Servings: 20 treats
Estimated Nutrition
Estimated nutrition for the whole recipe (without optional ingredients):
- Calories: 1,000-1,200
- Protein: 20-25 grams
- Fat: 50-60 grams
- Carbohydrates: 120-150 grams
Ingredients
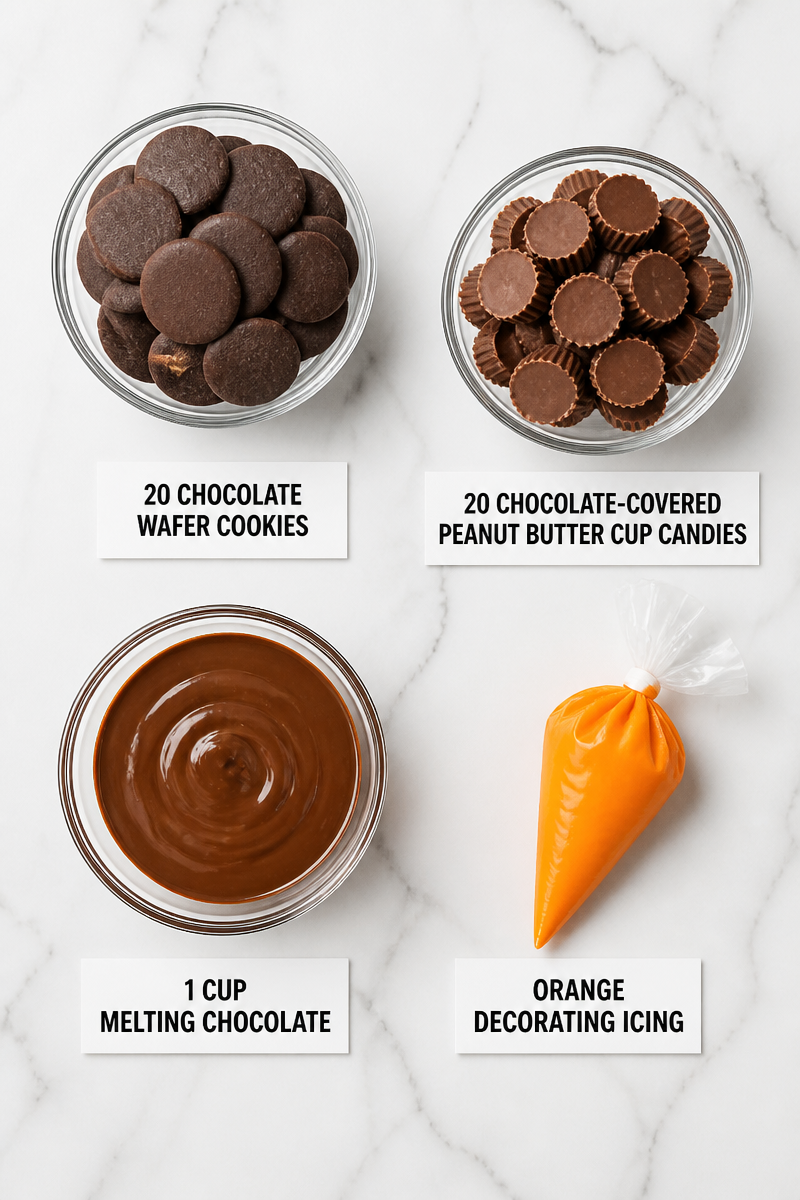
- 20 chocolate wafer cookies
- 20 chocolate-covered peanut butter cup candies
- 1 cup melting chocolate
- Orange decorating icing
Step-by-Step Instructions
Step 1: Melt the Chocolate
Begin by placing your melting chocolate in a microwave-safe bowl. Heat it in the microwave for 20 seconds at a time. Stir after each interval until the chocolate is smooth and fully melted. Be cautious not to overheat it, as this can ruin the texture.
Step 2: Assemble the Hats
Once the chocolate is melted, take each chocolate-covered peanut butter cup and dip its bottom into the melted chocolate. Quickly press it onto the center of a chocolate wafer cookie. This will form the classic witch hat shape.
Step 3: Allow to Set
After assembling, place the cookies on a baking sheet or a plate lined with parchment paper. Let them set for about 10 minutes or until the chocolate is firm to the touch.
Step 4: Pipe the Orange Icing
Once the chocolate has set, take the orange decorating icing and pipe a small band around the base of the peanut butter cup, creating the look of a hat band.
Step 5: Finish Setting
Let the icing set completely before moving the treats. This will ensure they retain their form when served.
Step 6: Serve and Enjoy
After everything has set, your No Bake Witch Hat Cookie Treats are ready to serve! Present them on a festive platter for everyone to enjoy.
To wrap it up, these No Bake Witch Hat Cookie Treats are not just a festive treat but a wonderful opportunity to create fun memories in the kitchen. I encourage you to give this recipe a try and share it with your friends and family. Your holidays will be brighter and a little sweeter because of it! Be sure to let us know how it turned out or explore our other festive recipes for more delight.
Print
No Bake Witch Hat Cookie Treat
- Prep Time: 10 minutes
- Cook Time: 10 minutes
- Total Time: 20 minutes
- Yield: 20 treats 1x
- Category: Dessert
- Method: No-Bake
- Cuisine: American
- Diet: Vegetarian
Description
A fun and whimsical no-bake dessert that combines chocolate wafer cookies and peanut butter cup candies, topped with festive orange icing.
Ingredients
- 20 chocolate wafer cookies
- 20 chocolate-covered peanut butter cup candies
- 1 cup melting chocolate
- Orange decorating icing
Instructions
- Melt the chocolate by placing it in a microwave-safe bowl and heating it in 20-second intervals until smooth.
- Assemble the hats by dipping the bottom of each chocolate-covered peanut butter cup in melted chocolate and pressing it onto a chocolate wafer cookie.
- Allow the assembled cookies to set for about 10 minutes or until the chocolate is firm.
- Pipe the orange icing around the base of the peanut butter cup to create the look of a hat band.
- Finish setting the icing completely before moving the treats.
- Serve and enjoy your No Bake Witch Hat Cookie Treats on a festive platter!
Notes
Store in an airtight container in the fridge for up to 5 days or freeze for up to 2 months.
Nutrition
- Serving Size: 1 treat
- Calories: 60
- Sugar: 5g
- Sodium: 50mg
- Fat: 3g
- Saturated Fat: 1g
- Unsaturated Fat: 1g
- Trans Fat: 0g
- Carbohydrates: 8g
- Fiber: 1g
- Protein: 1g
- Cholesterol: 0mg
