
This Orange Black Halloween Layer Cake is pure fun, but it also tastes like real homemade comfort. I love how it turns a simple party dessert into something special without asking for fancy baking skills. Plus, the bright orange and deep black layers make every slice feel like a little surprise.
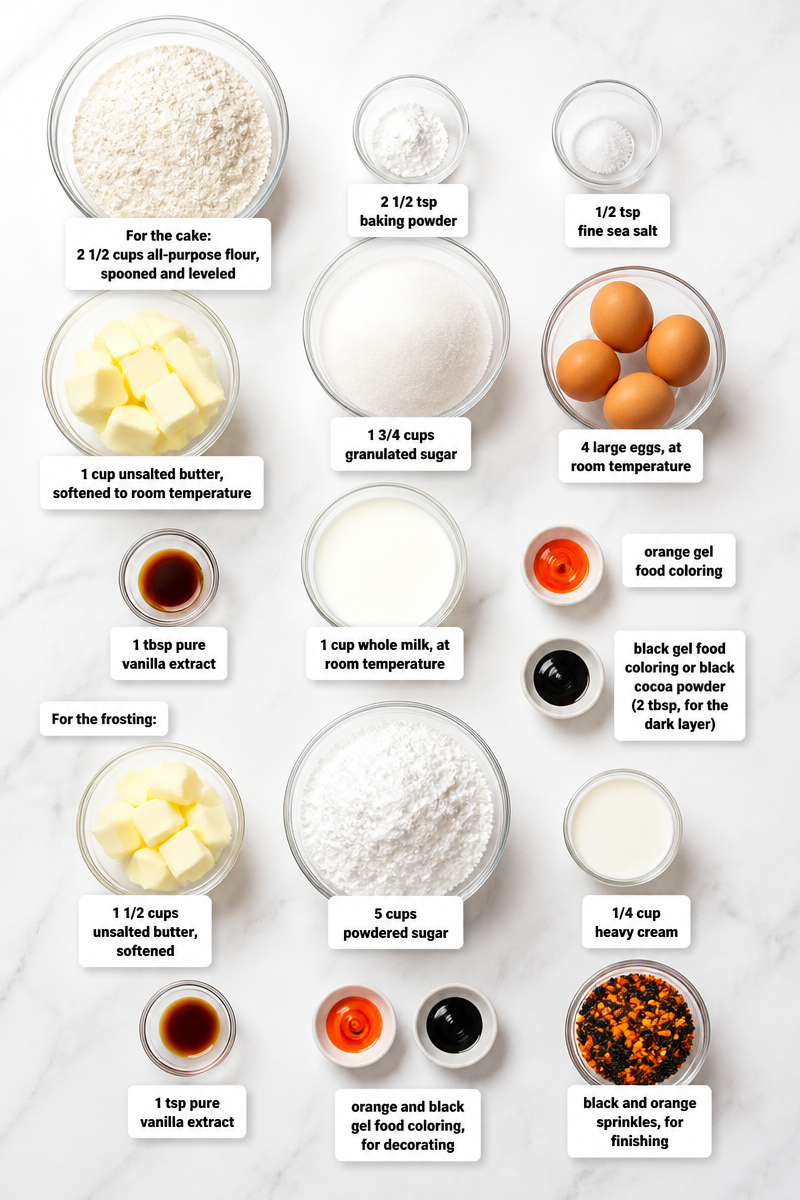
What makes this cake so good is the balance of everyday baking ingredients and bold Halloween color. You start with 2 1/2 cups all-purpose flour, spooned and leveled, 2 1/2 tsp baking powder, 1/2 tsp fine sea salt, 1 cup unsalted butter, softened to room temperature, 1 3/4 cups granulated sugar, 4 large eggs, at room temperature, 1 tbsp pure vanilla extract, and 1 cup whole milk, at room temperature. Then, for the color and theme, you add orange gel food coloring and black gel food coloring or black cocoa powder (2 tbsp, for the dark layer). The frosting is rich and fluffy with 1 1/2 cups unsalted butter, softened, 5 cups powdered sugar, 1/4 cup heavy cream, and 1 tsp pure vanilla extract, plus orange and black gel food coloring and black and orange sprinkles for the finish. The flavor is classic vanilla cake with a soft, buttery crumb, and the frosting adds sweet creaminess without feeling heavy.
The method is straightforward, too. First, you prep your pans, whisk the dry ingredients, and cream the butter and sugar until fluffy. Then you add the eggs, vanilla, milk, and flour mixture in stages, which helps keep the batter smooth. After that, you divide and color the batter, bake the layers, make the frosting, and assemble the cake with a crumb coat and final decoration. In total, you need 35 minutes of prep, 30 minutes of baking, and 1 hour 5 minutes total, plus cooling time. The finished cake makes one 8-inch, 3-layer cake with 14 servings, so it works well for a crowd.
This is a great cake for Halloween parties, school events, family birthdays, or any fall get-together. It also works beautifully for potlucks, because it slices neatly and always gets attention on the dessert table. If you want a festive cake that looks impressive but still feels manageable at home, this one is a smart choice.
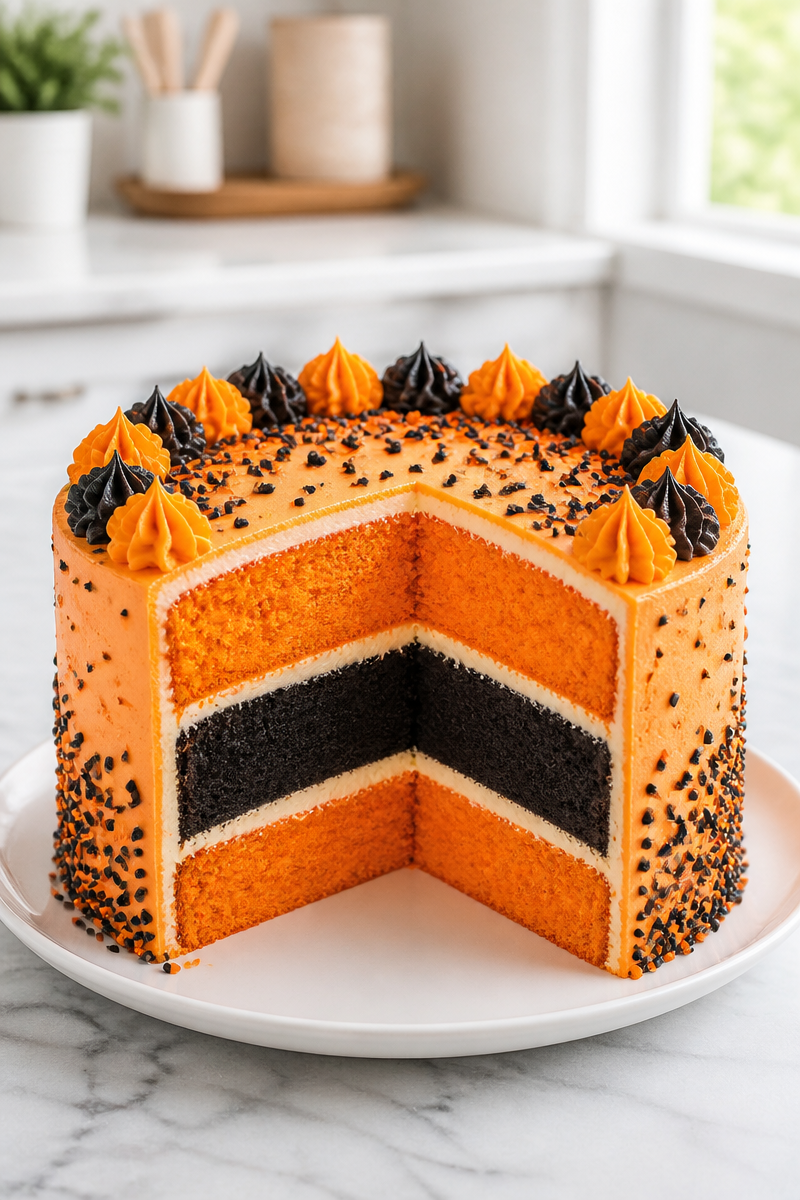
Why You’ll Love This Orange Black Halloween Layer Cake
- It uses simple pantry ingredients, so you may already have most of what you need.
- It looks dramatic, yet the steps are easy enough for many home bakers.
- The texture is soft, moist, and tender, thanks to the butter, eggs, and milk.
- The color layers make it perfect for Halloween, fall parties, and themed celebrations.
- The frosting is smooth and creamy, and it gives you plenty of room for simple or creative decorating.
Butter Tips
Butter is the heart of this cake, both in the batter and in the frosting. For the cake, use unsalted butter that is fully softened to room temperature, not melted. That way, it creams well with the sugar and traps air, which helps the cake rise and stay light. For the frosting, soft butter also makes a big difference, because it creates a smoother, fluffier texture. If your kitchen is cool, let the butter sit out a bit longer. However, if it gets greasy or shiny, it is too warm, so give it a little time to firm up again.
Options for Substitutions
- Use cake flour instead of all-purpose flour for a slightly softer crumb.
- Swap whole milk with 2% milk if that is what you have on hand.
- Replace the black cocoa powder with black gel food coloring if you want a stronger color and less cocoa flavor.
- Use heavy whipping cream in the frosting if you do not have heavy cream.
- Add a little orange zest to the batter for a brighter citrus note.
- Top the cake with Halloween candies or candy eyes instead of sprinkles for a fun twist.
Watch Out for These Mistakes
One of the biggest mistakes is overmixing the batter. Once you add the flour, mix only until the ingredients blend together. If you beat it too much, the cake can turn dense instead of soft. Also, be sure to measure the flour correctly by spooning it into the cup and leveling it off. Too much flour can make the layers dry.
Another common issue is using butter and eggs that are too cold. When the butter is too firm, it does not cream well with the sugar. As a result, the cake may not rise as nicely. Likewise, cold eggs and cold milk can make the batter curdle a little. So, for the best texture, let those ingredients warm up before you start.
Coloring can also be tricky. If you add too little orange gel coloring, the layer may look pale after baking. On the other hand, if you add too much liquid food coloring, the batter can become too loose. Therefore, use gel coloring for bold color without thinning the batter. For the black layer, mix until the color is fully even so you do not end up with gray streaks.
Finally, do not frost a warm cake. Even if the layers feel cool on the outside, they should be fully cooled before assembly. Otherwise, the frosting can slide and melt. If you have time, chill the cake briefly after the crumb coat, because that helps the final frosting layer look neat and smooth.
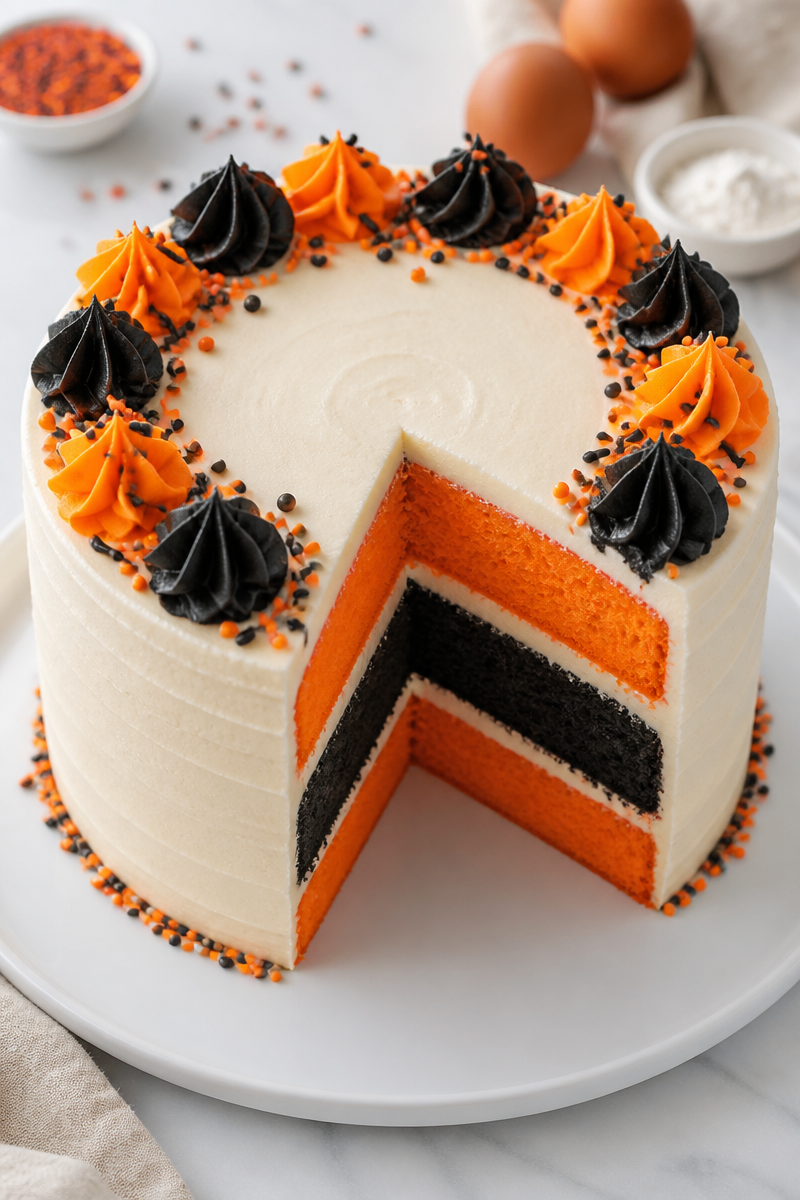
What to Serve With Orange Black Halloween Layer Cake?
This cake pairs nicely with simple sides that balance its sweetness. For example, a scoop of vanilla ice cream, a bowl of fresh berries, or a mug of hot coffee all work well. If you want a fall spread, add warm apple cider, spiced tea, or a light fruit salad. Since the cake is rich and festive, it is best to keep the rest of the dessert table easy and fresh.
Storage Instructions
Store: Keep the cake covered at room temperature for up to 2 days, or store it in the refrigerator for up to 5 days. For the best flavor and texture, let refrigerated slices come to room temperature before serving.
Freeze: You can freeze the unfrosted cake layers for up to 2 months. Wrap each layer tightly in plastic wrap, then in foil. If you want, freeze slices of frosted cake as well, but wrap them well and store them in an airtight container.
Reheat: This is a cake, so there is no real stovetop reheating needed. However, if you want a softer slice, let it sit at room temperature. For a quicker thaw, use the microwave for 10 to 15 seconds on a low setting, just until the frosting and cake soften slightly.
Recipe Info
Preparation Time: 35 minutes
Cooking Time: 30 minutes
Total Time: 1 hour 5 minutes, plus cooling
Level of Difficulty: Easy
Servings: 14
Kcal: 460 kcal per serving
Estimated Nutrition
Estimated nutrition for the whole recipe (without optional ingredients):
- Calories: 5,900 to 6,600
- Protein: 55 to 75 g
- Fat: 320 to 380 g
- Carbohydrates: 720 to 820 g
Ingredients
- For the cake: 2 1/2 cups all-purpose flour, spooned and leveled; 2 1/2 tsp baking powder; 1/2 tsp fine sea salt; 1 cup unsalted butter, softened to room temperature; 1 3/4 cups granulated sugar; 4 large eggs, at room temperature; 1 tbsp pure vanilla extract; 1 cup whole milk, at room temperature; orange gel food coloring; black gel food coloring or black cocoa powder (2 tbsp, for the dark layer).
- For the frosting: 1 1/2 cups unsalted butter, softened; 5 cups powdered sugar; 1/4 cup heavy cream; 1 tsp pure vanilla extract; orange and black gel food coloring, for decorating; black and orange sprinkles, for finishing.
Step-by-Step Instructions
Step 1: Prep the Oven and Cake Pans
Preheat your oven to 350°F. Then grease three 8-inch round cake pans and line the bottoms with parchment paper rounds. This simple step helps the layers release cleanly after baking, which makes assembly much easier.
Step 2: Mix the Dry Ingredients
In a medium bowl, whisk together the flour, baking powder, and salt. Whisking now helps spread the leavening evenly through the batter, so the cake bakes more evenly later on.
Step 3: Cream the Butter and Sugar
In a large bowl, beat the softened butter and sugar with a hand mixer on medium-high speed for 3 to 4 minutes. Keep going until the mixture looks pale and fluffy, and scrape down the bowl as needed. This step adds air, so it is an important part of a light cake.
Step 4: Add Eggs, Vanilla, Milk, and Flour
Beat in the eggs one at a time, mixing just until each one is blended in. Then beat in the vanilla. After that, add the flour mixture in three additions, alternating with the milk in two additions, starting and ending with the flour. Mix only until combined after each addition, because overmixing can make the cake tough.
Step 5: Color, Bake, Frost, and Assemble
Divide the batter evenly into two bowls, with about 2 1/4 cups in each. Tint one bowl vivid orange with orange gel food coloring. Tint the other bowl black with black cocoa powder or black gel coloring. Then divide the orange batter between two pans and the black batter into the third pan. Bake for 25 to 30 minutes, until a toothpick comes out clean. Cool the cakes in the pans for 10 minutes, then turn them onto wire racks and cool completely.
While the cakes cool, make the frosting. Beat the butter until smooth and pale, then add the powdered sugar one cup at a time. Next, add the heavy cream and vanilla, and beat until the frosting is light and fluffy. Once the layers are cool, place one orange layer on a serving plate, spread frosting on top, add the black layer, frost again, and finish with the last orange layer. Apply a thin crumb coat, chill for 20 minutes, then frost the outside with a thicker final layer. Finally, tint a little frosting black and orange for decoration, pipe on swirls or dots, and finish with sprinkles.
Conclusion
This Orange Black Halloween Layer Cake is festive, soft, and full of classic vanilla flavor. Because it uses simple ingredients and a clear method, it is a great choice for home bakers who want something eye-catching without stress. The orange and black layers make each slice look special, and the creamy frosting ties everything together beautifully.
If you try this cake, I hope it brings a little extra fun to your fall table. Leave a comment with your results, share it with a friend who loves Halloween baking, or explore more seasonal dessert ideas for your next celebration.
