
There’s something undeniably comforting about a warm, freshly made pumpkin beignet. These delightful treats remind us of crisp autumn days and family gatherings, making them a perfect addition to any occasion. The soft, fluffy texture combined with the rich flavor of pumpkin and the sweetness of powdered sugar transforms a simple dessert into pure delight. In my opinion, there’s nothing quite like sinking your teeth into a pumpkin beignet, and I’m excited to share this easy recipe with you.
At the heart of this recipe are key ingredients that enhance its wonderful flavor. Active dry yeast helps the dough rise, creating that iconic fluffy texture, while canned pumpkin puree adds a warm, earthy sweetness. Each ingredient, from the rich whole milk to the fragrant pumpkin pie spice, works harmoniously to fill your kitchen with an irresistible aroma. Sprinkling powdered sugar on top gives a sweet finish, elevating these bites into a classic treat.
This recipe may seem like a lot, but it’s surprisingly straightforward. You’ll spend about 30 minutes prepping the ingredients, with an additional hour and a half for the dough to rise. Once that’s done, you’ll only need about 15 minutes of frying time. In total, you can have 20 delicious beignets in under two and a half hours. It’s a great way to spend a leisurely afternoon preparing a tasty treat that everyone will love.
These pumpkin beignets are perfect for chilly nights or family gatherings, offering warmth and sweetness that not only satisfies your sweet tooth but also brings everyone together. Serve them for breakfast, dessert, or a snack, and watch smiles bloom around the table.
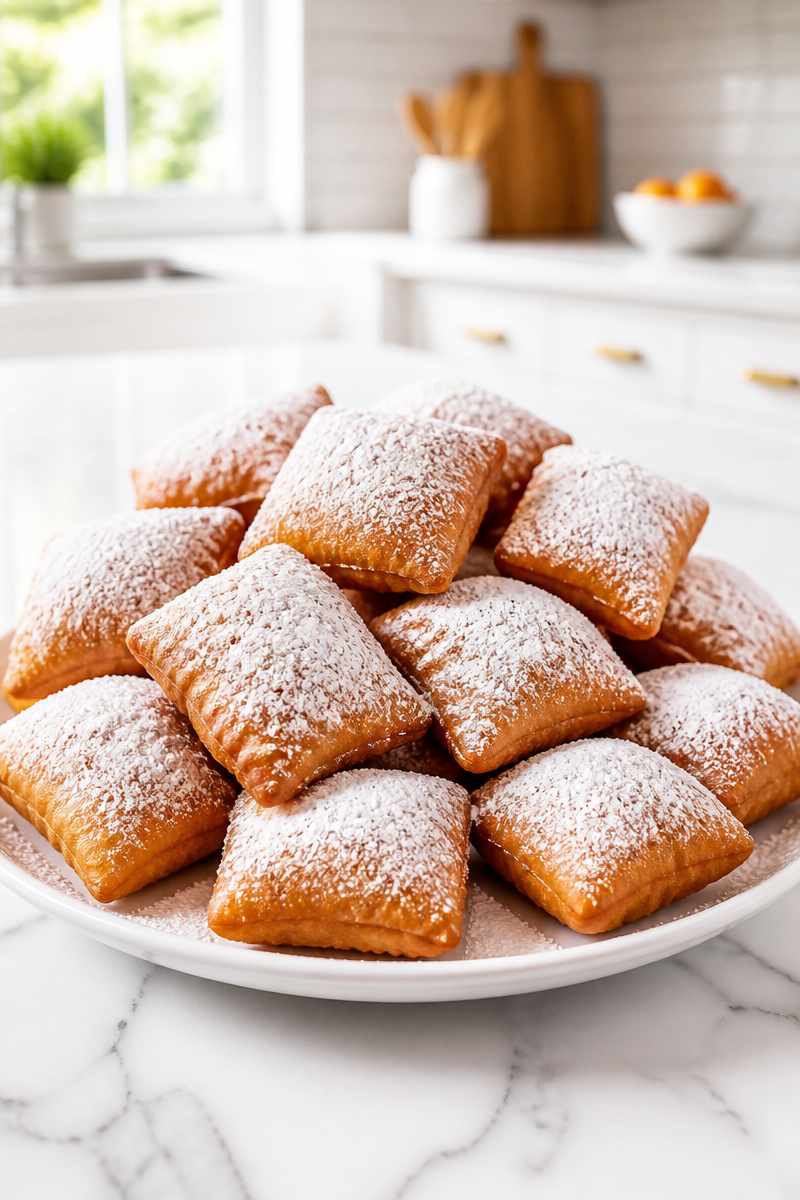
Why You’ll Love This Pumpkin Beignet Bite Powdered Sugar
- Quick to Make: They seem complex, but can be whipped up in under two and a half hours.
- Simple Ingredients: Most of the components are pantry staples.
- Comfort Food: They provide a warm, cozy feeling, perfect for sharing.
- Versatile Serving: Great for breakfast, dessert, or alongside coffee.
- Fun for Groups: Enjoy frying these together is a great activity for families.
Pumpkin Puree Tips
When selecting pumpkin puree, it’s best to choose the canned option unless you’ve roasted your own pumpkin. Canned pumpkin puree offers a consistent flavor and texture that is hard to replicate. Look for brands that have no added sugars or fillers—just pure pumpkin. This will ensure the best flavor in your beignet batter, enhancing the richness without unnecessary sweetness. Also, always check the expiration date to guarantee freshness.
Options for Substitutions
- Use fresh pumpkin puree instead of canned for a more robust flavor.
- Substitute almond milk for a dairy-free option instead of whole milk.
- Replace unsalted butter with coconut oil for a vegan version.
- Swap all-purpose flour with gluten-free flour blend.
- Use maple syrup instead of granulated sugar for added flavor.
- Replace vegetable oil with canola oil for frying.
Watch Out for These Mistakes
One common pitfall is not activating the yeast properly. Ensure your warm water is the right temperature, about 105°F; too hot and it could kill the yeast, too cold and it won’t activate. If you don’t see a foamy mixture after 10 minutes, start over with fresh yeast.
Overworking the dough during kneading can also create dense beignets. Gently knead until smooth and elastic; avoid adding too much extra flour, which can lead to tough results. During the rising times, make sure to let the dough double in size; skipping this can result in flat beignets that don’t puff up.
Lastly, be careful not to crowd the pot when frying. Fry in small batches to maintain the oil temperature around 350°F. This ensures even cooking and that delicious golden-brown color.
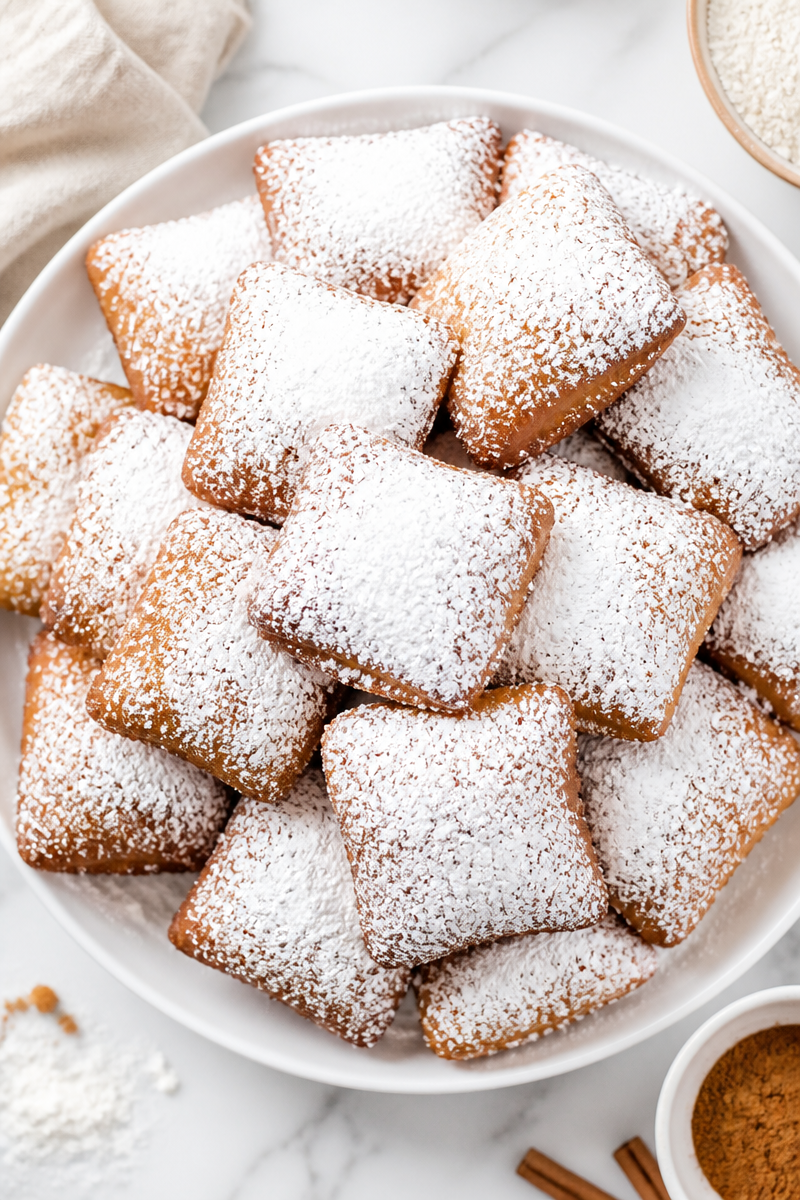
What to Serve With Pumpkin Beignet Bite Powdered Sugar?
These beignets pair wonderfully with a variety of sides. Consider serving them with a warm spiced apple cider or a cup of pumpkin spice latte to complement their flavor. A simple fruit salad can balance the sweetness, or you might enjoy them alongside a rich breakfast casserole for a more substantial brunch spread.
Storage Instructions
Store: Keep in an airtight container at room temperature for up to one day for the best texture.
Freeze: If you want to enjoy them later, these can be frozen for up to two months. Layer them with parchment paper to prevent sticking.
Reheat: For best results, reheat in a 350°F oven for about 5 minutes to regain that fresh, warm quality. Dust with fresh powdered sugar after reheating for a delightful touch.
Recipe Info
- Preparation Time: 30 minutes (plus 1 hour 30 minutes rising)
- Cooking Time: 15 minutes
- Total Time: 2 hours 15 minutes
- Level of Difficulty: Easy
- Servings: 20 servings
Estimated Nutrition
Estimated nutrition for the whole recipe (without optional ingredients): Approximately 3,600 calories, 60g protein, 85g fat, and 560g carbohydrates.
Ingredients
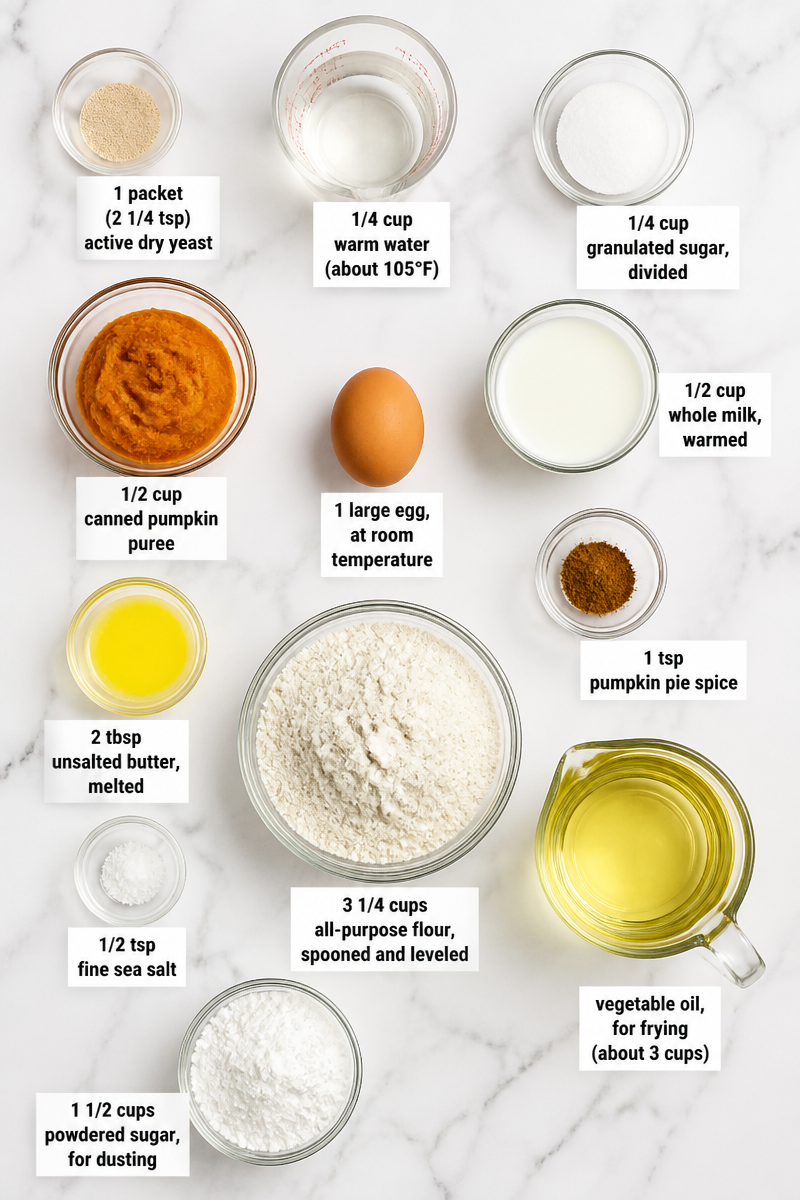
- 1 packet (2 1/4 tsp) active dry yeast
- 1/4 cup warm water (about 105°F)
- 1/4 cup granulated sugar, divided
- 1/2 cup canned pumpkin puree
- 1/2 cup whole milk, warmed
- 1 large egg, at room temperature
- 2 tbsp unsalted butter, melted
- 1 tsp pumpkin pie spice
- 1/2 tsp fine sea salt
- 3 1/4 cups all-purpose flour, spooned and leveled
- Vegetable oil, for frying (about 3 cups)
- 1 1/2 cups powdered sugar, for dusting
Step-by-Step Instructions
Step 1: Activate the Yeast
In a small bowl, combine the warm water, active dry yeast, and one teaspoon of granulated sugar. Let it sit for about 5-10 minutes, until you see a foamy layer on top. This step is crucial as it ensures your yeast is alive and ready to help the dough rise.
Step 2: Make the Dough
In a large mixing bowl, whisk together the pumpkin puree, warmed whole milk, large egg, melted butter, the remaining sugar, pumpkin pie spice, and fine sea salt. Once evenly mixed, stir in the foamy yeast mixture until well combined. Gradually add the all-purpose flour, mixing until a soft, slightly sticky dough forms.
Step 3: Knead the Dough
Turn the dough out onto a lightly floured surface and knead it for about 5-6 minutes. You want it to become smooth and elastic. If it’s sticking too much, add a little more flour, but not too much, or your beignets will be tough.
Step 4: First Rise
Place the kneaded dough in a large oiled bowl, turning the dough to coat it lightly in oil. Cover the bowl with a clean kitchen towel and let it rise in a warm, draft-free spot for about 1 hour, or until it has doubled in size.
Step 5: Roll and Cut the Dough
Once your dough has risen, gently turn it out onto a floured surface. Roll the dough into a rectangle about half an inch thick. Using a sharp knife or pizza cutter, cut the dough into 2-inch squares. Place these squares on a floured baking sheet.
Step 6: Second Rise
Cover the cut squares loosely with a towel and allow them to rest for 20-30 minutes, or until they are slightly puffy. This second rise will ensure they’re light and airy when fried.
Step 7: Heat the Oil
In a deep, heavy pot, pour vegetable oil to a depth of about 2 inches. Heat over medium heat until it reaches 350°F, which you can check with a deep-fry thermometer.
Step 8: Fry the Beignets
Working in small batches, carefully place the dough squares in the hot oil. Fry for about 2-3 minutes on each side, or until they puff up and turn golden brown. Once cooked, transfer them to a paper-towel-lined plate to drain the excess oil.
Step 9: Dust with Powdered Sugar
While still warm, generously coat the beignets with powdered sugar. Be generous here; the more, the merrier, in true New Orleans style!
Step 10: Serve
Serve your beignets warm, ideally within 30 minutes of frying, along with extra powdered sugar for those who want an even sweeter treat. Enjoy these delightful bites with family and friends.
Step 11: Storage
These beignets are best enjoyed fresh. However, if you have leftovers, store them in an airtight container at room temperature for up to a day. For longer preservation, freeze them for up to two months. Always reheat before serving.
In conclusion, these pumpkin beignets are sure to become a favorite in your home. They embody the warmth of the season and create memories with every bite. I invite you to try making them, and I would love to hear your feedback or see how you enjoyed them! Plus, don’t miss out on exploring more delicious recipes that bring joy to your kitchen.
