
Spooky Mummy Cheesy Garlic Breadsticks offer a delightful combination of whimsy and flavor, making them perfect for any occasion. From family gatherings to Halloween parties, there’s something about these cute little mummies that brings joy. In my experience, they are pure comfort food and warm up the heart during chilly evenings or festive nights.
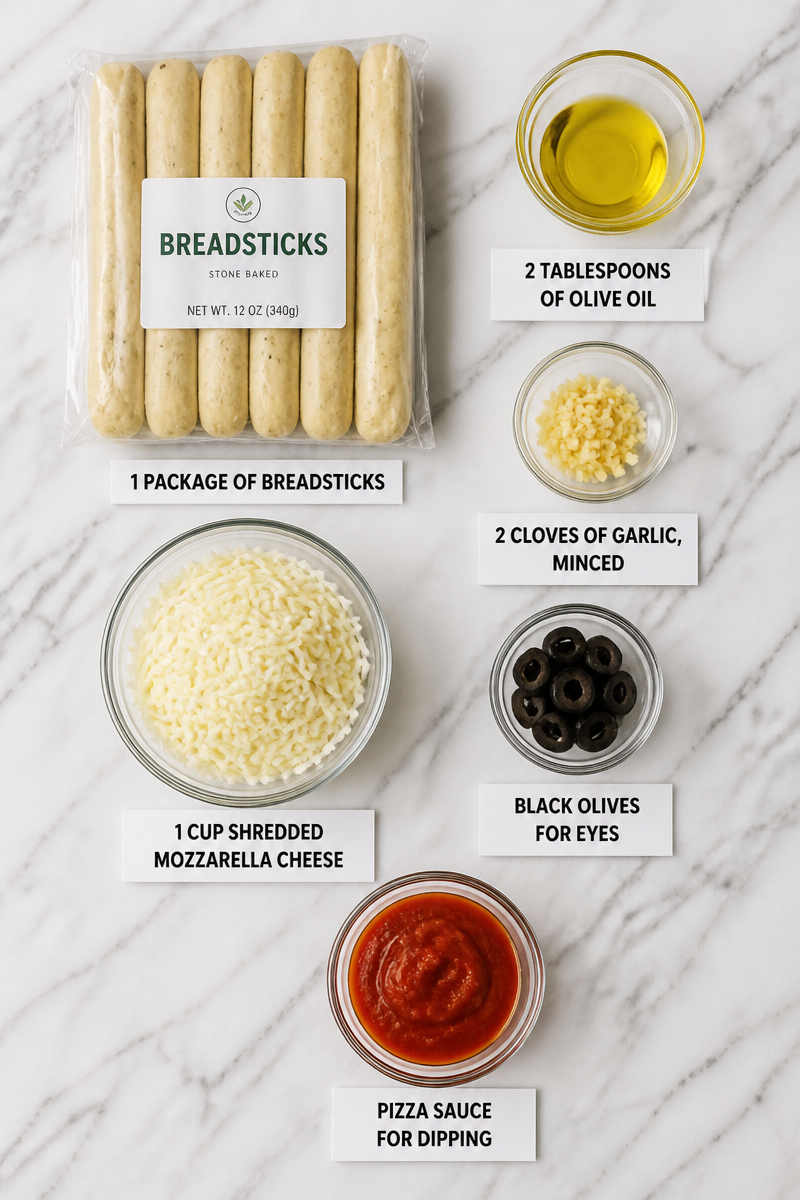
The recipe uses simple but delightful ingredients: one package of breadsticks serves as the base, while two tablespoons of olive oil and two cloves of minced garlic provide a fragrant, savory punch. Topping it all off is a cup of shredded mozzarella cheese, which melts beautifully to create that ‘mummy’ look. Black olives serve a fun purpose as googly eyes, bringing a playful touch to the dish. Plus, pizza sauce makes an excellent dipping companion, introducing an additional layer of flavor.
Preparing these spooky breadsticks is a straightforward task that anyone can tackle. Start by preheating your oven according to the package instructions. While the oven warms, mix olive oil and garlic in a bowl, then brush that fragrant mixture over the breadsticks. Sprinkle the shredded cheese on top for that signature mummy appearance, bake them until golden, add the olives, and voilà—you have a fun, tasty treat!
These breadsticks are great for chilly nights or family movie marathons. They can also make an exciting addition to potlucks or Halloween festivities, creating a fun atmosphere while making sure everyone enjoys good food.
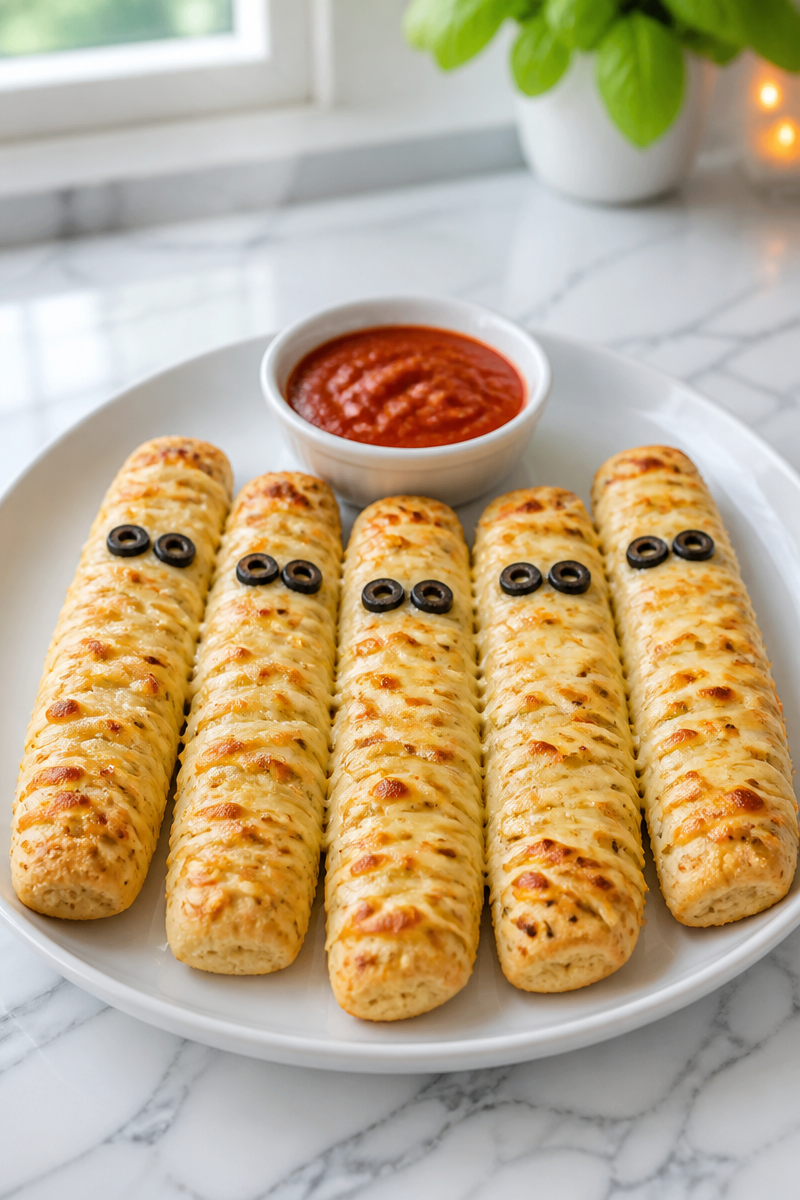
Why You’ll Love This Spooky Mummy Cheesy Garlic Breadstick
- Quick Preparation: This recipe can be made quickly, perfect for busy days.
- Simple Ingredients: All ingredients are easy to find and often already in most kitchens.
- Comforting Flavor: The combination of garlic, cheese, and warm bread is universally loved.
- Fun Presentation: These adorable mummies are sure to get smiles, making them perfect for family gatherings or playful get-togethers.
- Versatile Meal: Enjoy them as a side dish, snack, or party appetizer—they can fit into any meal plan.
Breadstick Tips
When selecting your breadsticks, it’s a good idea to go for a brand that is known for their soft, fluffy texture. Look for a package that states “fresh” or “baked” to ensure that they will rise beautifully and have a light, tender bite after baking. Always check the expiration date to ensure maximum freshness. If you have time, consider making homemade breadsticks for an even tastier experience. They can be personalized with your favorite herbs or spices for that extra kick!
Options for Substitutions
- Use Different Cheese: Try using cheddar or pepper jack for a different flavor profile.
- Garlic Alternatives: Swap fresh garlic with garlic powder if you’re in a hurry.
- Olive Oil Substitute: Vegetable oil or melted butter can also be used in place of olive oil.
- Add Herbs: Sprinkle dried or fresh herbs like oregano or basil for added flavor.
- Vegetable Toppers: Instead of black olives, use sliced cherry tomatoes or peppers for variety.
- Pizza Sauce Alternatives: Serve with marinara, ranch, or any favorite dipping sauce.
Watch Out for These Mistakes
A common pitfall is overcooking the breadsticks. Keep an eye on them as they bake; the cooking time on the package is a guideline, but every oven varies. If they go too long, they can become hard and dry.
Another mistake might be the garlic mixture. Don’t rush this step. Mixing the olive oil with the minced garlic in a bowl is essential to ensure even flavor distribution. If you simply drizzle the oil without mixing, some breadsticks might end up lacking that delicious garlic flavor.
Also, consider the timing for adding toppings. Wait until the breadsticks are out of the oven, as adding olives too early might cause them to burn or harden, losing their appealing visual effect.
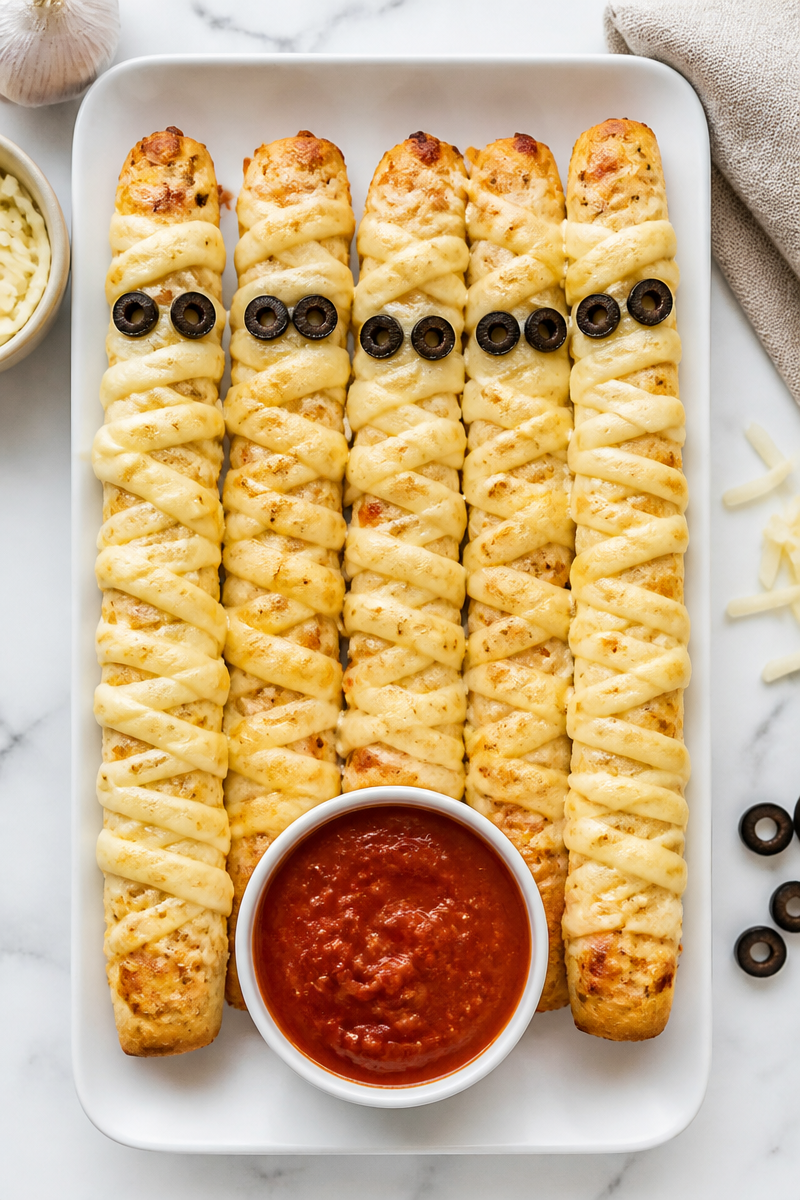
What to Serve With Spooky Mummy Cheesy Garlic Breadstick?
These mummy breadsticks pair wonderfully with a side salad to balance their richness. A fresh garden salad filled with tomatoes, cucumbers, and a light vinaigrette counteracts the cheesy heaviness. Alternatively, a nice bowl of chicken noodle soup or a warm pumpkin soup complements their warmth perfectly, making for a cozy meal.
Storage Instructions
Store: Keep any leftovers in an airtight container in the fridge for up to three days.
Freeze: For longer storage, you can freeze the baked breadsticks for up to three months. Make sure they are fully cooled before wrapping them tightly in plastic wrap or aluminum foil.
Reheat: When you’re ready to enjoy them again, simply reheat in the oven at 350°F (175°C) for about 10 minutes to restore their crispness. You can also use the microwave, but be cautious as they can become chewy if overcooked.
Recipe Info
Preparation Time: 10 minutes
Cooking Time: 15 minutes
Total Time: 25 minutes
Level of Difficulty: Easy
Servings: Approximately 8 breadsticks depending on the package size
Estimated Nutrition
Estimated nutrition for the whole recipe (without optional ingredients):
- Calories: 600-700
- Protein: 25-30 grams
- Fat: 30-35 grams
- Carbohydrates: 60-65 grams
Ingredients
- 1 package of breadsticks
- 2 tablespoons of olive oil
- 2 cloves of garlic, minced
- 1 cup shredded mozzarella cheese
- Black olives for eyes
- Pizza sauce for dipping
Step-by-Step Instructions
Step 1: Preheat Oven and Prep the Mixture
Begin by preheating your oven according to the instructions on the breadstick package. In a small bowl, mix the olive oil with the minced garlic thoroughly. This fragrant combination will set the stage for the delicious flavors to come.
Step 2: Brush the Garlic Mixture
Take the garlic-oil mixture and use a brush to generously coat each breadstick. Make sure that all sides are covered for maximum flavor. The aroma of garlic will start to fill your kitchen!
Step 3: Add Mozzarella Cheese
Once your breadsticks are brushed with the garlic mixture, sprinkle the shredded mozzarella cheese evenly over the top. You can create a fun ‘mummy’ effect by arranging the cheese in a zigzag pattern.
Step 4: Bake to Perfection
Place the prepared breadsticks in the preheated oven. Bake them according to the package instructions, or until the cheese is bubbly and golden brown, typically around 10-15 minutes.
Step 5: Create Mummy Faces With Olives
After pulling the breadsticks from the oven, immediately place black olives on them to resemble spooky eyes. This step transforms your cheesy treats into lively mummies.
Step 6: Serve With Dipping Sauce
Serve the warm mummy cheesy garlic breadsticks alongside a small bowl of pizza sauce for dipping. Encourage your guests to dig in right away while they are at their most delicious!
In conclusion, these Spooky Mummy Cheesy Garlic Breadsticks are not just easy to make but are also a hit in any setting. With a delightful mix of simple ingredients, fun presentation, and comforting taste, you’ll find them to be a family favorite in no time. I invite you to try this recipe, and let me know how it turned out for you. Feel free to explore more similar posts to enhance your cooking adventures!
Print
Spooky Mummy Cheesy Garlic Breadsticks
- Prep Time: 10 minutes
- Cook Time: 15 minutes
- Total Time: 25 minutes
- Yield: 8 breadsticks 1x
- Category: Appetizer
- Method: Baking
- Cuisine: American
- Diet: Vegetarian
Description
A delightful combination of whimsy and flavor, these cheesy garlic breadsticks are perfect for Halloween parties and family gatherings.
Ingredients
- 1 package of breadsticks
- 2 tablespoons of olive oil
- 2 cloves of garlic, minced
- 1 cup shredded mozzarella cheese
- Black olives for eyes
- Pizza sauce for dipping
Instructions
- Preheat the oven according to the instructions on the breadstick package.
- Mix the olive oil with the minced garlic thoroughly in a small bowl.
- Brush the garlic-oil mixture generously over each breadstick.
- Sprinkle the shredded mozzarella cheese evenly over the top.
- Bake in the preheated oven according to the package instructions until the cheese is bubbly and golden brown, around 10-15 minutes.
- Place black olives on the breadsticks to resemble spooky eyes immediately after removing them from the oven.
- Serve warm with pizza sauce for dipping.
Notes
These breadsticks are great for chilly nights or family movie marathons and can also make an exciting addition to potlucks or Halloween festivities.
Nutrition
- Serving Size: 1 serving
- Calories: 650
- Sugar: 2g
- Sodium: 600mg
- Fat: 32g
- Saturated Fat: 10g
- Unsaturated Fat: 15g
- Trans Fat: 0g
- Carbohydrates: 65g
- Fiber: 2g
- Protein: 28g
- Cholesterol: 40mg
