
There’s something about a sweet, creamy dessert that makes you feel warm inside, and this Sugar Free Banana Pudding Layered Cup is just that—pure comfort in a glass. Whether you’re gathering with family or treating yourself after a long day, this recipe brings back memories of childhood and family gatherings. It has that classic banana pudding flavor but without the added sugar, making it perfect for those who are watching their sugar intake.
What sets this dessert apart are its luscious layers. Featuring two cups of heavy cream and eight ounces of softened cream cheese, it provides a rich and decadent base. The addition of one-third cup of sweetener ensures it’s sweet enough to satisfy, while a hint of banana extract brings in that familiar flavor we all love. Topped off with low carb vanilla cookies, it becomes an irresistible treat. And don’t forget the xanthan gum, which adds the perfect thickness to the pudding.
The method is delightfully simple. You’ll start by beating the cream cheese and sweetener until smooth. Then, whip the heavy cream to stiff peaks before folding it into the cream cheese mixture. Adding a splash of banana extract enhances the overall flavor. Layering the low carb cookies with the creamy pudding mixture in serving cups is where the fun begins. Just repeat those layers, chill it in the fridge for an hour, and your dessert is ready to serve!
This dessert is perfect for a cozy family dinner, great for potlucks, or even just for enjoying a quiet evening at home. You can make it ahead of time, so it’s a great choice for when guests drop by.
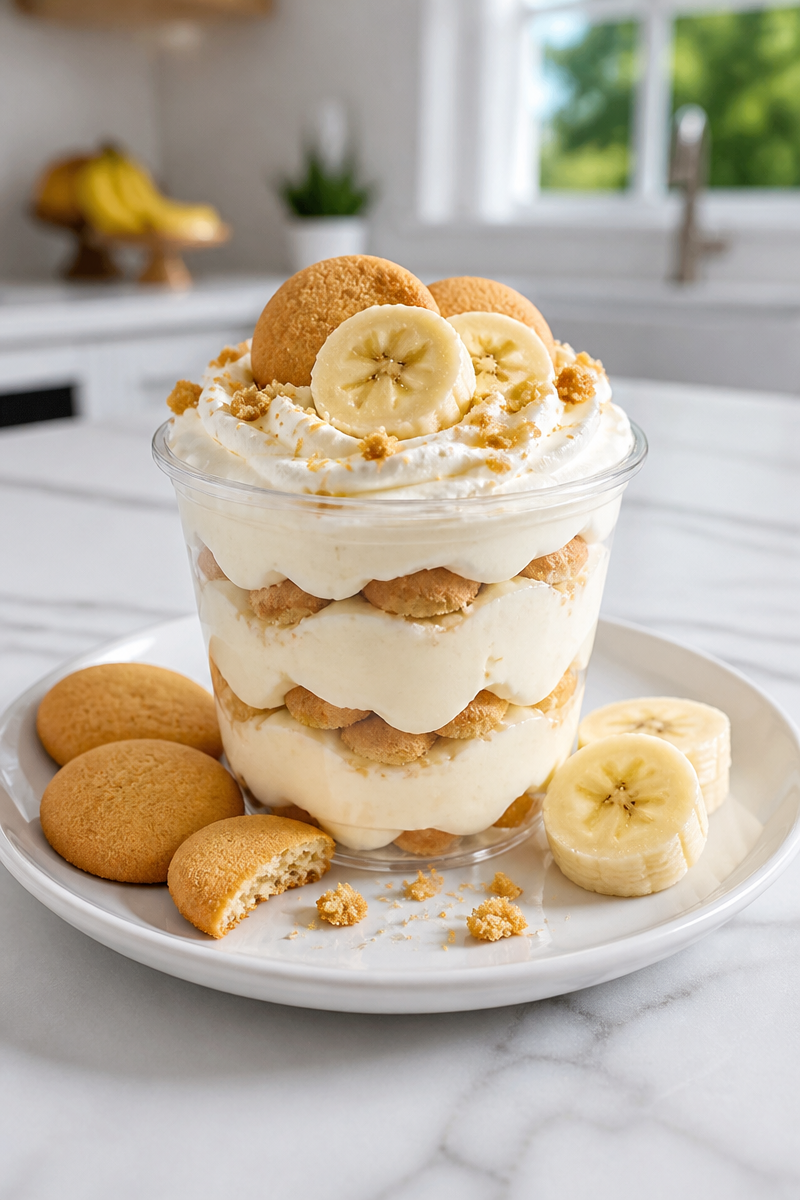
Why You’ll Love This Sugar Free Banana Pudding Layered Cup
- Quick: This dessert can be whipped up in no time.
- Simple Ingredients: Made with easy-to-find ingredients, this recipe is as straightforward as it gets.
- Comfort Food: It captures the nostalgia of classic banana pudding, yet without added sugar.
- Customizable: You can play around with different layers or toppings to make it your own.
- Great for Everyone: Whether you’re low-carb or just want a sweet treat, this pudding is suitable for many diets.
Heavy Cream Tips
Choosing the right heavy cream can make a significant difference in your dessert. Look for heavy cream or heavy whipping cream that contains at least 36% fat. The higher fat content will help you achieve that thick and creamy texture you are after, especially when whipping. If you find organic heavy cream or hormone-free options, grab them—they tend to have a fresher taste that elevates your dish even further.
Options for Substitutions
- For a dairy-free version, try using coconut cream instead of heavy cream.
- Use Neufchatel cheese as a lighter alternative to cream cheese.
- If you need a low-calorie option, swap the sweetener for natural alternatives like Stevia or erythritol.
- Replace low carb vanilla cookies with almond flour-based cookies for added richness.
- Use peanut butter extract instead of banana extract for a different flavor profile.
- If you prefer a thicker texture, add more xanthan gum to your pudding mix.
Watch Out for These Mistakes
One common mistake is not properly softening the cream cheese. Make sure to remove it from the fridge at least 30 minutes before you start. This will help you avoid lumps in your pudding mixture. Another pitfall is overwhipping the heavy cream. You want stiff peaks, but if you whip it too much, it can turn grainy. Always fold gently when combining the whipped cream with the cream cheese mixture to keep the fluffy texture intact.
Also, keep a close eye on the layering process. It’s crucial to layer evenly; otherwise, you might end up with a mismatch of flavors and textures when you dig in. Lastly, don’t skip the chilling step—it’s essential for the pudding to set properly. If you serve it too soon, it may not have the right consistency.
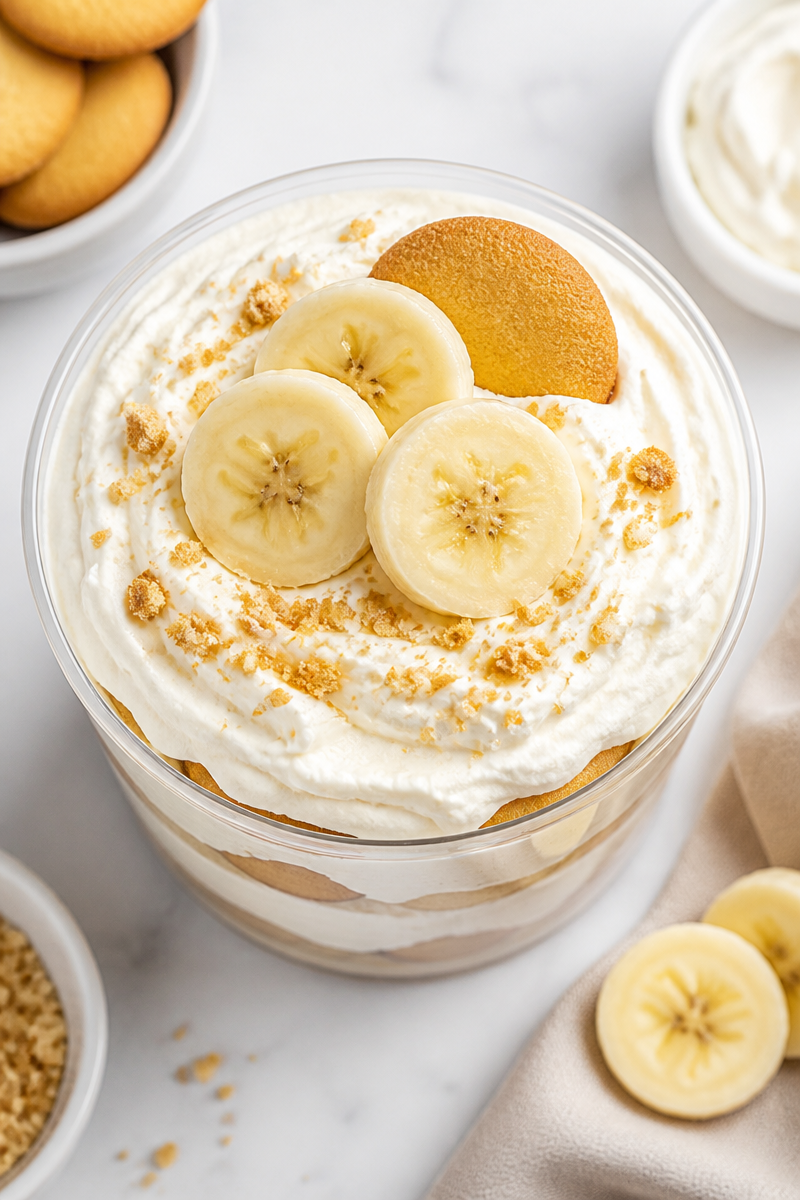
What to Serve With Sugar Free Banana Pudding Layered Cup?
This delightful dessert pairs splendidly with a light salad, like a simple green salad tossed in a vinaigrette. Additionally, it complements savory dishes such as grilled chicken or baked salmon beautifully. If you want a complete meal, consider serving it alongside a warm quiche, which adds a nice balance of flavors.
Storage Instructions
Store: You can keep your Sugar Free Banana Pudding Layered Cup in the fridge for up to 3-4 days. Just make sure it’s tightly covered to keep it fresh.
Freeze: If you want to make it in advance, you can freeze it for about 1-2 months. However, note that the texture may change slightly after thawing.
Reheat: This dessert is best enjoyed chilled but if you need to serve it warm, you can gently reheat it in the microwave for a few seconds. Be sure to check the temperature so you don’t overdo it.
Recipe Info
Preparation Time: 15 minutes
Cooking Time: 1 hour (chilling)
Total Time: 1 hour 15 minutes
Level of Difficulty: Easy
Servings: Approximately 4-6 servings
Estimated Nutrition
Estimated nutrition for the whole recipe (without optional ingredients):
- Calories: 800-1000
- Protein: 8-10g
- Fat: 70-80g
- Carbohydrates: 20-30g
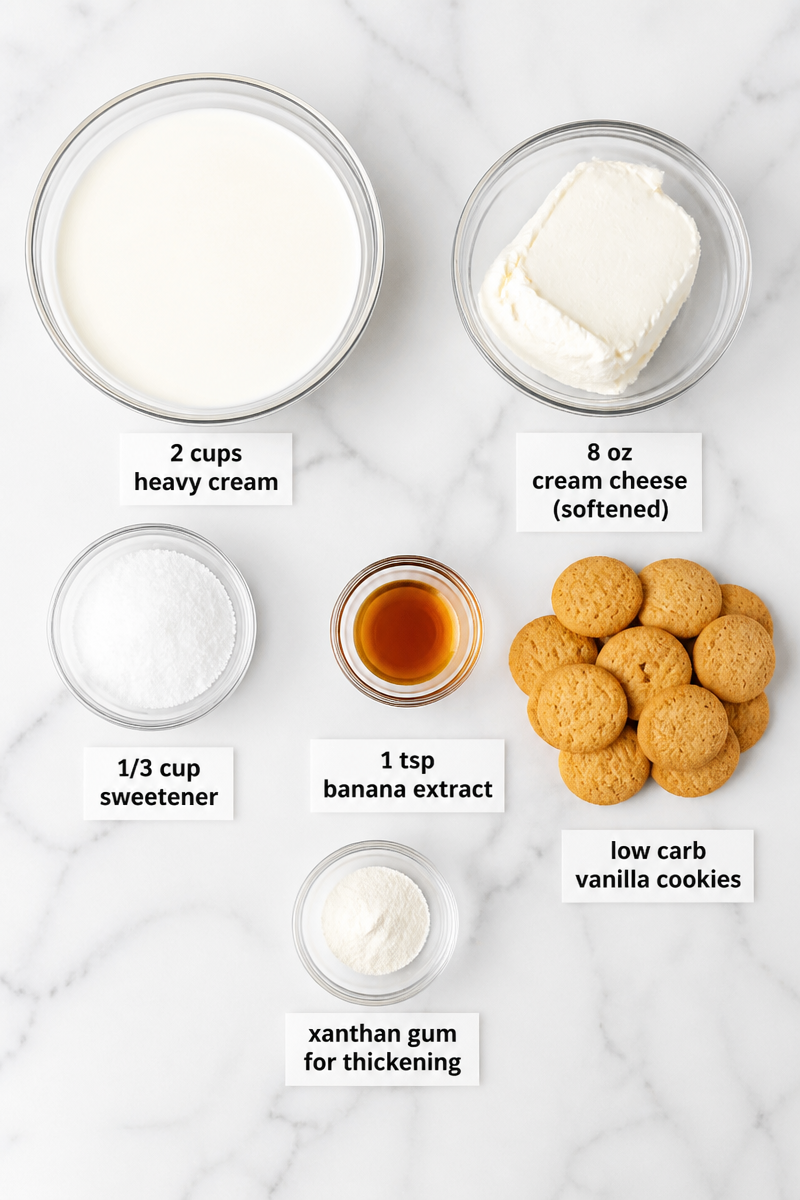
Ingredients
- 2 cups heavy cream
- 8 oz cream cheese (softened)
- 1/3 cup sweetener
- 1 tsp banana extract
- low carb vanilla cookies
- xanthan gum for thickening
Step-by-Step Instructions
Step 1: Beat Cream Cheese and Sweetener Until Smooth
In a large mixing bowl, combine the softened cream cheese and sweetener. Use an electric mixer on medium speed to beat them together until you achieve a smooth, creamy texture. Make sure there are no lumps; this is crucial for a velvety pudding.
Step 2: Whip Heavy Cream to Stiff Peaks
In another bowl, pour in the heavy cream. With a clean electric mixer, whip the cream until stiff peaks form. This usually takes about 3-5 minutes. Be cautious not to overwhip; you want a light and airy consistency.
Step 3: Fold Whipped Cream Into Cream Cheese Mixture
Gently fold the whipped cream into the cream cheese mixture, being careful not to deflate the whipped cream. You want to keep it airy and light. Add in the banana extract and fold again until well combined.
Step 4: Layer Low Carb Cookies and Pudding Mixture
Begin layering your dessert in serving cups. Start with a layer of low carb vanilla cookies at the bottom, followed by a layer of the creamy pudding mixture.
Step 5: Repeat Layers
Continue to repeat the layering process until you fill the cups. Finish with a layer of the pudding mixture on top to create a beautiful finish.
Step 6: Chill for One Hour
Cover the cups and place them in the refrigerator to chill for at least one hour. This allows the flavors to meld and the pudding to set.
In conclusion, this Sugar Free Banana Pudding Layered Cup is a dessert that’s both delightful and refreshing, perfect for family gatherings or as a personal treat. Remember to follow the steps closely, keep an eye on those layers, and don’t forget to chill before serving. I encourage you to try this recipe and share your thoughts or explore similar posts. Happy cooking!
Print
Sugar Free Banana Pudding Layered Cup
- Prep Time: 15 minutes
- Cook Time: 60 minutes
- Total Time: 75 minutes
- Yield: 4-6 servings 1x
- Category: Dessert
- Method: Chilling
- Cuisine: American
- Diet: Sugar-Free, Low-Carb
Description
A sweet and creamy sugar-free dessert that captures the nostalgia of classic banana pudding with rich layers and light flavors.
Ingredients
- 2 cups heavy cream
- 8 oz cream cheese, softened
- 1/3 cup sweetener
- 1 tsp banana extract
- Low carb vanilla cookies
- Xanthan gum for thickening
Instructions
- Beat the cream cheese and sweetener until smooth.
- Whip the heavy cream to stiff peaks.
- Fold the whipped cream into the cream cheese mixture.
- Layer low carb cookies with the pudding mixture in serving cups.
- Repeat the layers until the cups are full.
- Chill for one hour in the refrigerator.
Notes
Ensure cream cheese is softened before use to avoid lumps. Do not overwhip the heavy cream.
Nutrition
- Serving Size: 1 serving
- Calories: 200
- Sugar: 0g
- Sodium: 200mg
- Fat: 18g
- Saturated Fat: 10g
- Unsaturated Fat: 8g
- Trans Fat: 0g
- Carbohydrates: 5g
- Fiber: 1g
- Protein: 3g
- Cholesterol: 40mg
