
This vintage old-fashioned chocolate buttermilk cake is pure comfort. It feels like the kind of dessert you would find at a family table, still warm from the oven, with everyone waiting for a slice. The flavor is rich, soft, and deeply chocolatey, yet it still has that homemade charm that makes old recipes so special.
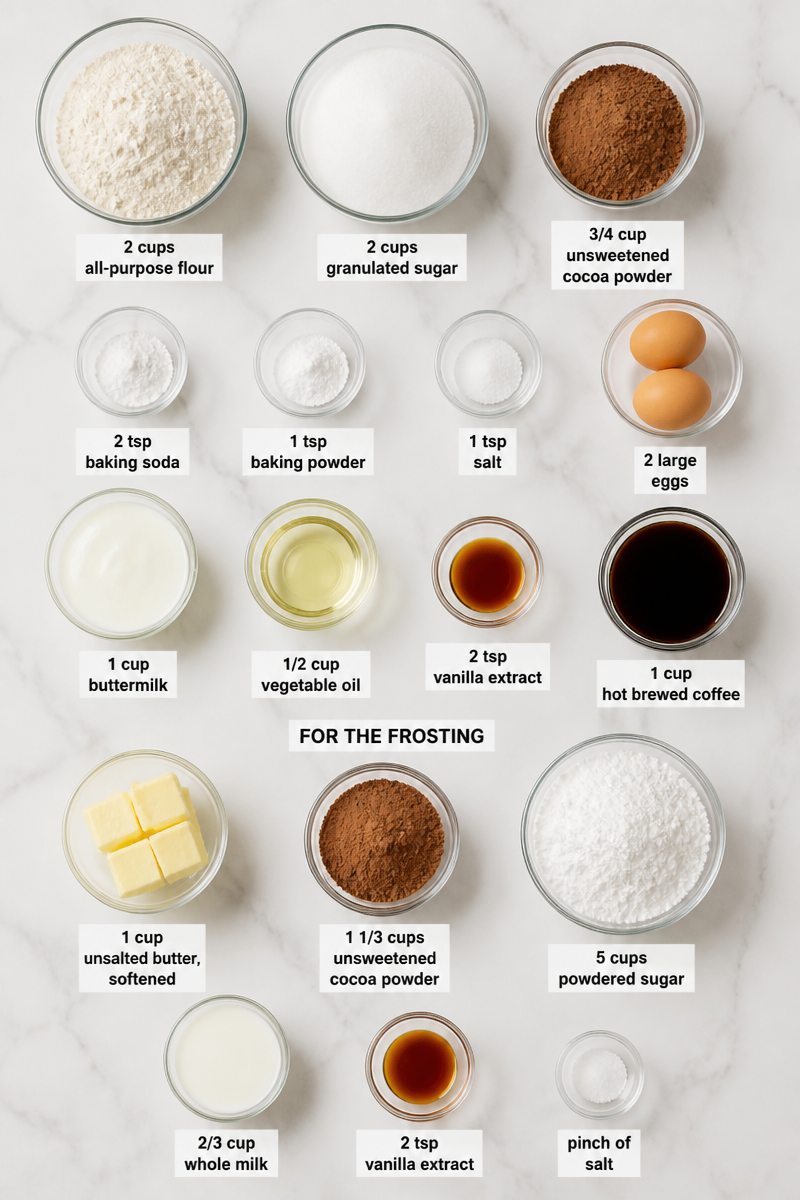
What makes this cake stand out is the mix of simple pantry staples and a few classic baking favorites. The cake uses 2 cups all-purpose flour, 2 cups granulated sugar, 3/4 cup unsweetened cocoa powder, 2 tsp baking soda, 1 tsp baking powder, 1 tsp salt, 2 large eggs, 1 cup buttermilk, 1/2 cup vegetable oil, 2 tsp vanilla extract, and 1 cup hot brewed coffee. Then the frosting brings everything together with 1 cup unsalted butter, softened, 1 1/3 cups unsweetened cocoa powder, 5 cups powdered sugar, 2/3 cup whole milk, 2 tsp vanilla extract, and a pinch of salt. As a result, the cake tastes bold but balanced, with a moist crumb and a smooth, fluffy frosting.
The method is wonderfully straightforward, too. In about 25 minutes of prep and 30 minutes of baking, you can get this cake into the oven, and the full process takes about 1 hour 30 minutes, including cooling. First, you preheat the oven to 350°F and prepare two 9-inch round cake pans. Then you whisk the dry ingredients, add the wet ingredients, and stir in the hot coffee last. After that, the batter goes into the pans and bakes until a toothpick comes out clean. Finally, you make the frosting, stack the layers, and cover the cake from top to bottom. It yields one 9-inch two-layer cake, or about 12 slices.
This is the kind of cake that fits many moments. For example, it is perfect for birthdays, church dinners, potlucks, Sunday suppers, and chilly nights when you want something sweet and cozy. Also, it works well when you need a dessert that feels special without being fussy.
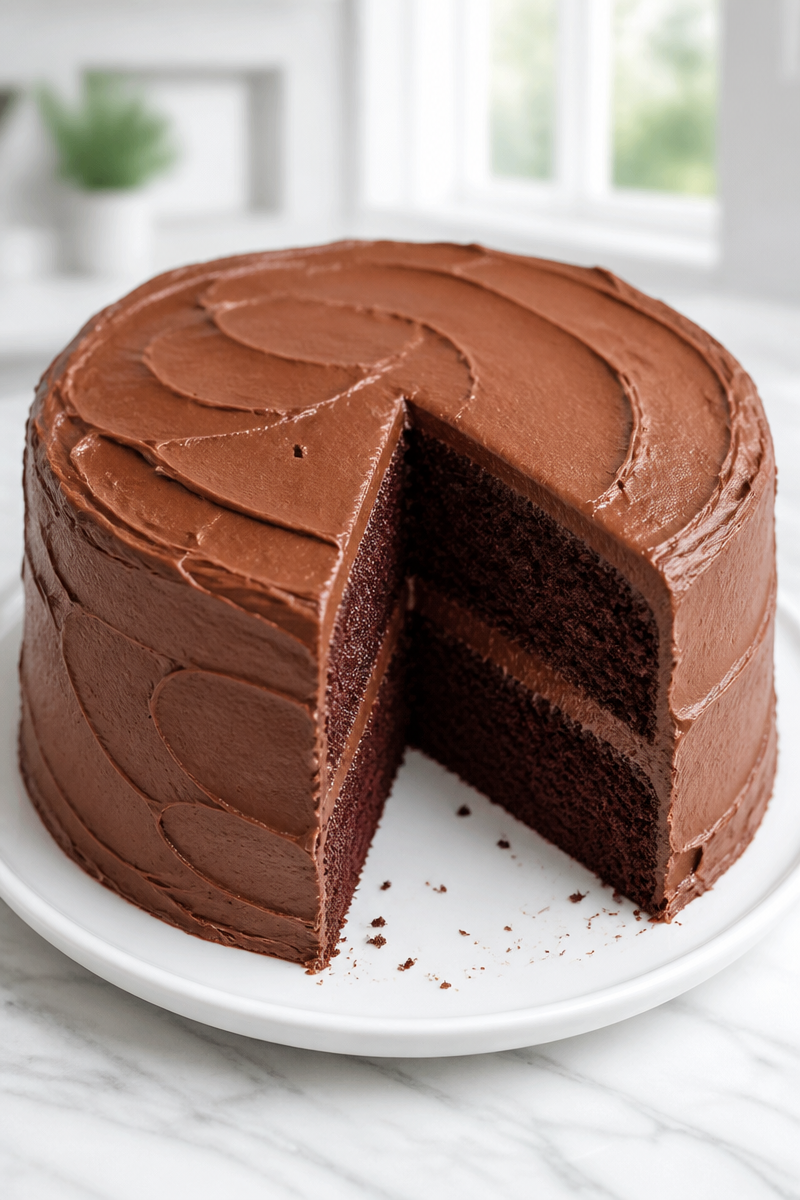
Why You’ll Love This Vintage Old-Fashioned Chocolate Buttermilk Cake
- It uses simple ingredients you may already have on hand, so it is easy to shop for.
- The buttermilk keeps the cake soft, tender, and moist.
- The hot coffee deepens the chocolate flavor without making the cake taste like coffee.
- The frosting is thick, creamy, and rich, which makes each bite feel classic and indulgent.
- It is a reliable recipe for gatherings, because it makes a full two-layer cake with plenty to share.
Buttermilk Tips
Buttermilk is one of the secrets behind this vintage old-fashioned chocolate buttermilk cake. It adds a gentle tang, and that tang helps balance the sweetness of the sugar and frosting. Just as important, its acidity works with the baking soda and baking powder to help the cake rise nicely.
If you can, use fresh buttermilk that is still in date and well shaken. However, if your buttermilk looks a little thick, that is normal. Stir it well before measuring. Also, let it come closer to room temperature before mixing, because that helps the batter blend more smoothly. If you have only a small amount left in the carton, measure carefully, since this ingredient helps the cake stay moist and tender.
Options for Substitutions
- Buttermilk substitute: If you do not have buttermilk, use 1 cup of milk mixed with 1 tablespoon of lemon juice or white vinegar. Let it sit for 5 minutes before using.
- Coffee substitute: Replace the hot brewed coffee with hot water if you prefer a milder flavor. The cake will still be moist and rich.
- Oil substitute: Use melted coconut oil or canola oil in place of vegetable oil for a similar texture.
- Flour option: Swap up to half of the all-purpose flour with cake flour for a lighter crumb.
- Milk in frosting: Use 2%, whole, or even lactose-free milk in the frosting. Add it slowly so the frosting stays spreadable.
- Vanilla alternative: If needed, use almond extract in a smaller amount, about half the vanilla amount, for a different flavor note.
Watch Out for These Mistakes
One common mistake is worrying about the thin batter. Do not add extra flour to thicken it. In fact, the thin batter is correct, and that is what helps this vintage old-fashioned chocolate buttermilk cake bake up moist and soft. If you make the batter too heavy, the cake can turn dry.
Another issue is overbaking. Since the layers are fairly thin, they can dry out if left in the oven too long. So, start checking at 28 minutes. The toothpick should come out clean or with a few moist crumbs, not wet batter. Also, remember that the cakes keep cooking a little while they cool in the pans.
Frosting can also go wrong if the butter is too cold or the sugar is added too fast. Therefore, soften the butter first, and then add the powdered sugar and milk a little at a time. This helps you get a smooth, spreadable frosting instead of a stiff or grainy one. If the frosting feels too thick, add a touch more milk. If it feels too loose, add a bit more powdered sugar.
Finally, do not rush the cooling time. If the cake layers are still warm, the frosting can melt and slide. So, let the layers cool completely before assembling. That small step makes a big difference in how clean and pretty the finished cake looks.
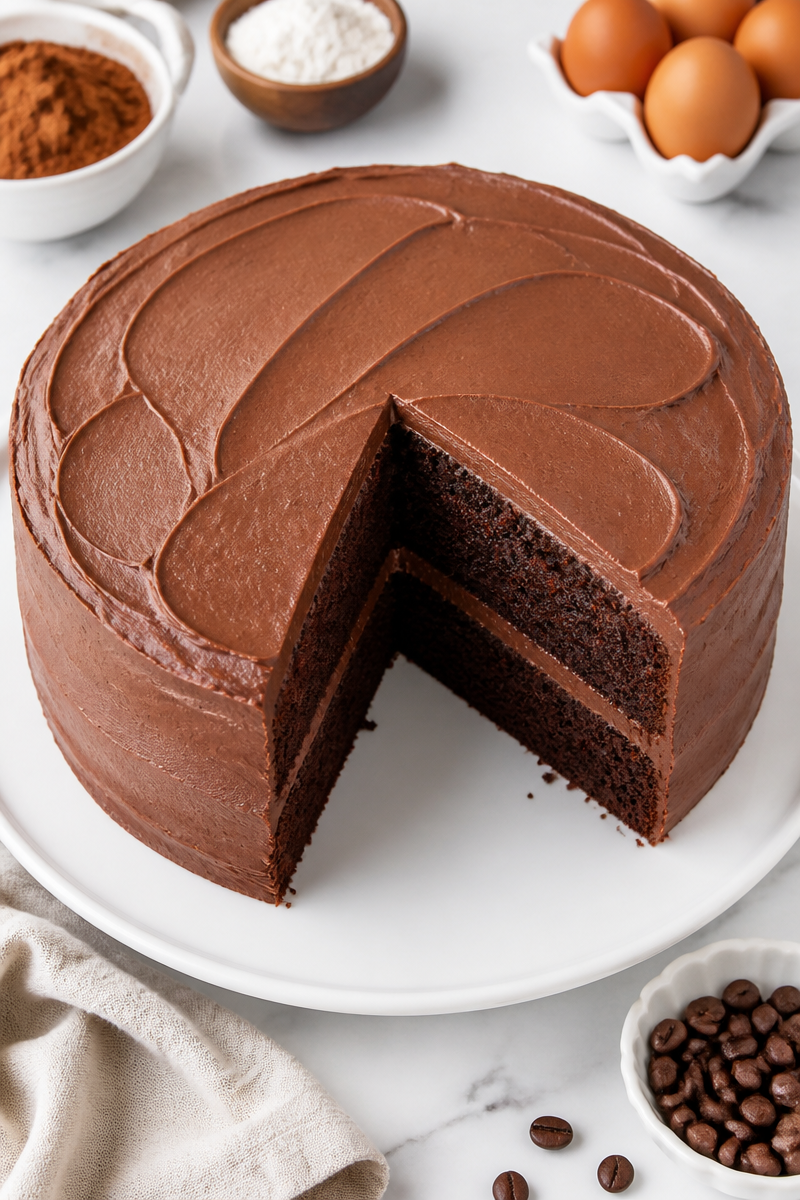
What to Serve With Vintage Old-Fashioned Chocolate Buttermilk Cake?
This vintage old-fashioned chocolate buttermilk cake pairs nicely with simple sides that help balance its rich flavor. For a classic feel, serve it with vanilla ice cream, fresh strawberries, or a spoonful of lightly sweetened whipped cream. Also, a hot cup of coffee, black tea, or cold milk makes a lovely match. If you are serving it at a gathering, a fruit salad on the side can bring a fresh note and keep the dessert spread from feeling too heavy.
Storage Instructions
Store: Keep the cake covered at room temperature for up to 2 days. If you want it to last longer, refrigerate it for up to 5 days. For the best texture, let slices come back to room temperature before serving.
Freeze: You can freeze the cake for up to 2 months. Wrap individual slices or whole layers tightly in plastic wrap, then place them in a freezer-safe bag or container. For the best results, freeze the cake without fresh decorations.
Reheat: To warm a slice on the stovetop, place it in a covered pan on very low heat for a few minutes until just warm. In the microwave, heat a slice for 10 to 15 seconds at a time. Since cake can dry out fast, heat it gently and only until softened.
Recipe Info
Preparation Time: 25 minutes
Cooking Time: 30 minutes
Total Time: 1 hour 30 minutes, including cooling
Level of Difficulty: Easy
Servings: 12 slices
Estimated Nutrition
Estimated nutrition for the whole recipe (without optional ingredients):
Calories: 5,200 to 5,900
Protein: 55 to 70 g
Fat: 240 to 290 g
Carbohydrates: 720 to 820 g
Ingredients
- 2 cups all-purpose flour
- 2 cups granulated sugar
- 3/4 cup unsweetened cocoa powder
- 2 tsp baking soda
- 1 tsp baking powder
- 1 tsp salt
- 2 large eggs
- 1 cup buttermilk
- 1/2 cup vegetable oil
- 2 tsp vanilla extract
- 1 cup hot brewed coffee
- 1 cup unsalted butter, softened
- 1 1/3 cups unsweetened cocoa powder
- 5 cups powdered sugar
- 2/3 cup whole milk
- 2 tsp vanilla extract
- pinch of salt
Step-by-Step Instructions
Step 1: Prepare the Pans and Heat the Oven
Preheat your oven to 350°F. Then grease and flour two 9-inch round cake pans so the layers release easily after baking. This simple step helps the cake come out clean and keeps the edges neat.
Step 2: Mix the Dry Ingredients
In a large bowl, whisk together the flour, sugar, cocoa powder, baking soda, baking powder, and salt. Make sure everything is well blended. That way, the chocolate flavor and leavening are spread evenly through the batter.
Step 3: Add the Wet Ingredients
Add the eggs, buttermilk, oil, and vanilla to the bowl. Beat with an electric mixer on medium speed for about 2 minutes, until the batter looks smooth. Next, stir in the hot coffee last. The batter will be thin, but that is exactly what you want for a moist cake.
Step 4: Bake the Cake Layers
Divide the batter evenly between the prepared pans. Bake for 28 to 30 minutes, or until a toothpick inserted in the center comes out clean. Then cool the cakes in the pans for 10 minutes before turning them out onto wire racks. Let them cool completely, which takes about 45 minutes.
Step 5: Make and Spread the Frosting
To make the frosting, beat the softened butter until creamy. Then add the cocoa powder and mix until combined. After that, add the powdered sugar and milk a little at a time, beating well after each addition. Stir in the vanilla and salt, and keep mixing until the frosting is smooth and easy to spread.
Step 6: Assemble and Frost the Cake
Place one cooled cake layer on a stand or plate. Spread frosting over the top, then set the second layer in place. Finally, frost the top and sides of the cake completely. For the best flavor and texture, serve at room temperature.
Conclusion
This vintage old-fashioned chocolate buttermilk cake brings together simple ingredients, rich cocoa flavor, and a soft, moist crumb. The buttermilk keeps it tender, the coffee deepens the chocolate taste, and the creamy frosting finishes it off with classic charm. Best of all, the recipe is easy enough for home cooks, yet special enough for birthdays, holidays, and family get-togethers.
If you are looking for a dependable chocolate layer cake that feels warm, comforting, and old-fashioned in the best way, this is a great one to make. Try it soon, and then come back to share how it turned out. You can also explore more cozy cake recipes if you want another dessert that tastes like home.
