
When it comes to delightful treats that bring a smile, nothing beats these Witch Hat Brownie Cupcake Bites. They are the perfect blend of rich brownie goodness topped with a whimsical witch hat, making them not just a meal but a cherished memory for the whole family. These little bites of chocolate heaven are ideal for any festive occasion, especially Halloween, when a little fun in the kitchen can light up the day.
The key components of these cupcakes include unsalted butter, granulated sugar, and large eggs, which create a moist and rich brownie base. The sifted cocoa powder infuses deep chocolate flavors, while the all-purpose flour gives them structure. Topped with creamy purple frosting, made from softened butter and powdered sugar, and adorned with colorful decorations, they are a feast for the eyes as well as the palate. Each bite offers a blend of sweetness and a hint of cocoa, tantalizing the taste buds in a way that only homemade goodies can.
What I love about this recipe is how simple it is to create. With about 30 minutes of prep time and 20 minutes of cooking, you can whip up 14 delightful brownie cupcakes in no time. Whether you’re an experienced baker or just starting out, the instructions are straightforward and easy to follow. You’ll find that baking these cupcakes is not only enjoyable but also a great way to engage the little ones in the kitchen.
These Witch Hat Brownie Cupcake Bites are the ultimate treat for chilly autumn nights, school festivities, or a family gathering. Picture this: bites of chocolatey goodness served with laughter and joy, creating unforgettable moments around the table. So let’s get started on this beautiful chocolate treat, perfect for all ages!
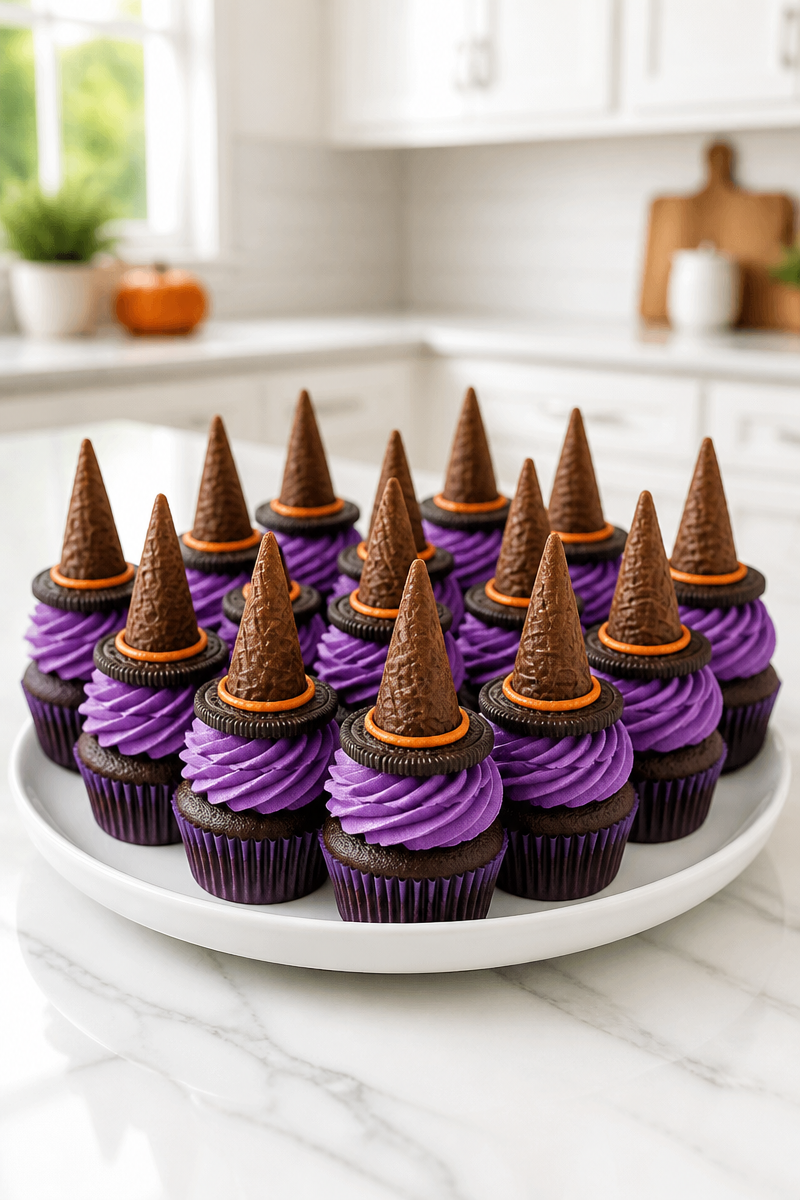
Why You’ll Love This Witch Hat Brownie Cupcake Bite
- Quick to prepare, needing only about 50 minutes from start to finish.
- Simple Ingredients that you can easily find in your pantry or local store.
- Comfort Food with a twist, offering warmth and nostalgia with every bite.
- Kid-Friendly – perfect for getting the little helpers involved in the kitchen.
- Visually Appealing, these treats bring fun and creativity into your baking.
Unsalted Butter Tips
When it comes to choosing unsalted butter, opt for a high-quality brand that comes from a trusted dairy source. Unsalted butter allows you to have complete control over the amount of salt in your recipe, which is essential for achieving the perfect balance of flavors in your brownies. Make sure the butter is melted but not hot when you’re mixing it with the sugar, as this helps create the glossy texture of the batter. If you’re ever in doubt, take the butter out of the fridge about 15 minutes before you start to bake; this way, it will be soft and easy to blend without losing that perfect creamy texture.
Options for Substitutions
- Use coconut oil instead of unsalted butter for a dairy-free version.
- Substitute brown sugar for half of the granulated sugar for added moisture and a slight caramel flavor.
- Replace eggs with flaxseed meal or applesauce for a vegan option (1 tablespoon of flaxseed meal + 3 tablespoons water = 1 egg).
- Go with gluten-free all-purpose flour to make this recipe gluten-free.
- Use dark chocolate cocoa powder instead of unsweetened cocoa for a richer taste.
- Instead of orange decorating icing, use colored sprinkles or fondant for the witch hat band.
Watch Out for These Mistakes
One common mistake in baking these brownies is over-mixing the batter. When you fold in the dry ingredients, do it gently until just combined. Over-mixing can lead to dense brownies that lack that wonderful light texture.
Another pitfall is filling the muffin liners too full. It’s best to fill them about two-thirds full to allow room for the cupcakes to rise without overflowing.
Pay attention to baking time, too; overbaking can result in dry cupcakes. Start checking at the 18-minute mark; if a toothpick comes out with moist crumbs, they’re done!
Lastly, ensure your butter is softened at room temperature for the frosting. Cold butter won’t incorporate properly, leading to a lumpy texture rather than the fluffy finish we aim for.
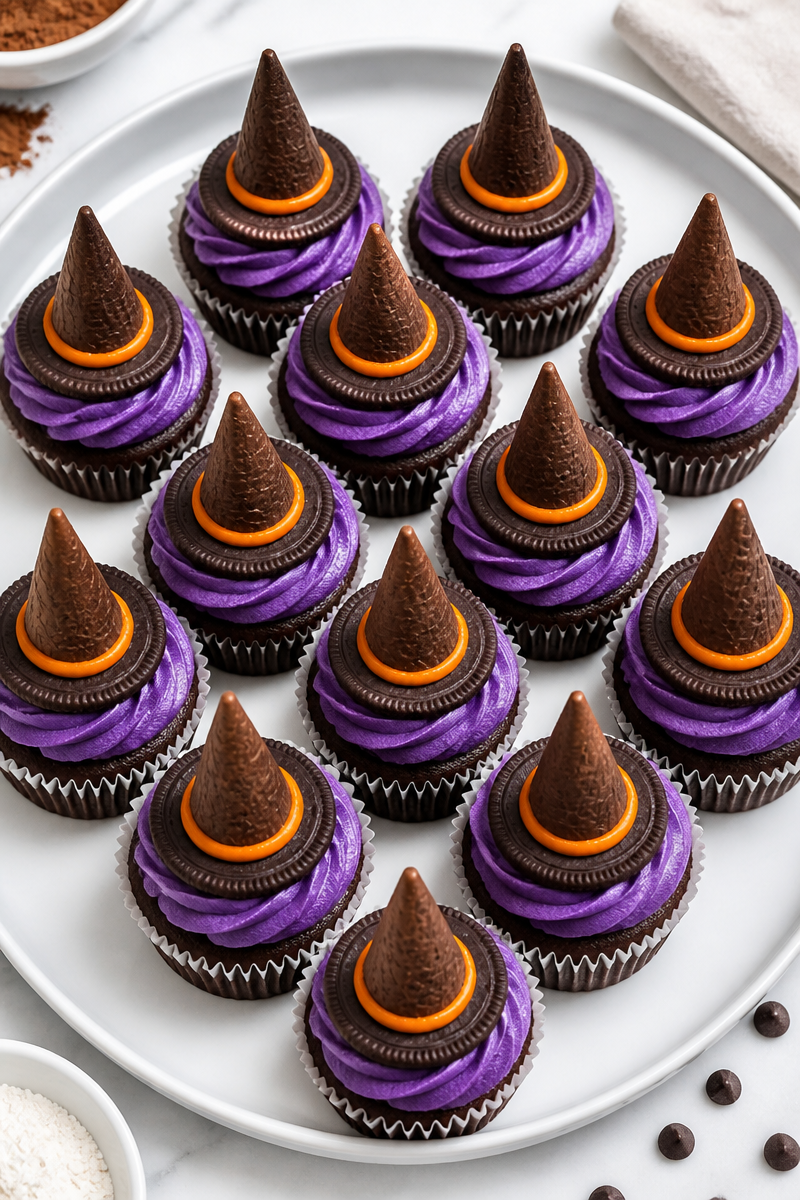
What to Serve With Witch Hat Brownie Cupcake Bite?
These charming cupcakes pair beautifully with a cup of warm cocoa or spiced apple cider, enhancing the cozy autumn vibes. For a fun twist, consider serving them alongside a bowl of vanilla ice cream for an easy brownie sundae. A light fruit salad can offer a refreshing contrast to the rich chocolate, balancing the sweetness of the cupcakes.
Storage Instructions
Store the Witch Hat Brownie Cupcake Bites in an airtight container at room temperature for up to 2 days. If you prefer longer storage, you can refrigerate them for up to 5 days. Just keep in mind that the hat cones may soften a bit in the fridge.
If you wish to freeze them, wrap each cupcake individually in plastic wrap and place them in a freezer-safe container. These can be stored for up to 3 months. To enjoy them again, simply remove the desired amount and let them thaw at room temperature.
To reheat, you can place them on a microwave-safe plate and warm for about 10-15 seconds. For a more evenly heated treat, use your stovetop or oven at a low temperature.
Recipe Info
- Preparation Time: 30 minutes
- Cooking Time: 20 minutes
- Total Time: 50 minutes (plus cooling)
- Level of Difficulty: Easy
- Servings: 14 servings
Estimated Nutrition
Estimated nutrition for the whole recipe (without optional ingredients):
- Calories: 3,640-3,840 kcal
- Protein: 36-42 g
- Fat: 190-210 g
- Carbohydrates: 420-440 g
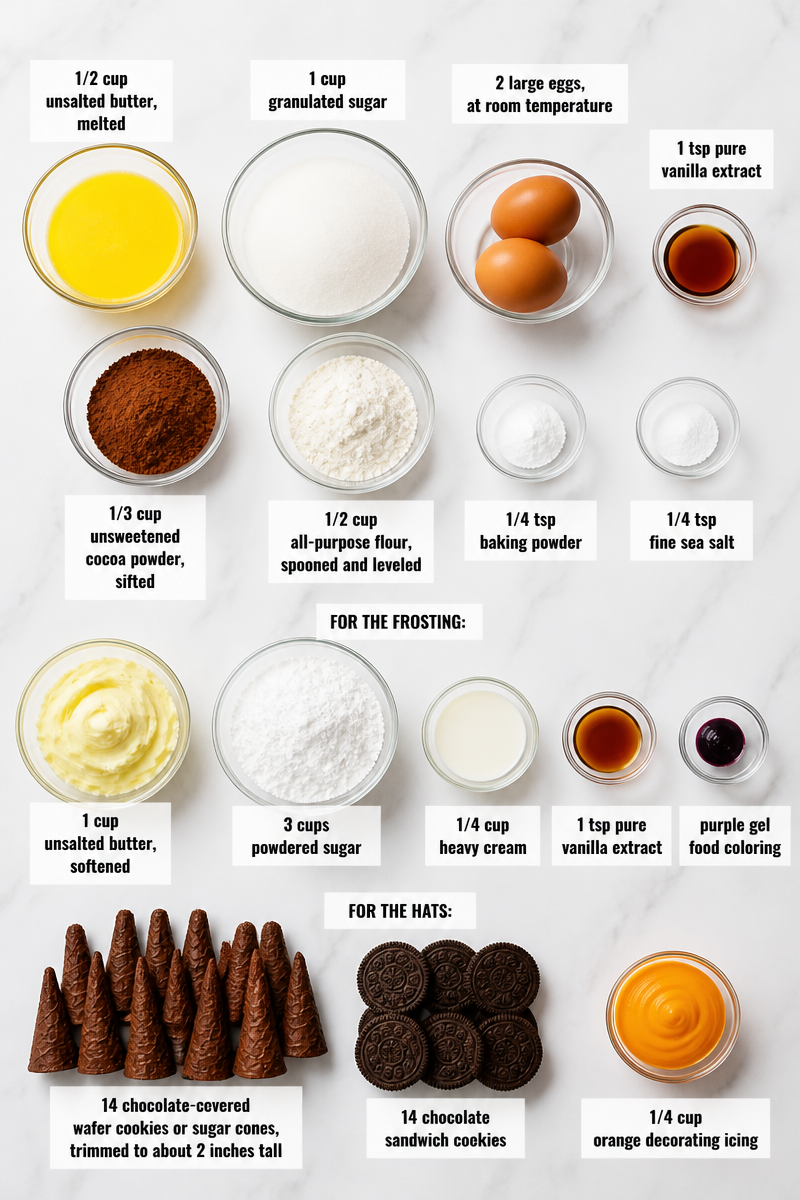
Ingredients
- 1/2 cup unsalted butter, melted
- 1 cup granulated sugar
- 2 large eggs, at room temperature
- 1 tsp pure vanilla extract
- 1/3 cup unsweetened cocoa powder, sifted
- 1/2 cup all-purpose flour, spooned and leveled
- 1/4 tsp baking powder
- 1/4 tsp fine sea salt
- For the frosting:
- 1 cup unsalted butter, softened
- 3 cups powdered sugar
- 1/4 cup heavy cream
- 1 tsp pure vanilla extract
- purple gel food coloring
- For the hats:
- 14 chocolate-covered wafer cookies or sugar cones, trimmed to about 2 inches tall
- 14 chocolate sandwich cookies
- 1/4 cup orange decorating icing
Step-by-Step Instructions
Step 1: Preheat Oven and Prep Pan
Start by preheating your oven to 350°F. While waiting for it to reach the right temperature, line a standard muffin tin with 14 paper liners. This ensures your cupcakes come out easily after baking.
Step 2: Make the Brownie Batter
In a large mixing bowl, combine the melted butter with the granulated sugar, whisking them together until blended well. Once combined, add the eggs one at a time, making sure to whisk thoroughly after each addition. Stir in the vanilla extract until the mixture appears glossy. Next, sift in the cocoa powder, flour, baking powder, and sea salt. Gently fold these dry ingredients into the wet mixture using a spatula, being careful not to over-mix.
Step 3: Bake the Cupcakes
Divide the batter evenly among the paper liners, filling each liner about two-thirds full. Place the tin in the preheated oven and bake for 18-20 minutes. Check for doneness by inserting a toothpick into the center of a cupcake; it should come out with a few moist crumbs. After baking, let them cool in the pan for 10 minutes before transferring them to a wire rack to cool completely, which should take another 30 minutes.
Step 4: Make the Frosting
While the cupcakes are cooling, prepare the frosting. Beat the softened butter in a mixing bowl for about 2 minutes until smooth and pale. Slowly incorporate the powdered sugar, adding one cup at a time and beating well to combine after each addition. After the sugar is mixed in, pour the heavy cream and vanilla extract into the bowl. Beat on medium-high speed for an additional 2-3 minutes until the frosting is light and fluffy. Use purple gel food coloring to tint the frosting to a deep purple.
Step 5: Pipe the Frosting
Once the brownies have cooled completely, fill a piping bag fitted with a large star tip. Pipe a generous, tall swirl of purple frosting onto each brownie cupcake, creating a beautiful and inviting look.
Step 6: Assemble the Witch Hats
To create the witch hats, start by gluing a chocolate sandwich cookie flat onto the top of each frosting swirl; this will serve as the brim of the hat. Next, press the trimmed chocolate wafer cookie or sugar cone into the center of the sandwich cookie point-up, using a dab of frosting as glue to keep it stable. Finally, pipe a small ring of orange decorating icing around the base of the cone where it touches the cookie.
Conclusion
In summary, these Witch Hat Brownie Cupcake Bites are not only delightful to eat but also fun to prepare. The combination of rich brownie and festive decorations makes them a treat that everyone will enjoy. I invite you to try this simple yet impressive recipe, share your feedback, and explore similar delicious treats on my blog. Happy baking!
