
These witch hat chocolate peanut cookies are pure comfort in the cutest possible form. They bring a playful Halloween feel, but they also taste like the kind of sweet treat people remember. I love recipes like this because they look festive, yet they are simple enough for a busy afternoon at home.
What makes this recipe shine is the mix of familiar store-bought favorites. You get 18 fudge-striped chocolate cookies for the hat brims, 18 chocolate-covered peanut butter cups for the cones, 1/2 cup semisweet chocolate chips for the glue, and 1/3 cup orange decorating icing for the bands and buckles. The flavor is rich, sweet, and a little salty, with chocolate, peanut butter, and a crisp cookie bite in every mouthful.
The method is wonderfully easy too. You melt the chocolate, attach the peanut butter cups, let everything set, then finish each hat with bright orange icing. Even better, the timing is friendly: 25 minutes of prep, 10 minutes of melting chocolate, and about 15 minutes of setting time for a total of around 50 minutes. Since the recipe makes 18 witch hat cookies, it is a smart choice for parties, school events, and family trays.
These cookies are also a nice fit for lots of moments. They work well for Halloween parties, bake sales, potlucks, classroom snacks, and cozy nights at home. So, if you want a treat that looks special without much fuss, this one is a keeper.
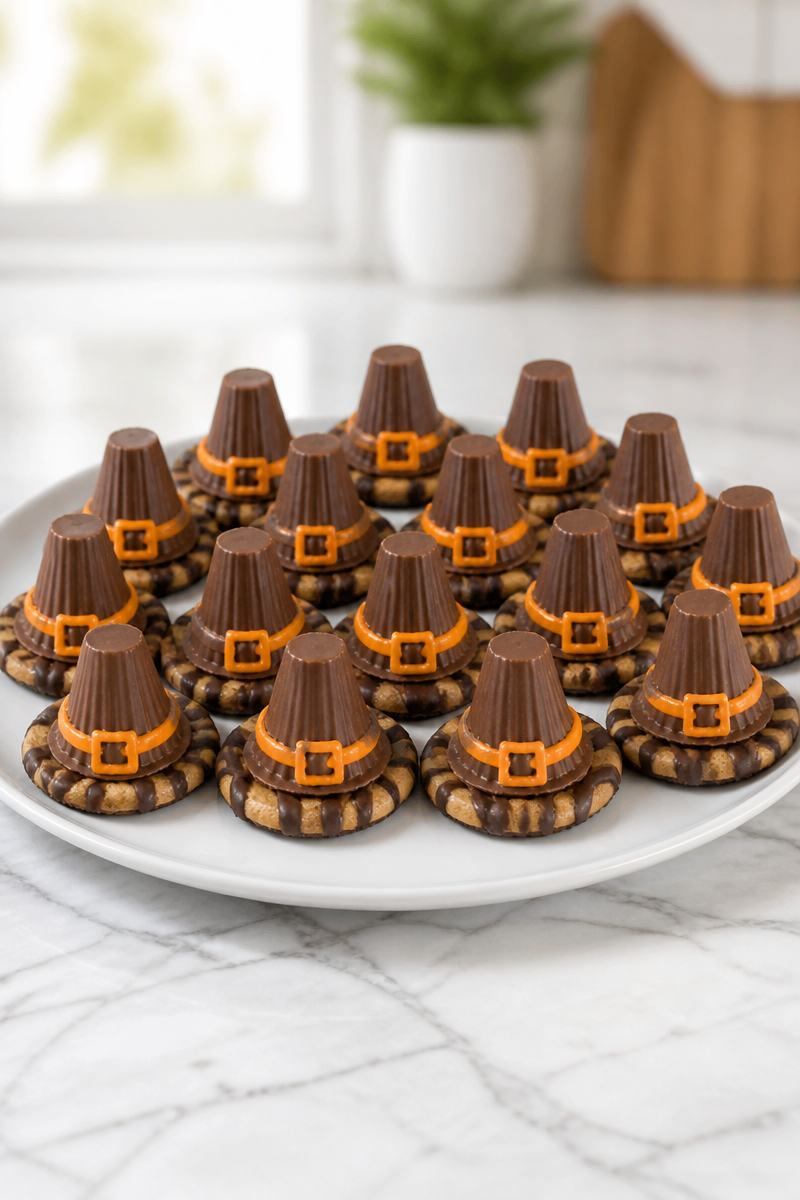
Why You’ll Love This Witch Hat Chocolate Peanut Cookie
- Fast and simple: You only need a few steps, and most of the work is just melting, pressing, and piping.
- Great for Halloween: The shape and color make these witch hat cookies festive without needing fancy decorating skills.
- Friendly for home cooks: Since the recipe uses ready-made cookies and candies, there is very little measuring or mixing.
- Kid-friendly and party-ready: These are fun to make with children, and they look charming on any dessert table.
- Easy to package and share: Because each cookie is a single serving, they travel well for gifts, school events, or party favors.
Peanut Butter Cup Tips
The key ingredient here is the miniature chocolate-covered peanut butter cup. For best results, choose candies that are close in size so each witch hat cookie looks neat and balanced. Also, unwrap them before you begin, since the melted chocolate sets fairly quickly once you start assembling. If the candy cups seem soft from warm weather, chill them for a few minutes first. That way, they stay firm and are easier to place on the cookie brims. In addition, press gently when attaching them, because too much pressure can flatten the peanut butter cup and make the hat look less defined.
Options for Substitutions
- Use chocolate sandwich cookies instead of fudge-striped cookies if you want a darker, more dramatic brim.
- Swap the mini peanut butter cups for mini chocolate truffles if you need a peanut-free option, but always check the label.
- Replace the semisweet chocolate chips with milk chocolate chips for a sweeter glue layer.
- Use white chocolate chips for the glue if you want a milder flavor and a lighter look.
- Change the orange decorating icing to green, purple, or black icing for a different Halloween color scheme.
- If you do not have a piping bag, use a small zip-top bag with the corner snipped for the hat bands and buckles.
Watch Out for These Mistakes
First, do not melt the chocolate too fast. If you microwave it for too long, it can seize or become grainy. Instead, use short 20-second bursts and stir after each one. That keeps the chocolate smooth and easy to use.
Next, make sure the cookies are laid out on parchment paper before you start gluing. If you try to move the hats too soon, the peanut butter cups may slide. Also, if the chocolate glue is still warm and loose, the hats will not hold their shape well.
Another common problem is piping the icing too early. Let the chocolate set first, or the band may sink into the soft glue. Then, once the icing is on, give it a few minutes to firm up before serving or packaging.
Finally, avoid stacking these cookies in storage. The peanut butter cup cones can shift, and the little hats may lose their shape. A single layer is the safest choice, especially if you want them to look nice for guests.
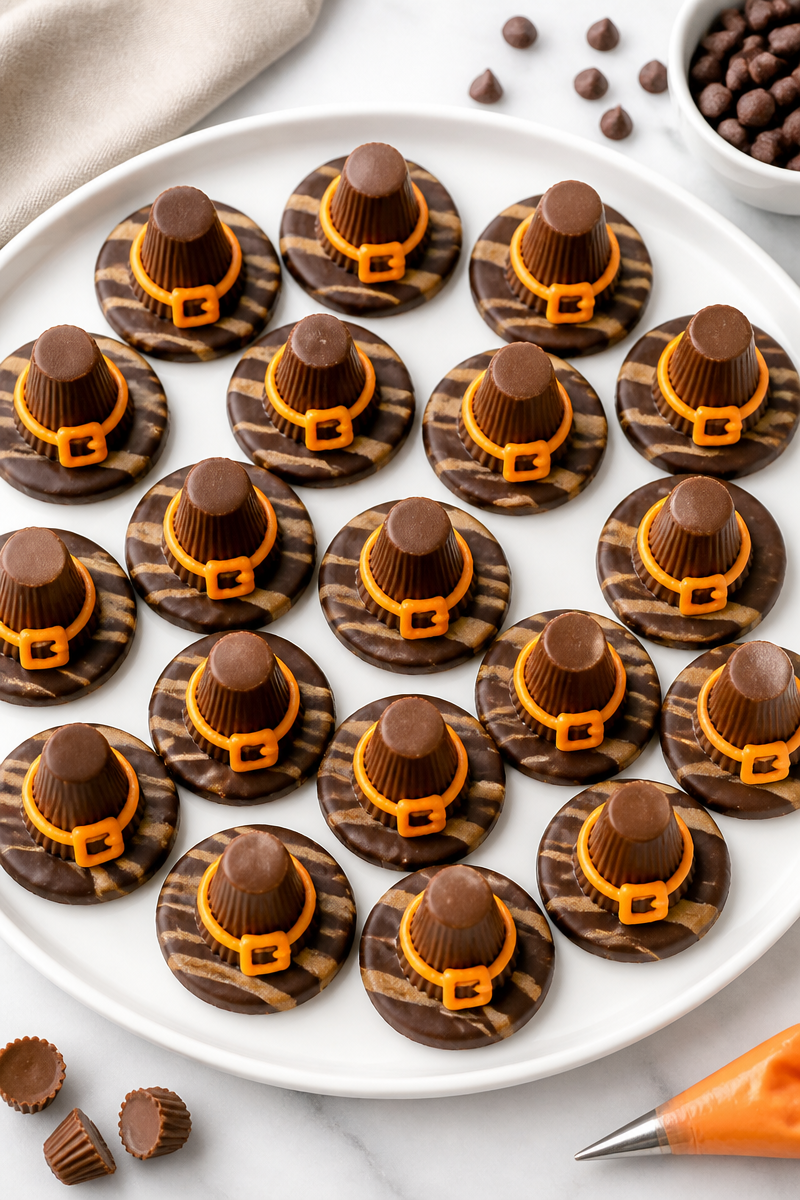
What to Serve With Witch Hat Chocolate Peanut Cookie?
These witch hat chocolate peanut cookies pair well with simple party drinks and light snacks, since they are rich and sweet. For a Halloween spread, try serving them with hot apple cider, cold milk, pumpkin spice popcorn, or a bowl of fresh fruit such as grapes and apple slices. That way, the dessert table feels balanced, and guests can enjoy a few sweet bites without everything tasting the same.
Storage Instructions
Store: Keep the witch hat cookies in a single layer in an airtight container at room temperature for up to 1 week. If your kitchen is warm, you can refrigerate them for up to 5 days, but let them sit out briefly before serving so the texture softens a little.
Freeze: You can freeze the assembled cookies for up to 2 months. Place them in a single layer on a tray first, freeze until firm, then move them to a freezer-safe container with parchment between layers. Thaw at room temperature before serving.
Reheat: These cookies do not truly need reheating, since they are meant to be served as a no-bake treat. However, if the chocolate glue feels too firm after chilling, let them sit at room temperature. If needed, you can warm them very gently for a few seconds in the microwave, but do this with care so the icing does not melt.
Recipe Info
Preparation Time: 25 minutes
Cooking Time: 10 minutes
Total Time: 35 minutes
Level of Difficulty: Easy
Servings: 18
Estimated Nutrition
Estimated nutrition for the whole recipe (without optional ingredients):
Calories: 3,150 to 3,500 kcal
Protein: 30 to 42 g
Fat: 180 to 220 g
Carbohydrates: 330 to 390 g
Ingredients
- 18 fudge-striped chocolate cookies (such as Keebler Fudge Stripes), for the hat brims
- 18 chocolate-covered peanut butter cups (miniature size), unwrapped, for the hat cones
- 1/2 cup semisweet chocolate chips, melted, for glue
- 1/3 cup orange decorating icing, in a piping bag with a small round tip, for the hat bands and buckles
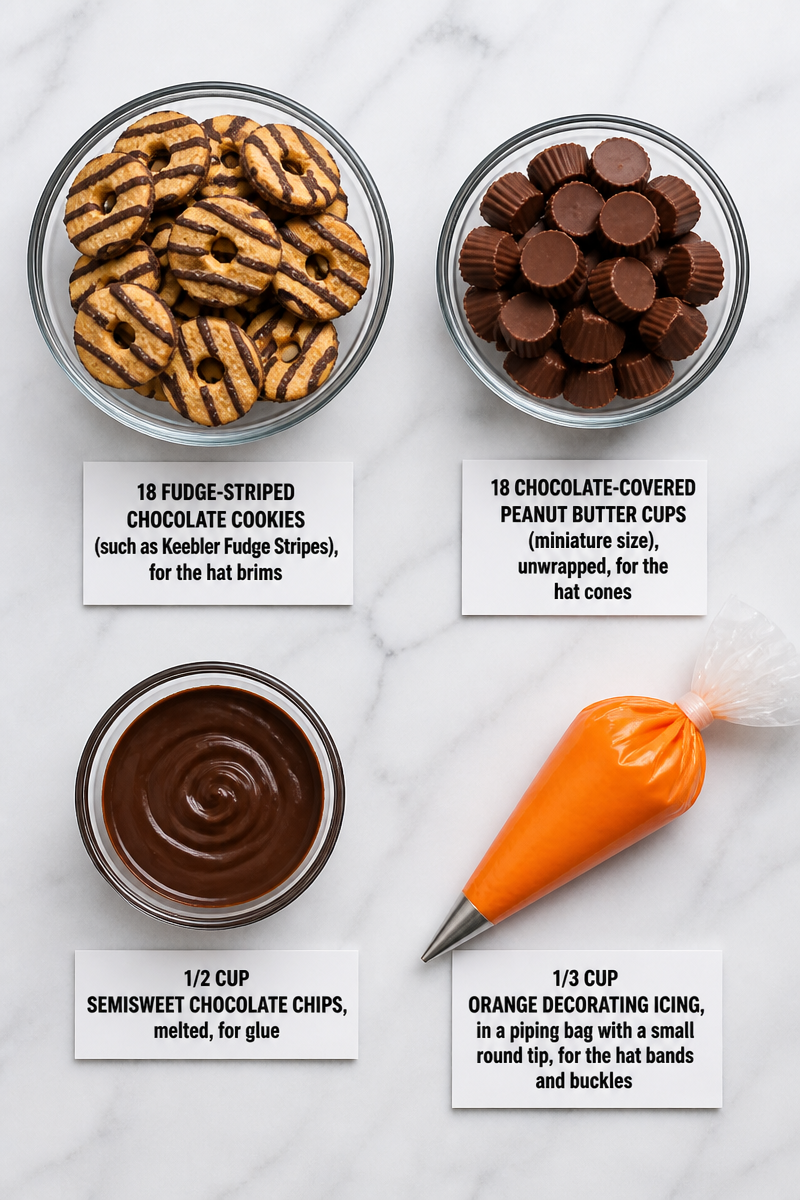
Step-by-Step Instructions
Step 1: Melt the Chocolate Glue
Place the 1/2 cup semisweet chocolate chips in a microwave-safe bowl. Microwave in 20-second bursts, stirring after each burst, until the chocolate is fully melted and smooth. This usually takes about 1 to 2 minutes total, depending on your microwave. Then set the bowl aside briefly so the chocolate is ready to use.
Step 2: Prep the Cookies and Candies
Line a baking sheet with parchment paper and lay the fudge-striped cookies flat with the fudge side facing up. At the same time, unwrap all 18 miniature chocolate-covered peanut butter cups so they are ready for quick assembly. Since the chocolate sets fast, having everything lined up now will make the process much easier.
Step 3: Build the Witch Hat Shape
Dip the flat bottom of each peanut butter cup into the melted chocolate, then place it in the center of one fudge-striped cookie. Press down gently for a few seconds so the chocolate works like glue. Continue until all 18 witch hat cookies are assembled. If one starts to tilt, adjust it right away before the chocolate begins to harden.
Step 4: Let the Hats Set
Allow the cookies to sit at room temperature for 10 to 15 minutes, or place them in the refrigerator for about 5 minutes if you want them to set faster. This step matters because the peanut butter cups need to stay firmly attached before you add the icing band. Once set, the hats should not slide around when touched lightly.
Step 5: Add the Orange Band and Buckle
Use the orange decorating icing to pipe a thin ring around the base of each peanut butter cup, right where it meets the cookie. Then pipe a small square or rectangle on the front to make the buckle. After that, let the icing set for 5 to 10 minutes before serving or packaging. Finally, arrange the witch hat cookies on a platter and enjoy the fun display.
Conclusion
These witch hat chocolate peanut cookies are a sweet, simple, and cheerful treat for the season. They use easy ingredients, come together quickly, and look festive without much effort. Plus, the mix of chocolate cookies, peanut butter cups, melted chocolate, and bright orange icing gives each cookie a fun Halloween style that both kids and adults will enjoy.
If you try this recipe, I would love to know how your witch hat cookies turned out. Share your results, leave a note with your own decorating ideas, or explore more easy party treats for your next celebration.
Print
Witch Hat Chocolate Peanut Cookies
- Prep Time: 25 minutes
- Cook Time: 10 minutes
- Total Time: 50 minutes
- Yield: 18 servings 1x
- Category: Dessert
- Method: No-Bake
- Cuisine: American
- Diet: Vegetarian
Description
These adorable witch hat cookies combine chocolate cookies and peanut butter cups for a festive Halloween treat.
Ingredients
- 18 fudge-striped chocolate cookies (such as Keebler Fudge Stripes), for the hat brims
- 18 chocolate-covered peanut butter cups (miniature size), unwrapped, for the hat cones
- 1/2 cup semisweet chocolate chips, melted, for glue
- 1/3 cup orange decorating icing, in a piping bag with a small round tip, for the hat bands and buckles
Instructions
- Melt the chocolate glue: Place the semisweet chocolate chips in a microwave-safe bowl. Microwave in 20-second bursts, stirring after each until fully melted and smooth.
- Prep the cookies and candies: Line a baking sheet with parchment paper and lay the fudge-striped cookies flat with the fudge side facing up. Unwrap all peanut butter cups.
- Build the witch hat shape: Dip the flat bottom of each peanut butter cup into the melted chocolate, then place it in the center of one fudge-striped cookie. Press down gently.
- Let the hats set: Allow the cookies to sit at room temperature for 10 to 15 minutes or refrigerate for 5 minutes to set faster.
- Add the orange band and buckle: Pipe icing around the base of each peanut butter cup and a small rectangle for the buckle. Let the icing set for 5 to 10 minutes before serving.
Notes
For best results, choose candies of similar size and ensure chocolate is melted gradually to avoid graininess. Store cookies in a single layer to maintain shape.
Nutrition
- Serving Size: 1 cookie
- Calories: 175
- Sugar: 14g
- Sodium: 90mg
- Fat: 8g
- Saturated Fat: 3g
- Unsaturated Fat: 3g
- Trans Fat: 0g
- Carbohydrates: 22g
- Fiber: 1g
- Protein: 2g
- Cholesterol: 0mg
