
The season of spooky fun is upon us, and there’s nothing quite like indulging in a sweet treat that captures the essence of Halloween. There’s pure comfort in these Witch Hat Cookies. They are not only adorable but easy to make, making them perfect for family gatherings or just a delightful afternoon snack. Whether you have grandkids visiting or you want to bring a fun dessert to your next potluck, these cookies will surely bring smiles to everyone’s face.
This recipe uses simple ingredients like chocolate wafer cookies, fudge-striped cookies, and Hershey’s Kisses to create a whimsical hat shape. Then, with a bit of orange and black decorating icing, the cookies transform into festive little witch hats that are as delicious as they are cute. Each bite boasts a delightful combo of chocolate and a hint of sweetness from the icing, making them utterly irresistible.
Making these Witch Hat Cookies is straightforward and only requires a few steps. First, you will turn a fudge-striped cookie upside down to form the hat brim. Next, a chocolate wafer cookie forms the cone of the hat, secured by a dab of icing and topped with a Hershey’s Kiss for that classic pointed hat look. Add a lovely orange hat band and a tiny black buckle for an extra touch of charm. Let them set, and they’re ready to enjoy!
These whimsical cookies are a hit for Halloween parties, school events, or even as a fun project with grandchildren. They’re an easy way to bring festive spirit into your kitchen, perfect for chilly nights or cozy gatherings around the table.
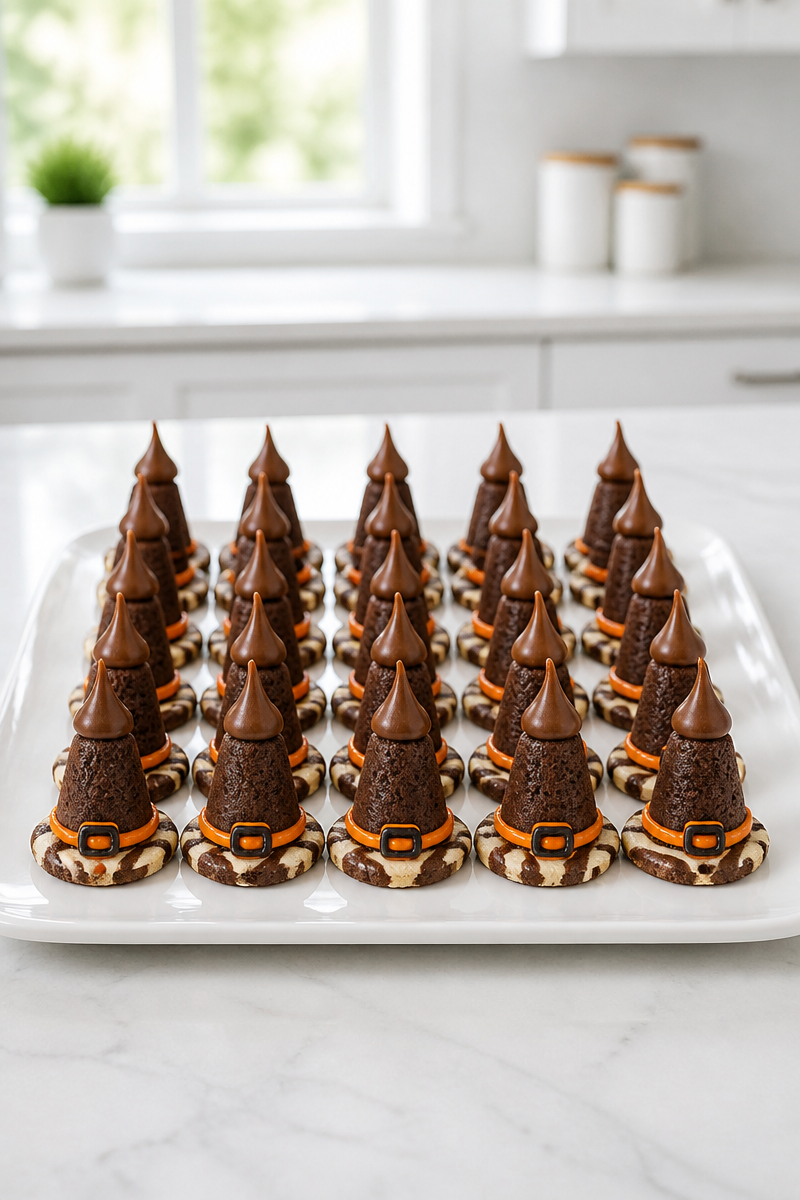
Why You’ll Love This Witch Hat Cookie Candy Chocolate Point
- Quick Preparation: This recipe is simple and doesn’t take long to prepare, making it ideal for busy cooks.
- Kid-Friendly: The fun shapes and bright colors will engage children and make baking a collaborative activity.
- Customizable: You can adapt the colors of the icing or use different candies on top for a personal touch.
- Great for Sharing: These cookies are perfect for sharing with neighbors, friends, or at community events.
- Festive Cheer: They bring a touch of Halloween spirit to any gathering, making them a delightful treat for all ages.
Chocolate Wafer Cookie Tips
When choosing chocolate wafer cookies, look for those that are crunchy and stable enough to hold their shape. A good chocolate wafer will not only taste great but will also provide a sturdy base for your witch hat structure. If possible, pick cookies that are made with real cocoa for a rich, satisfying flavor. Checking the ingredients can save you time and yield cookies that taste fresh and homemade.
Options for Substitutions
- Use vanilla wafers instead of chocolate for a different flavor base.
- Replace Hershey’s Kisses with chocolate bells or any similar candy that has a pointed shape.
- Swap out orange icing for purple or green if you’re aiming for a different Halloween theme.
- Use store-bought icing for convenience; this can save prep time if you’re short on it.
- Substitute regular fudge-striped cookies with homemade cookies to add a personal touch.
- Try Peppermint Kisses instead of standard chocolate for a minty flavor twist.
Watch Out for These Mistakes
One common mistake is not allowing your icing to set adequately before serving. This can lead to messy hats, as the structure can collapse or the icing can smear. It’s essential to give it enough time to firm up.
Another issue is applying too much icing when securing the Hershey’s Kiss on top of the wafer cookie. Too much can cause the candy to slide off, ruining your hat’s look. A small dot is often enough for a secure hold.
Don’t rush the process of decorating either. If you try to pipe the icing too quickly after assembling, you may find that layers mix together, losing the distinct look of the hats. Take your time, enjoy the craft, and your cookies will turn out beautifully.
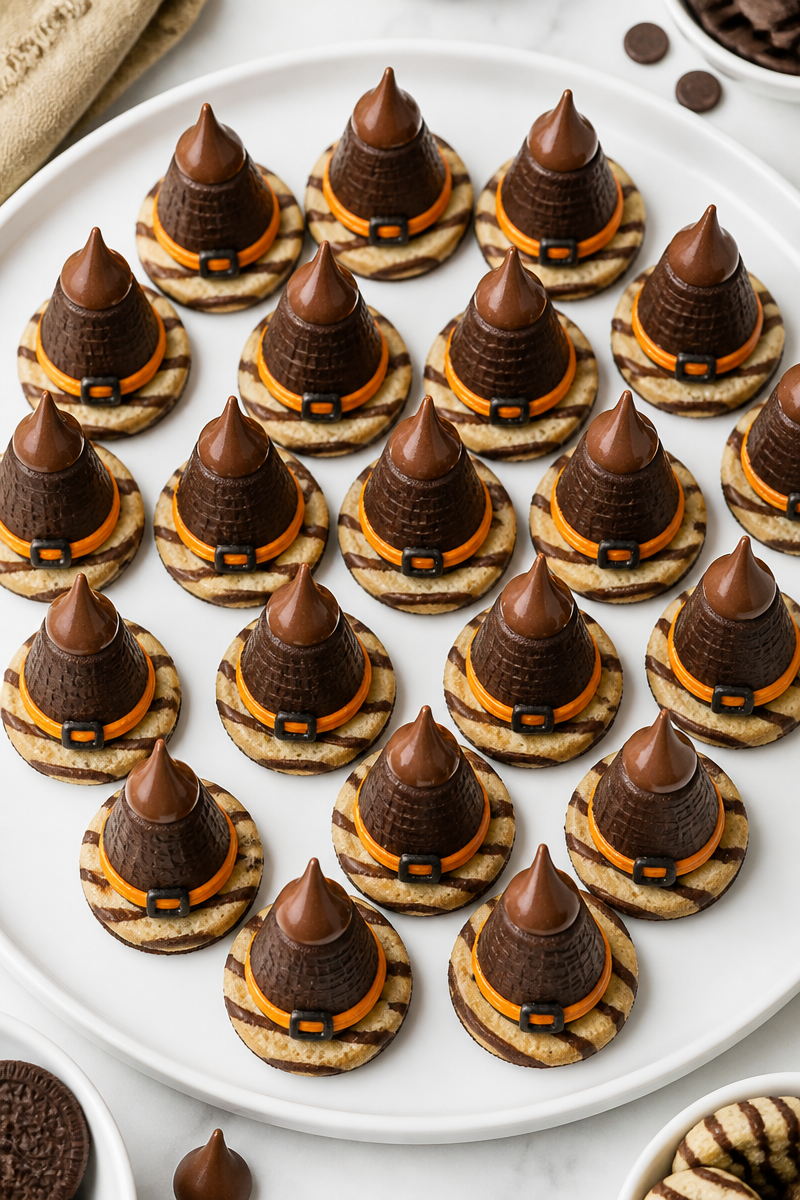
What to Serve With Witch Hat Cookie Candy Chocolate Point?
These Witch Hat Cookies pair beautifully with warm beverages. A homemade hot chocolate, spiced apple cider, or even a cup of herbal tea would complement the sweet flavors perfectly. They also go well with some sliced fruits like apples or pears, balancing the sweetness of the cookies. For those looking to serve a full snack spread, consider adding cheese and crackers alongside for a savory contrast.
Storage Instructions
Store: Keep the cookies in an airtight container at room temperature for up to 5 days.
Freeze: You can freeze these cookies for up to 2 months. Just ensure they are in a well-sealed, freezer-safe container, layering the cookies with parchment paper to prevent them from sticking together.
Reheat: Although these cookies are sweet treats best served at room temperature, if you prefer them a bit warm, you can gently warm them in the microwave for about 10 seconds or in an oven set to low heat for just a few minutes.
Recipe Info
Preparation Time: 15 minutes
Cooking Time: 10 minutes
Total Time: 25 minutes
Level of Difficulty: Easy
Servings: About 20 cookies
Estimated Nutrition
Estimated nutrition for the whole recipe (without optional ingredients):
Calories: 720-900
Protein: 8-12g
Fat: 36-50g
Carbohydrates: 100-120g
Ingredients
- 20 chocolate wafer cookies
- 20 fudge-striped cookies
- 20 Hershey’s Kisses
- orange decorating icing
- black icing for buckle
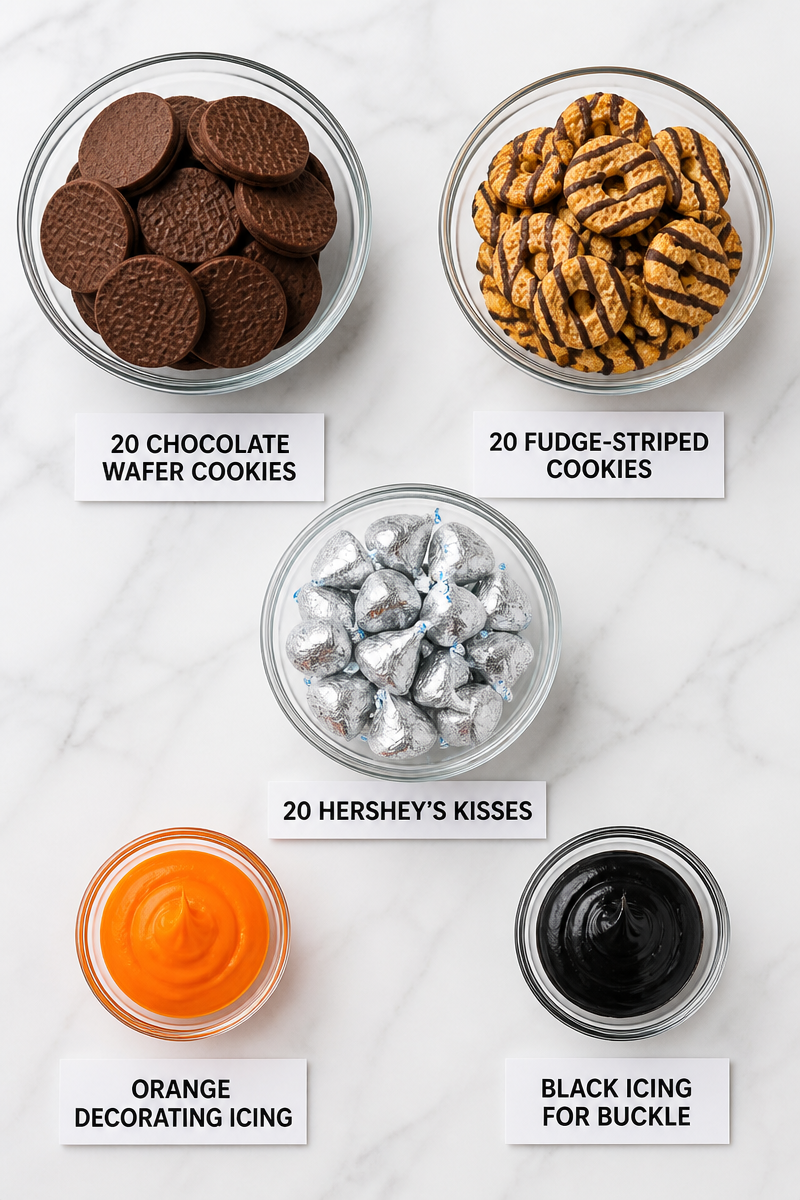
Step-by-Step Instructions
Step 1: Prepare the Hat Brim
Start by taking a fudge-striped cookie and turning it upside down, so the flat side is facing up. This cookie will serve as the brim of the witch hat.
Step 2: Form the Hat Cone
Using a piping bag or a simple plastic bag with a cut corner, pipe a small dot of icing on the center of the fudge-striped cookie. This will act as an adhesive. Now, press a chocolate wafer cookie into the icing so that it stands upright, forming the cone of the hat.
Step 3: Add the Hat Tip
Next, place a Hershey’s Kiss on top of the chocolate wafer. Pipe a bit more icing underneath the Kiss to secure it in place, ensuring it stands steadily.
Step 4: Create the Hat Band
Using the orange decorating icing, pipe a thin band around the base of the chocolate wafer cone. This adds a nice decorative touch, making the hat even more festive.
Step 5: Pipe on the Buckle
Finally, with the black icing, add a small buckle shape on the hat band. This little detail enhances the appearance of your witch hat.
Step 6: Let Them Set
Allow the cookies to set for a while before serving. This will help the icing firm up and keep the hats nice and stable.
In conclusion, these Witch Hat Cookies are not only a fun project to undertake but also a delightful treat that everyone will love. They are easy to make, perfect for sharing, and can be customized to suit your taste. I invite you to give this recipe a try and share your results or any modifications you made. Enjoy the process, and happy baking!
Print
Witch Hat Cookies
- Prep Time: 15 minutes
- Cook Time: 10 minutes
- Total Time: 25 minutes
- Yield: 20 cookies 1x
- Category: Dessert
- Method: No Baking
- Cuisine: American
- Diet: Vegetarian
Description
Delightful and easy-to-make cookies shaped like witch hats, perfect for Halloween festivities.
Ingredients
- 20 chocolate wafer cookies
- 20 fudge-striped cookies
- 20 Hershey’s Kisses
- orange decorating icing
- black icing for buckle
Instructions
- Prepare the Hat Brim by turning a fudge-striped cookie upside down.
- Form the Hat Cone with a dot of icing and a chocolate wafer cookie standing upright.
- Add the Hat Tip by placing a Hershey’s Kiss on top and securing it with icing.
- Create the Hat Band by piping orange icing around the base of the chocolate wafer cone.
- Pipe on the Buckle with black icing for a decorative touch.
- Let them set before serving to ensure the icing firms up.
Notes
Store in an airtight container for up to 5 days, or freeze for 2 months. Best served at room temperature.
Nutrition
- Serving Size: 1 cookie
- Calories: 720
- Sugar: 60g
- Sodium: 250mg
- Fat: 36g
- Saturated Fat: 16g
- Unsaturated Fat: 20g
- Trans Fat: 0g
- Carbohydrates: 100g
- Fiber: 2g
- Protein: 8g
- Cholesterol: 10mg
