
There’s something undeniably comforting about a bowl of homemade hummus, especially when it’s infused with the rich flavor of roasted garlic. This Roasted Garlic Hummus with Grilled Pita is not just a dish; it’s an experience that brings warmth to your kitchen and joy to your table. As a food lover and seasoned cook, I can assure you that this recipe embodies everything that is nourishing and satisfying. Whether you’re preparing for a family gathering or just craving a delicious snack, this hummus will be your go-to.
At the heart of this recipe are the simple yet delightful ingredients. Picture this: creamy chickpeas, a whole head of sweet, caramelized garlic roasted to perfection, nutty tahini, zesty lemon juice, and a splash of peppery olive oil, all mingling together in harmony. The addition of ground cumin adds a beautiful warmth and depth, while a sprinkle of paprika elevates the presentation. The flavor profile is nothing short of divine, making each scoop with pita bread truly enjoyable.
The method is straightforward, making it accessible for everyone, including home cooks of all levels. Start by soaking the chickpeas overnight, which softens them and prepares them for cooking. After boiling them until tender, take the time to roast the garlic head in the oven until it is soft and fragrant. Then, simply blend the chickpeas and roasted garlic with tahini, lemon juice, olive oil, and cumin until smooth. This creamy mixture pairs perfectly with grilled pita bread, which you can easily make by warming wedges on your grill. Serve with a drizzle of olive oil and a dash of paprika for an attractive finish.
This hummus is perfect for a variety of occasions. Whether it’s a chilly night where you want something cozy to snack on, a gathering of friends, or even a potluck, it fits the bill. You can enjoy it as a dip or even as a spread on your favorite sandwiches. Trust me; once you make this hummus, it will become a staple in your home.
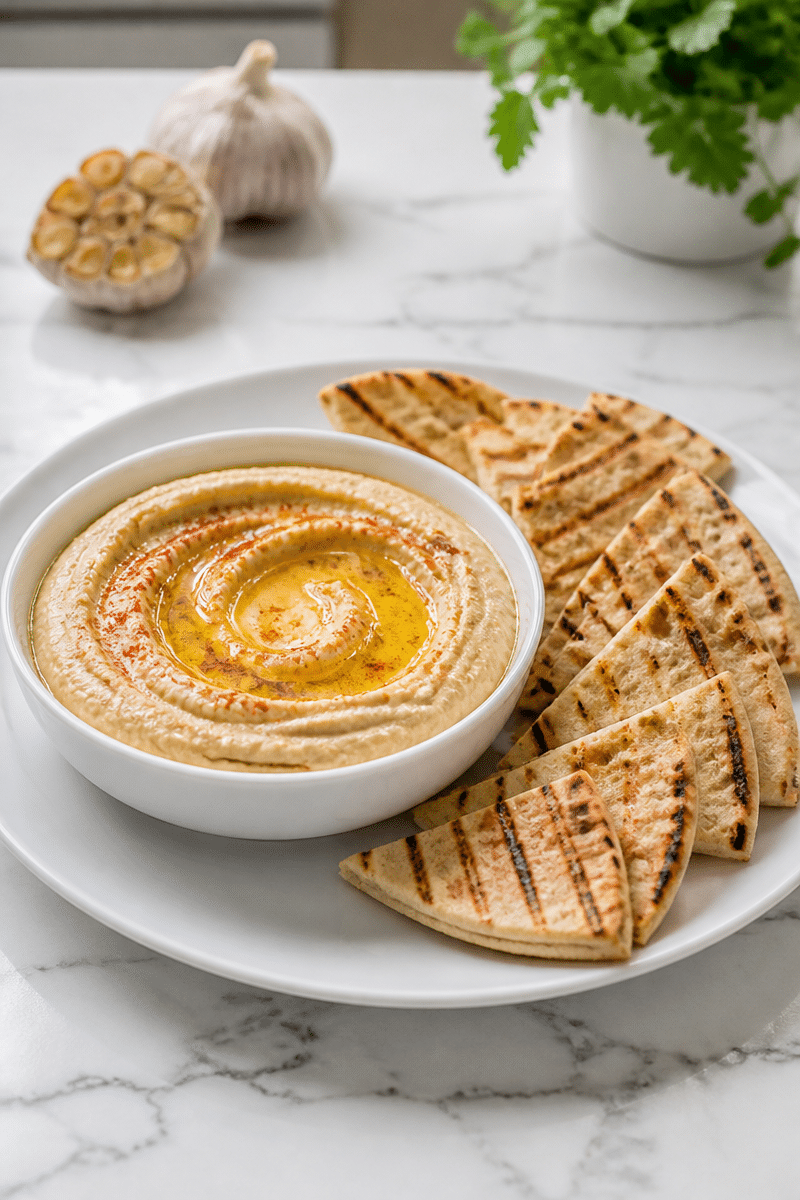
Why You’ll Love This Roasted Garlic Hummus with Grilled Pita
- Quick to Prepare: Most of the time is in soaking and boiling the chickpeas, making the active cooking time minimal.
- Simple Ingredients: You likely have many of these ingredients in your pantry already.
- Comfort Food: The combination of warm hummus and grilled pita is simply delightful.
- Healthy and Nutritious: Made from wholesome ingredients, this hummus is packed with protein and healthy fats.
- Versatile Dish: Great as an appetizer, a side for meals, or as part of a lovely dinner spread.
Chickpea Tips
Chickpeas are the star of this recipe. When selecting dried chickpeas, look for even-colored, intact beans without any cracks or blemishes. They should feel firm to the touch. Soaking them overnight not only helps them soften, but it also reduces cooking time. If you’re short on time, you can choose to use canned chickpeas, but the flavor and texture will differ slightly. For the best results, opt for dried chickpeas whenever possible, as they yield a creamier hummus once cooked and blended.
Options for Substitutions
If you find you’re missing an ingredient or two, here are some easy substitutions:
- Chickpeas: Dry cannellini beans can be used, but the flavor will differ.
- Garlic: If you don’t have fresh garlic, garlic powder can work in a pinch.
- Tahini: Sunflower seed butter can replace tahini for a nut-free version.
- Lemon Juice: Fresh lime juice offers a different zest.
- Olive Oil: Avocado oil or grapeseed oil can be good alternatives.
- Paprika: Try smoked paprika for a deeper flavor.
Watch Out for These Mistakes
When preparing your hummus, a few common pitfalls can arise that might affect your dish’s outcome.
First, soaking your chickpeas overnight is crucial for the best texture. If you skip this step, you may end up with a gritty consistency instead of the smoothness you’re aiming for. Properly boiled chickpeas should be tender enough to easily mash between your fingers.
Next, while roasting the garlic, ensure you do not overcook it. It should be soft and slightly caramelized but not burnt, as this can leave a bitter taste.
When blending the ingredients, make sure to purée them long enough. Stop occasionally to scrape down the sides for an even mix. Remember to adjust the texture with water gradually to avoid making the hummus too watery.
Finally, when grilling your pita, keep an eye on it. Charred pita may add an attractive touch but burned pita tastes unpleasant. Just a few minutes until it’s warm and slightly charred is perfect.
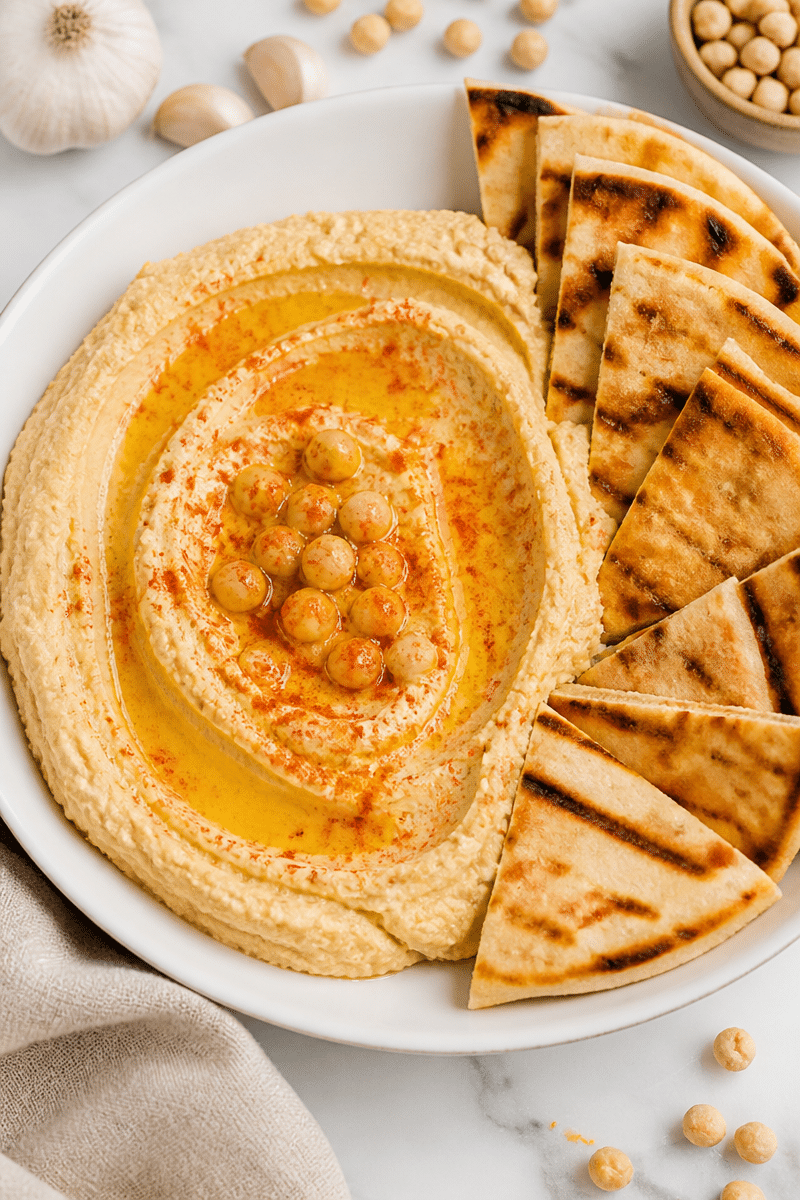
What to Serve With Roasted Garlic Hummus with Grilled Pita?
This roasted garlic hummus pairs beautifully with a variety of side dishes. You can serve it with fresh vegetable sticks like carrots and cucumbers for a healthy snack. Alternatively, consider adding it to a mezze platter alongside olives and feta cheese. Another delicious option is to serve it with tabbouleh or a simple green salad for a light meal.
Storage Instructions
Store: You can keep your hummus in an airtight container in the fridge for up to 5 days.
Freeze: If you want to store it longer, consider freezing it. It will keep well in the freezer for about 3 months. Just be sure to allow it to cool completely before transferring it to a freezer-safe container.
Reheat: To enjoy your hummus again, simply let it thaw in the refrigerator overnight. You can reheat it gently on the stovetop or in the microwave, stirring to ensure even warmth.
Recipe Info
Preparation Time: 8-12 hours (including soaking overnight)
Cooking Time: 1-2 hours (cooking chickpeas and roasting garlic)
Total Time: 9-14 hours
Level of Difficulty: Easy
Servings: Approximately 6-8 servings, depending on portion size
Estimated Nutrition
Estimated nutrition for the whole recipe (without optional ingredients):
Calories: 800-1,000
Protein: 35-40g
Fat: 45-50g
Carbohydrates: 80-90g
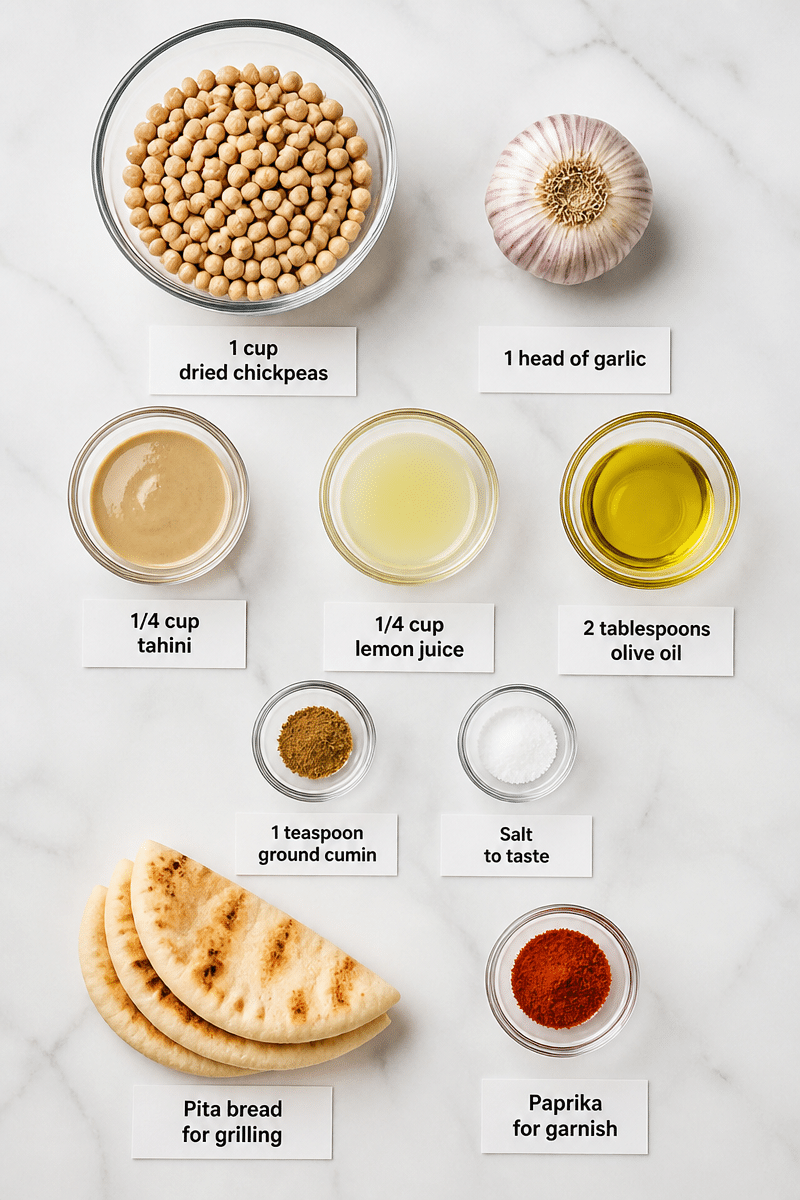
Ingredients
- 1 cup dried chickpeas
- 1 head of garlic
- 1/4 cup tahini
- 1/4 cup lemon juice
- 2 tablespoons olive oil
- 1 teaspoon ground cumin
- Salt to taste
- Pita bread for grilling
- Paprika for garnish
Step-by-Step Instructions
Step 1: Soak the Chickpeas
Start by soaking 1 cup of dried chickpeas in plenty of water overnight. This softens the beans and reduces cooking time the next day. Be sure to drain and rinse the chickpeas before you move on to the next step.
Step 2: Boil the Chickpeas
After soaking, transfer the chickpeas to a pot and cover them with fresh water. Bring to a boil and then lower the heat to maintain a gentle simmer. Cook for 1-2 hours, or until the chickpeas are tender. When ready, drain the chickpeas again, reserving a little water in case you need it later.
Step 3: Roast the Garlic
While your chickpeas are boiling, preheat the oven to 400°F. Take the whole head of garlic, wrap it in aluminum foil, and roast it for about 30-40 minutes. The garlic should be soft, and when you squeeze it, the cloves should easily pop out.
Step 4: Blend the Ingredients
In a food processor, combine the cooked chickpeas, the roasted garlic cloves, 1/4 cup tahini, 1/4 cup lemon juice, 2 tablespoons olive oil, 1 teaspoon ground cumin, and salt to taste. Blend until you achieve a smooth consistency, adding a little water if necessary to reach your desired texture.
Step 5: Grill the Pita
Grab your pita bread and cut it into wedges. Heat a grill or a grill pan over medium heat. Place the pita wedges on the grill and cook until they are warm and slightly charred, about 2-3 minutes on each side.
Step 6: Serve and Enjoy
Finally, transfer your creamy roasted garlic hummus to a serving dish. Drizzle with a little olive oil and sprinkle paprika on top for a beautiful finishing touch. Serve it warm with the grilled pita wedges on the side.
As you can see, making Roasted Garlic Hummus with Grilled Pita is a rewarding experience that requires minimal effort. With just a few steps, you can create a delicious and nutritious dish that is perfect for any occasion. I invite you to try this recipe and share your thoughts or adjustments. Additionally, feel free to explore similar posts on my blog for more inspiring and tasty ideas. Happy cooking!
Print
Roasted Garlic Hummus with Grilled Pita
- Prep Time: 720 minutes
- Cook Time: 120 minutes
- Total Time: 840 minutes
- Yield: 6-8 servings 1x
- Category: Appetizer
- Method: Blending, Grilling, Roasting
- Cuisine: Middle Eastern
- Diet: Vegetarian
Description
A comforting and creamy roasted garlic hummus served with warm grilled pita, perfect for any occasion.
Ingredients
- 1 cup dried chickpeas
- 1 head of garlic
- 1/4 cup tahini
- 1/4 cup lemon juice
- 2 tablespoons olive oil
- 1 teaspoon ground cumin
- Salt to taste
- Pita bread for grilling
- Paprika for garnish
Instructions
- Soak the chickpeas overnight in plenty of water. Drain and rinse.
- Boil the chickpeas in fresh water for 1-2 hours until tender; drain and reserve some cooking water.
- Roast the garlic in aluminum foil in a preheated oven at 400°F for 30-40 minutes until soft.
- Blend chickpeas, roasted garlic, tahini, lemon juice, olive oil, cumin, and salt until smooth, adding water if needed.
- Grill pita wedges on medium heat for 2-3 minutes on each side until warm and charred.
- Serve the hummus drizzled with olive oil and sprinkled with paprika, alongside grilled pita.
Notes
Serve with fresh vegetable sticks or as part of a mezze platter.
Nutrition
- Serving Size: 1 serving
- Calories: 900
- Sugar: 3g
- Sodium: 500mg
- Fat: 45g
- Saturated Fat: 6g
- Unsaturated Fat: 39g
- Trans Fat: 0g
- Carbohydrates: 80g
- Fiber: 12g
- Protein: 40g
- Cholesterol: 0mg
